This post contains affiliate links, please read our disclosure policy.
How to use the offset feature in Cricut Design Space.
After a long wait the offset feature is finally available in Cricut Design Space! Let me show you how to use the offset feature to make stickers or create a layered look for vinyl, iron-on or paper. Read about the new features in Cricut design space here.
Want to learn more about each Cricut machine to determine which one is right for you? Check out this post before you buy.
Note: Cricut offset feature is only available on the desktop version of Cricut Design Space not on your iPad or mobile app.
What is an offset?
An offset is a shadow layer behind your text or image that is larger. It’s an evenly distanced outline around your original text or image. This is often used to make your design really stand out. Commonly used to make stickers for print then cut or to layer vinyl, iron-on or paper. You may also hear people refer to it as an offset path.
Have a Cricut but don’t like designing?
Join the monthly SVG club and get cut files delivered to your inbox along with a monthly live craft night in the exclusive Facebook group.
Offset feature in Cricut Design Space.
Let’s bring you through step by step how to create an offset in Cricut design space using the offset feature.
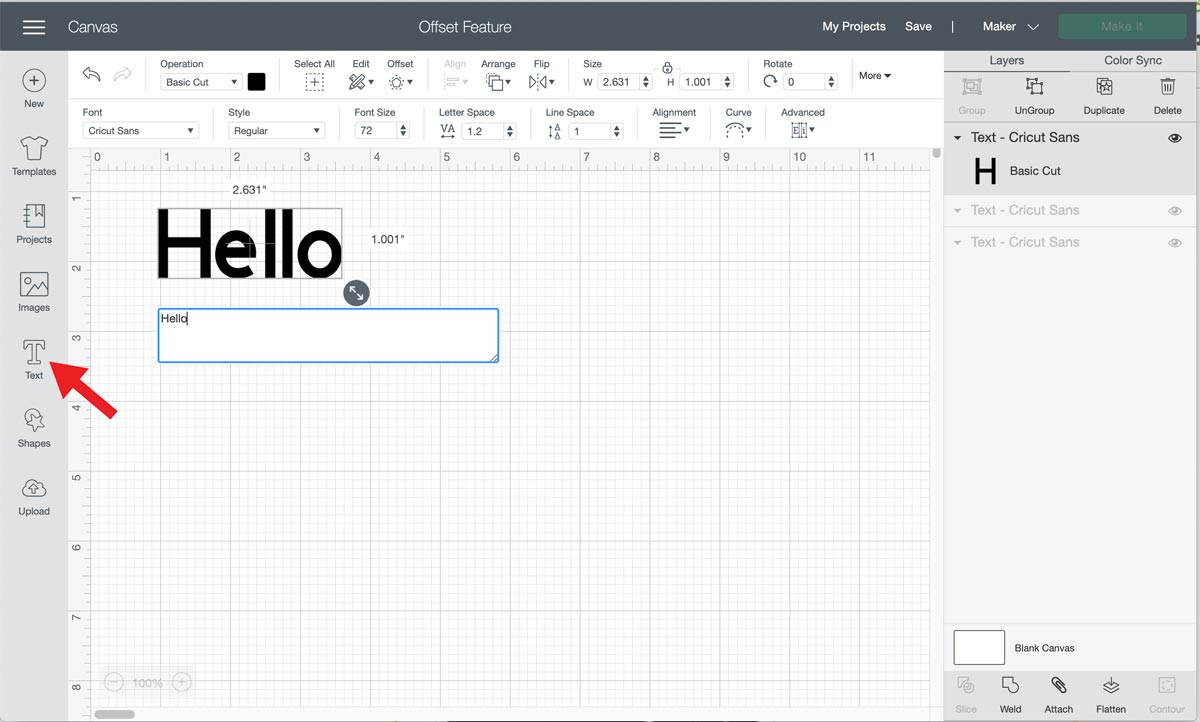
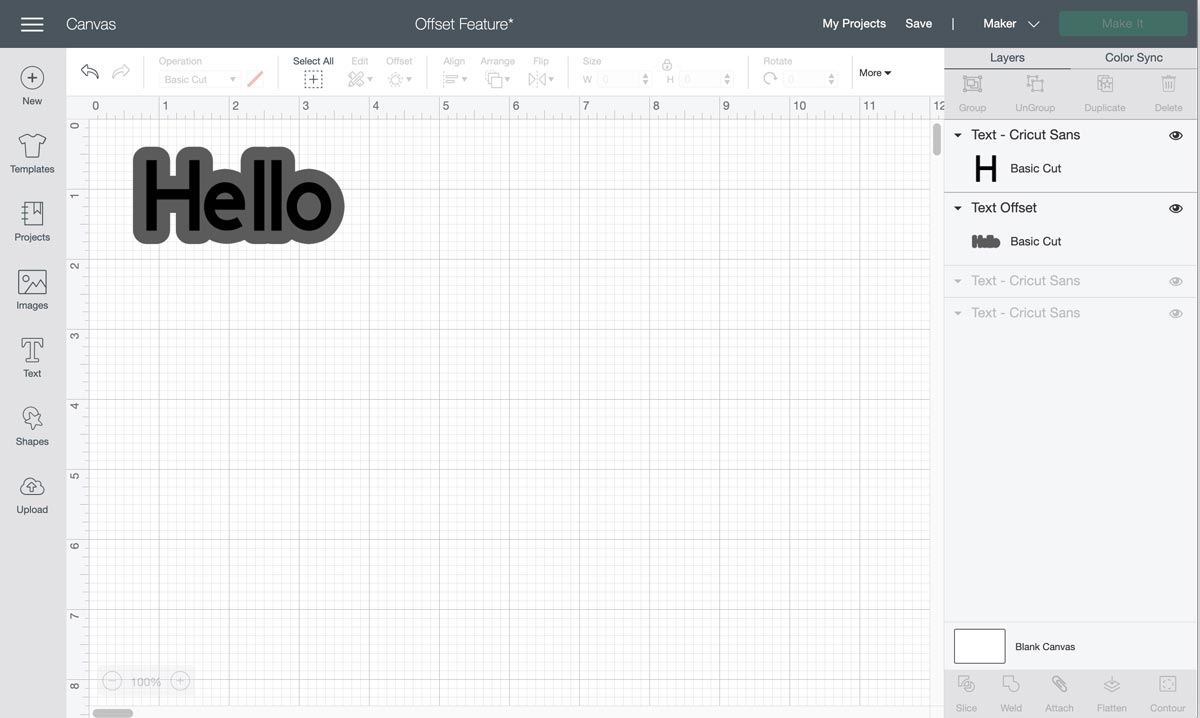
Step One- Create text or insert image
Using the text tool type out your words and adjust your letter spacing or insert your image. Select the layer on the right hand side that you want to create an offset. You can select a single layer or multiple layers or objects.
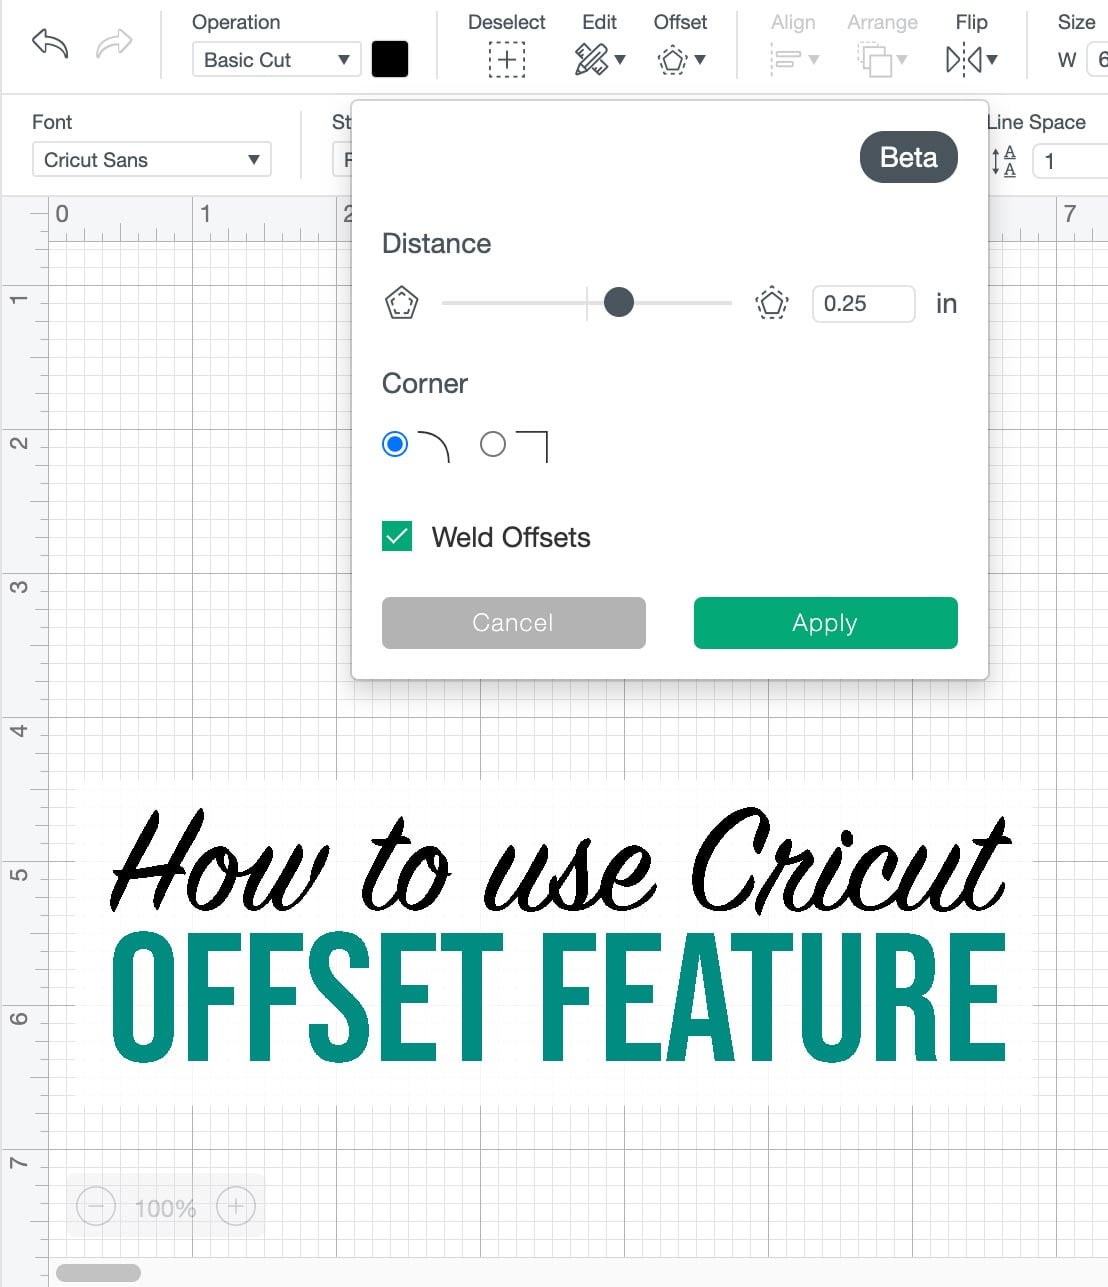
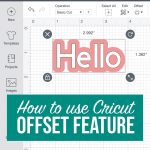
Step two- Select Offset
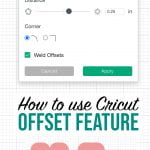
Select Offset in the top toolbar. Use the distance slider to create the size of the offset. As you move this you will see a preview of the path on your canvas.
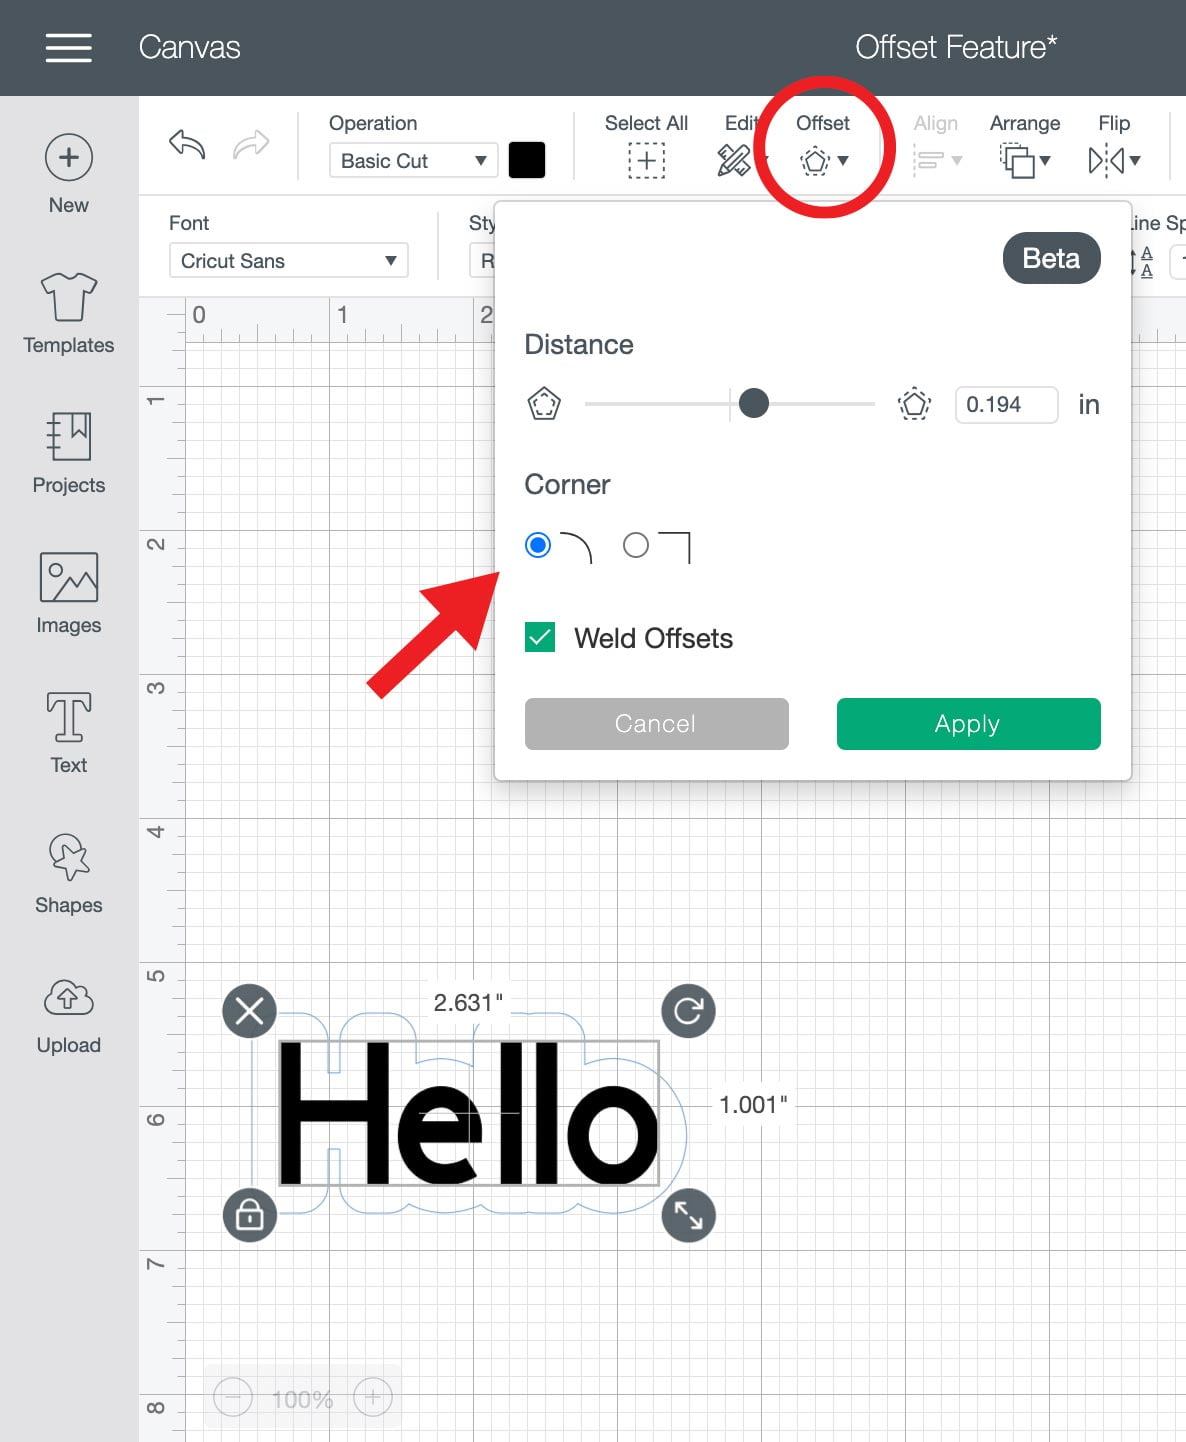
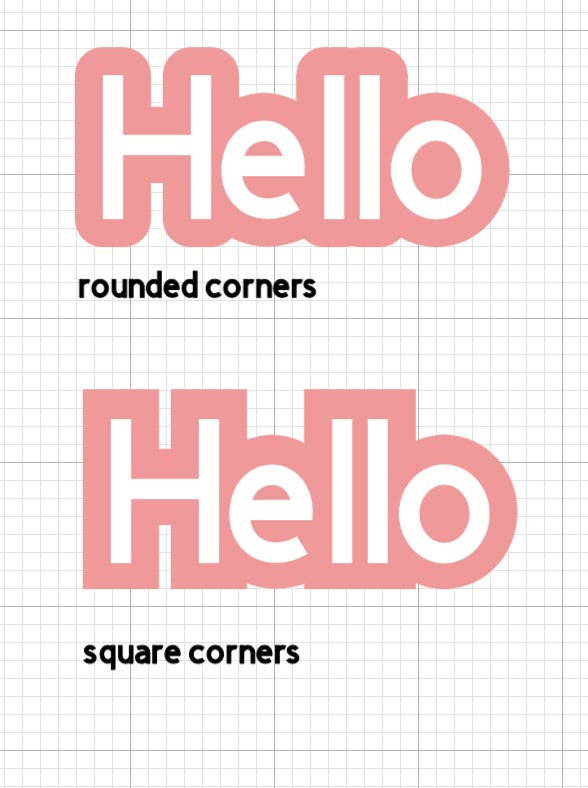
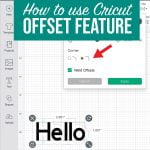
Step Three- Select Corner styles
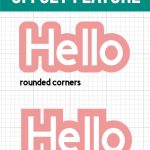
You have the option between rounded or square corners for your offset. Check out the image below to see the difference.
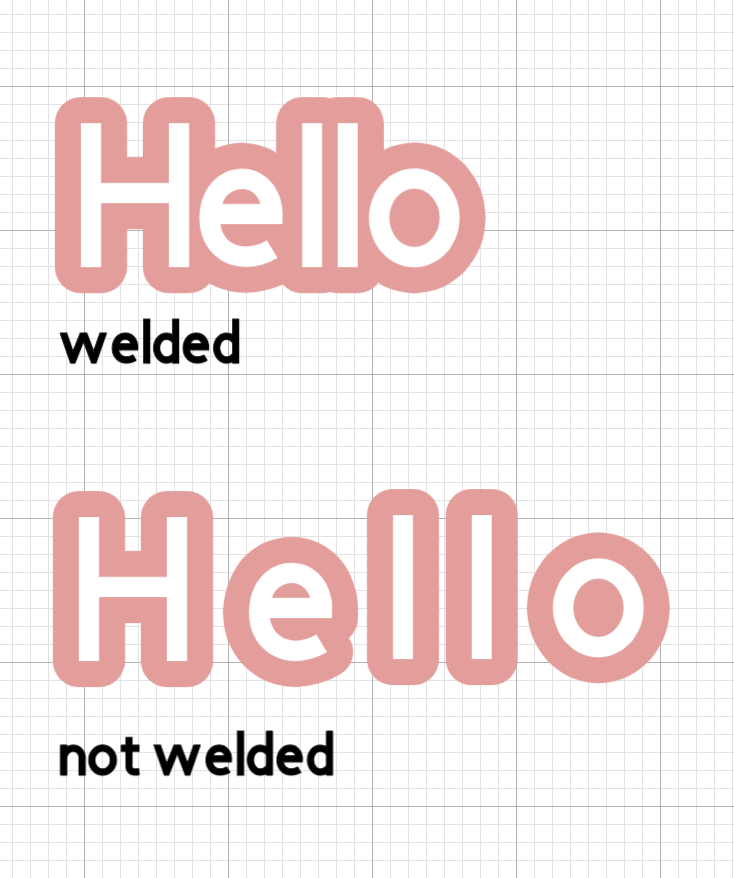
Step Four- Weld your offset
The offset tool gives you the option to weld your offset. If you choose to weld it will become one single shape. If you don’t choose to weld it will create an outline for each individual letter.
Step Five- Select Apply
Select Apply to create your offset. That is it you created your first offset!
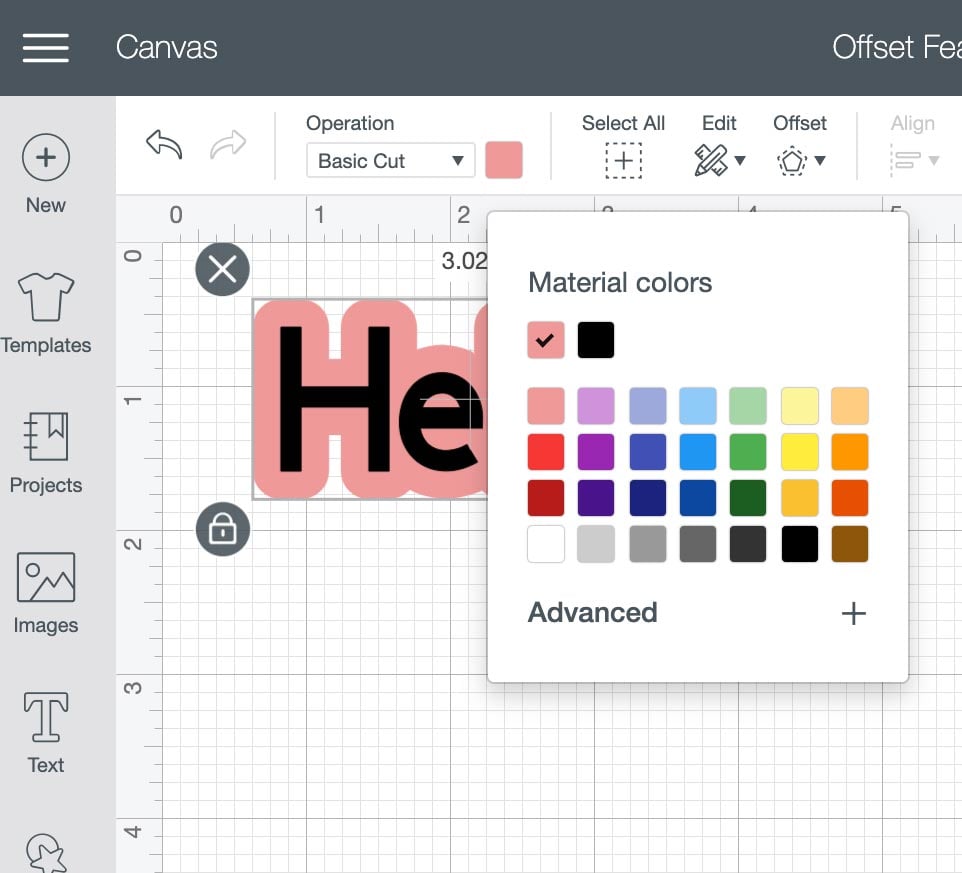
How to change colors
Want to change the color of your offset? Select the layer you want to change. On your top toolbar select the colored square under operation. Select the color for your offset. If you would like to change the color of your text select that layer and repeat.
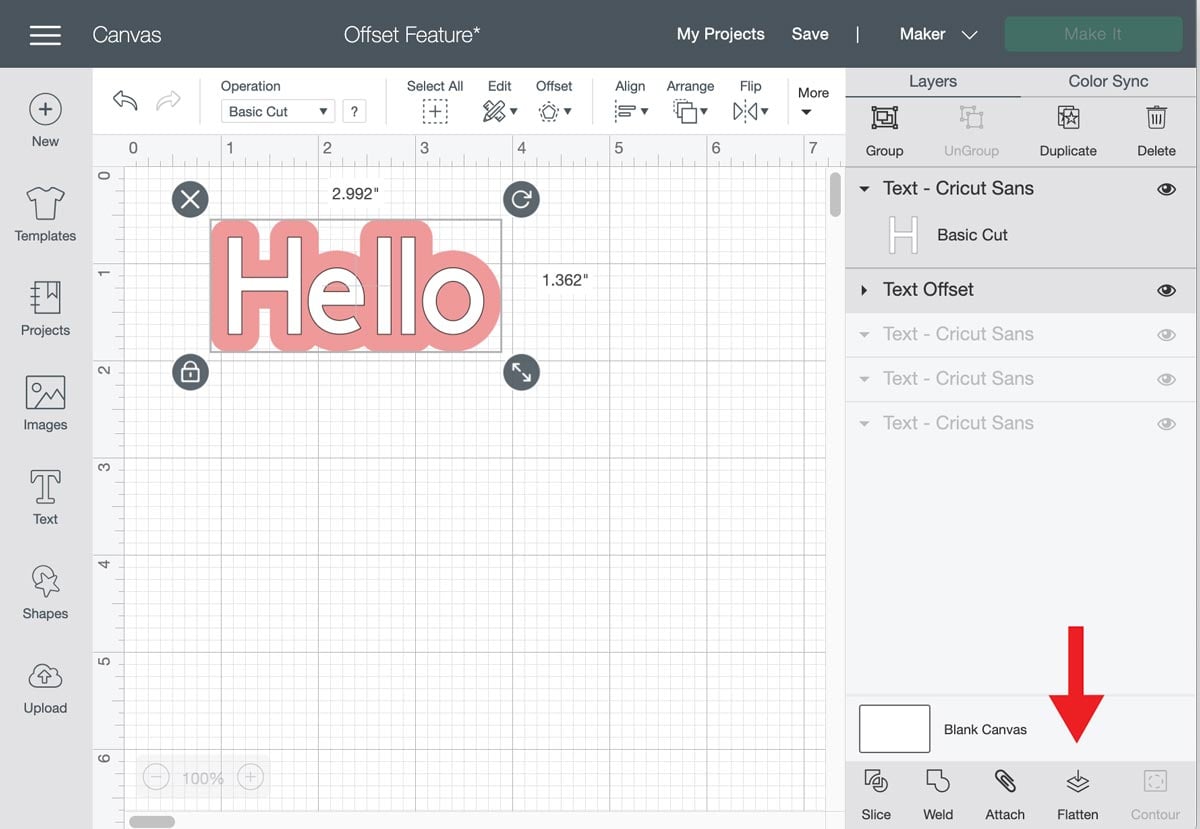
How to turn your offset into a print and cut.
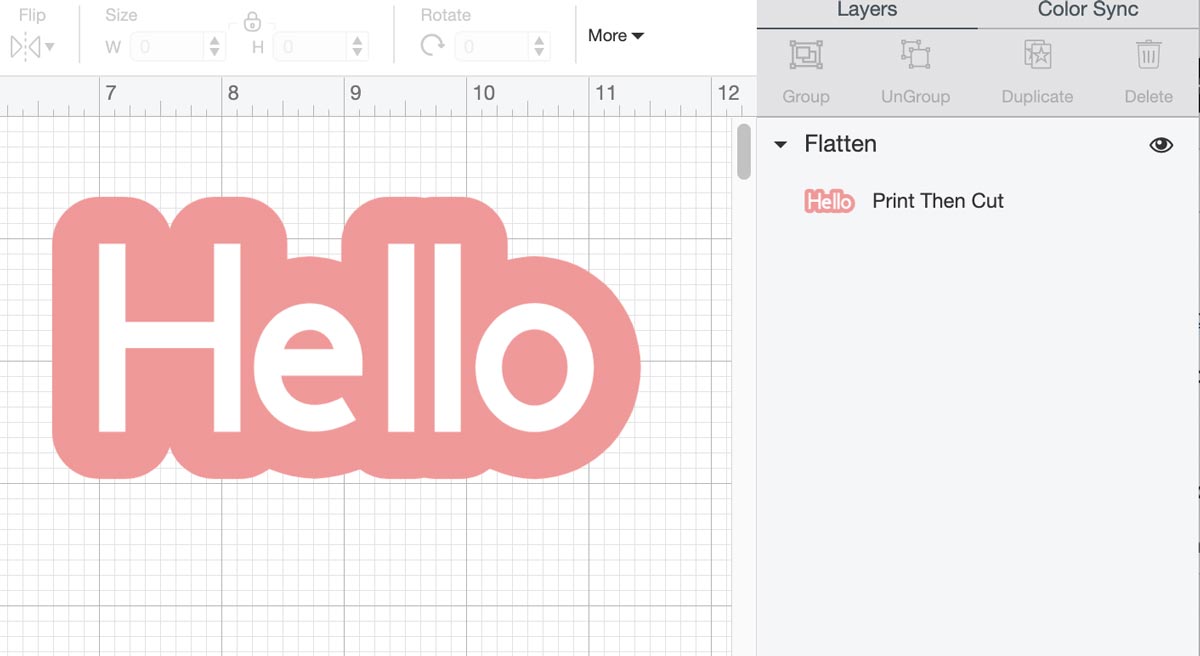
Let’s say you want to turn your offset into a print and cut for a sticker. It is really simple. Select all the layers then on the bottom right of your layers panel select flatten.
You can see on the layers panel that your design is now flattened and ready to print then cut. This is an easy way to create a sticker.


I don’t see “Offset” option on my Cricut Design Space. I have the Explore. Is that feature available on all machines thru Cricut Design Space?
Are you on your computer or an ipad or a phone?
Yes