This post contains affiliate links, please read our disclosure policy.
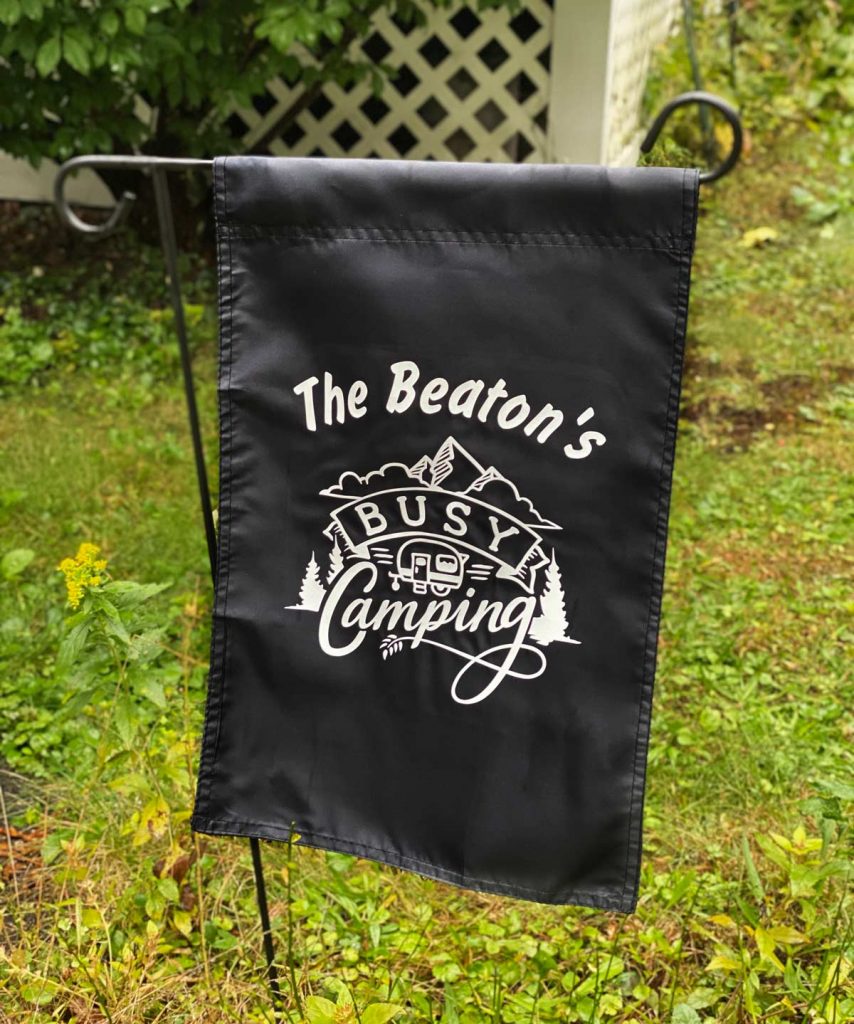
How to make a Camping flag with Cricut. The perfect RV accessory for your campsite using a garden flag.
This post is sponsored by Cricut but all opinions are my own. This post contains affiliate links.
Let’s make a DIY camping flag. Camping has been my families favorite activity for over 30 years. I grew up with a pop up trailer then a travel traveler and when we got older my parents upgrade to an RV. Well their anniversary is coming up so I thought I would make them a personalized camping flag for their RV.
They already have a garden flag they put out on their campsite. I found the perfect camping design in Cricut Design Space. I decided to add their last name to give it a personalized or custom element.
Don’t have a Cricut but thinking about getting one? Check out this buying guide.
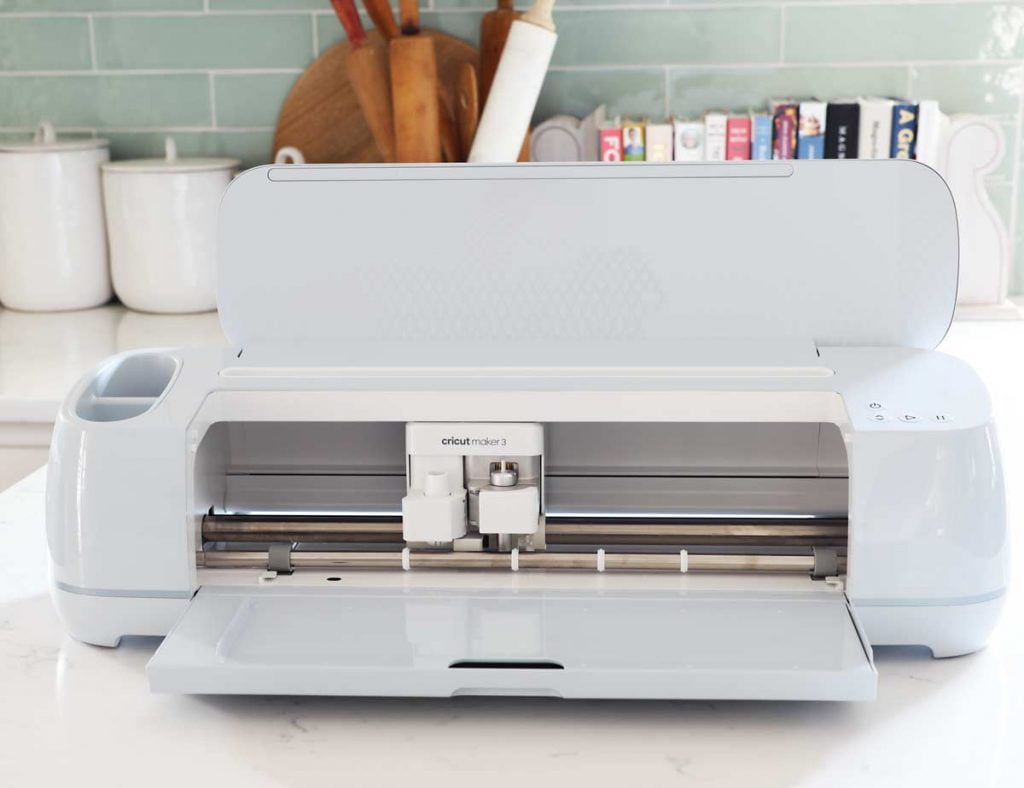
Table of Contents
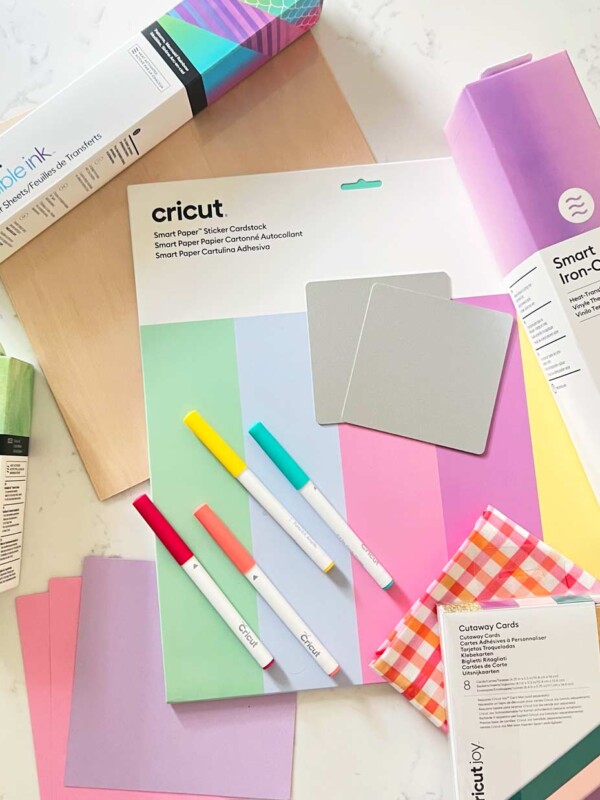
Here’s what you’ll need
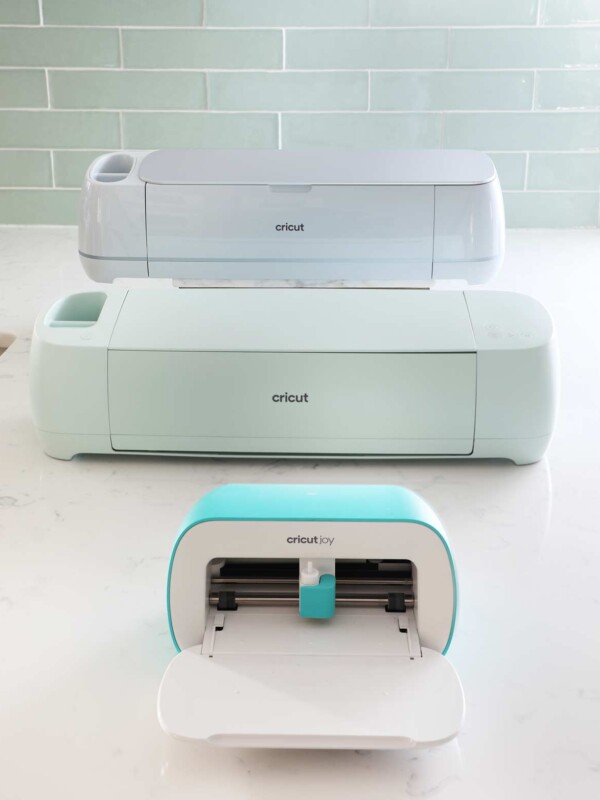
- Cricut Maker 3 or Cricut Explore 3
- Garden flag
- Cricut Iron-On or Smart Iron-On
- Light Grip Mat (optional if using Smart Iron-On)
- Brayer (optional)
- Cricut EasyPress
- Cricut Easy Press Mat (optional)
- This Cricut Design Space File
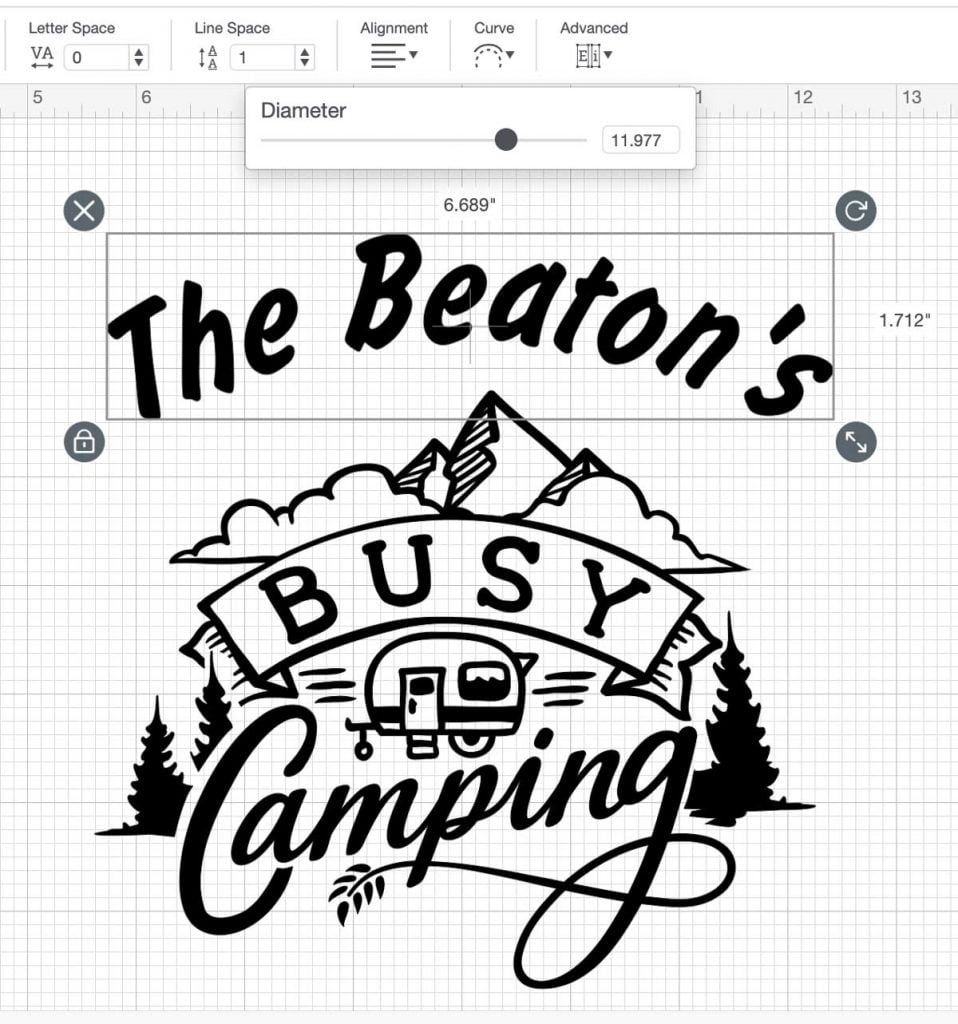
How to curve text in Cricut Design Space
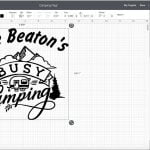
Curving text in Design Space is now very easy. With the text tool (located in the design panel on the left) type out the last name. With your text selected click on the curve tool it’s along the top towards the right side. A slider will appear with a number range.
By dragging the slider to the right the text will curve downward. Design Space uses an imaginary circle to determine the curve of the text.
To personalize and add a last name I used the font Flash.
Cutting Iron-On Vinyl with Cricut
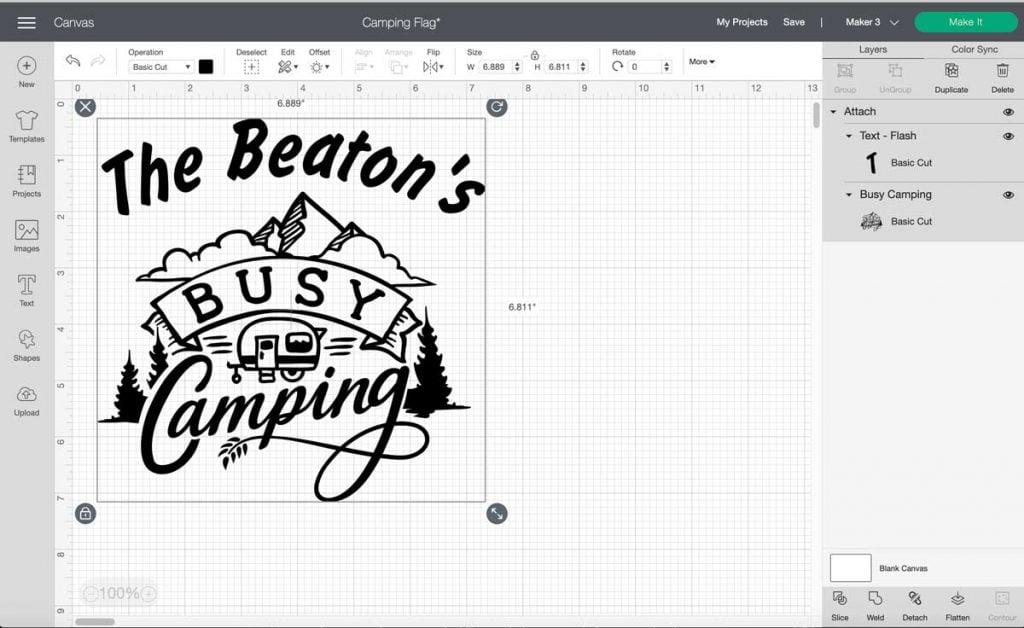
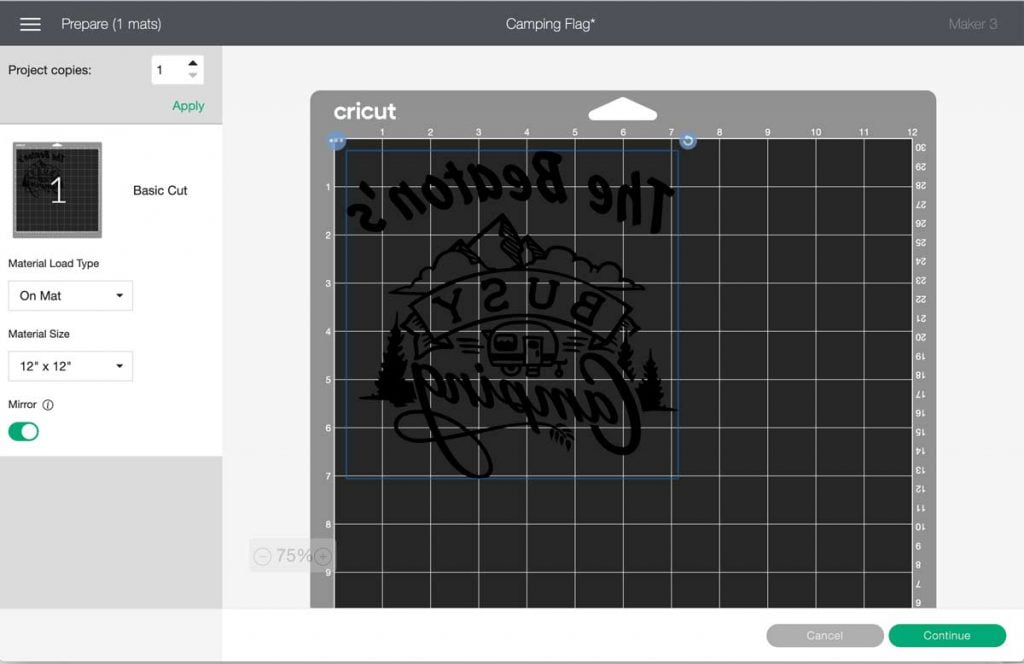
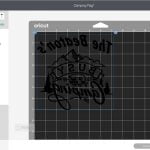
Once you have your uploaded into design space you will want to make sure all your layers are attached. You can find the attach button on the bottom right of your layers panel. Now you are ready to cut your iron on vinyl. Click make it in the top right corner.
TIP: WHENEVER YOU ARE USING IRON-ON AND HTV YOU WANT TO MAKE SURE TO MIRROR YOUR DESIGN. This can be found under your material size.
Click continue and select your iron-on material type. I used everyday iron-on.
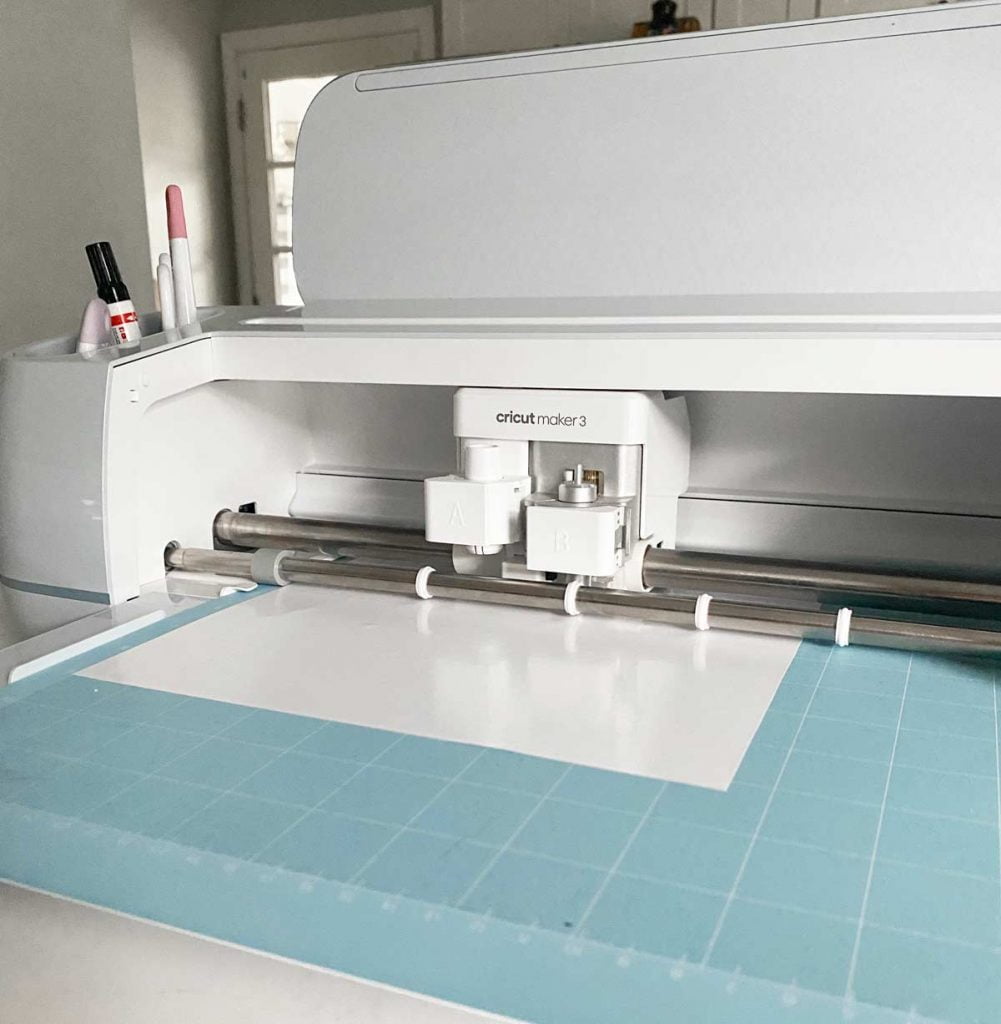
Place your iron-on vinyl shiny side down and load it into your Cricut to cut. Once the “c” or play button starts to blink on the machine select it and watch your design cut.
WEEDING VINYL
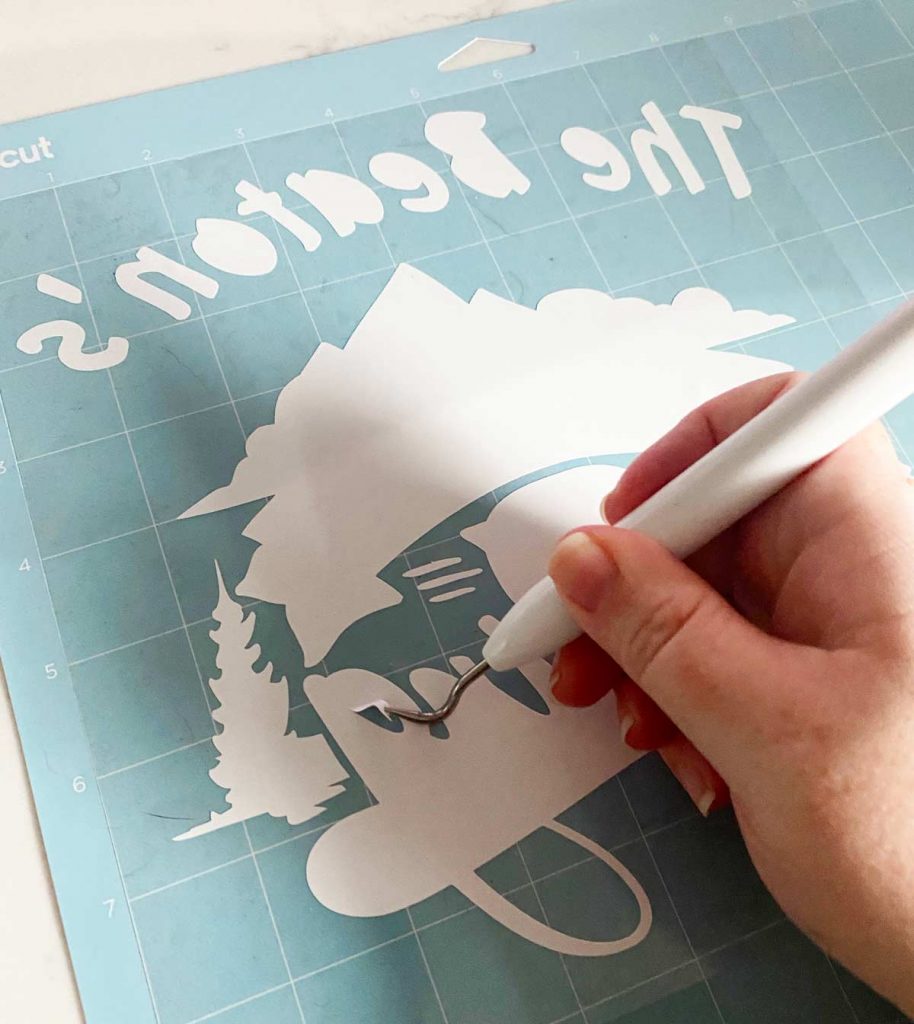
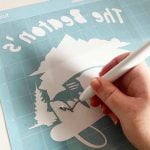
Unload your mat once it’s done cutting (click the blinking arrow) and start to weed out the excess vinyl. Now if you have never worked with iron on vinyl before it is much easier to weed than regular vinyl. You will need your hook tool for more intricate areas.
Unload your mat when it’s finished cutting and you are ready to weed your design. What’s weeding? Remove all the excess vinyl just leaving the design you want to press onto your tshirt.
Now that your iron on vinyl is weeded we are ready to add the design to your shirt using an EasyPress .
WHAT IS A CRICUT EASYPRESS?
An edge-to-edge heat plate that heats up to 400°F perfect for any iron-on projects. It’s a great alternative to a traditional heat press. Thinking about getting an EasyPress? Check out this guide to figure out with EasyPress is right for you.
Now I always like to reference the Cricut heat guide for my EasyPress settings.
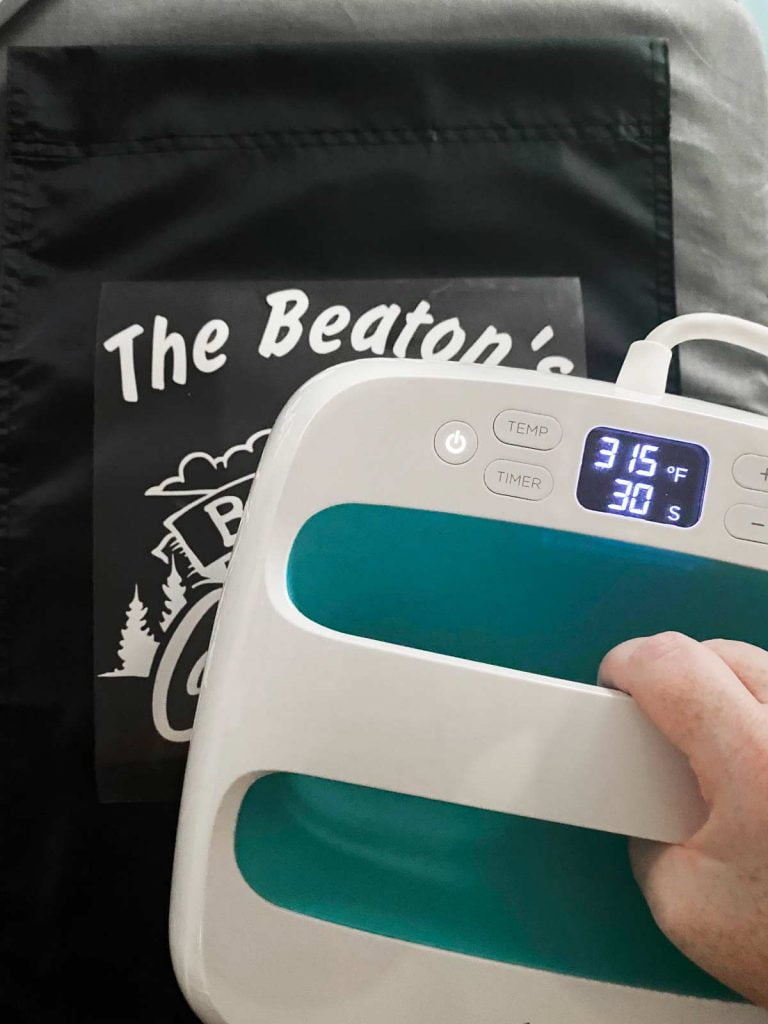
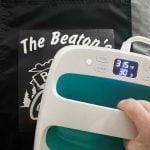
For this tshirt I preheated Cricut EasyPress to 315°F. Placed flag on my EasyPress mat. Preheat t-flag for 5 seconds.
Tip: Preheat your shirt before placing your design down. This warms up the shirt and creates a smooth surface..
Place your design centered on your flag. Place iron-on face down, liner side up.
Press with light pressure at 315°F for 30 seconds. Flip the flag over and press for another 15 seconds. Slowly remove liner when cool to the touch.
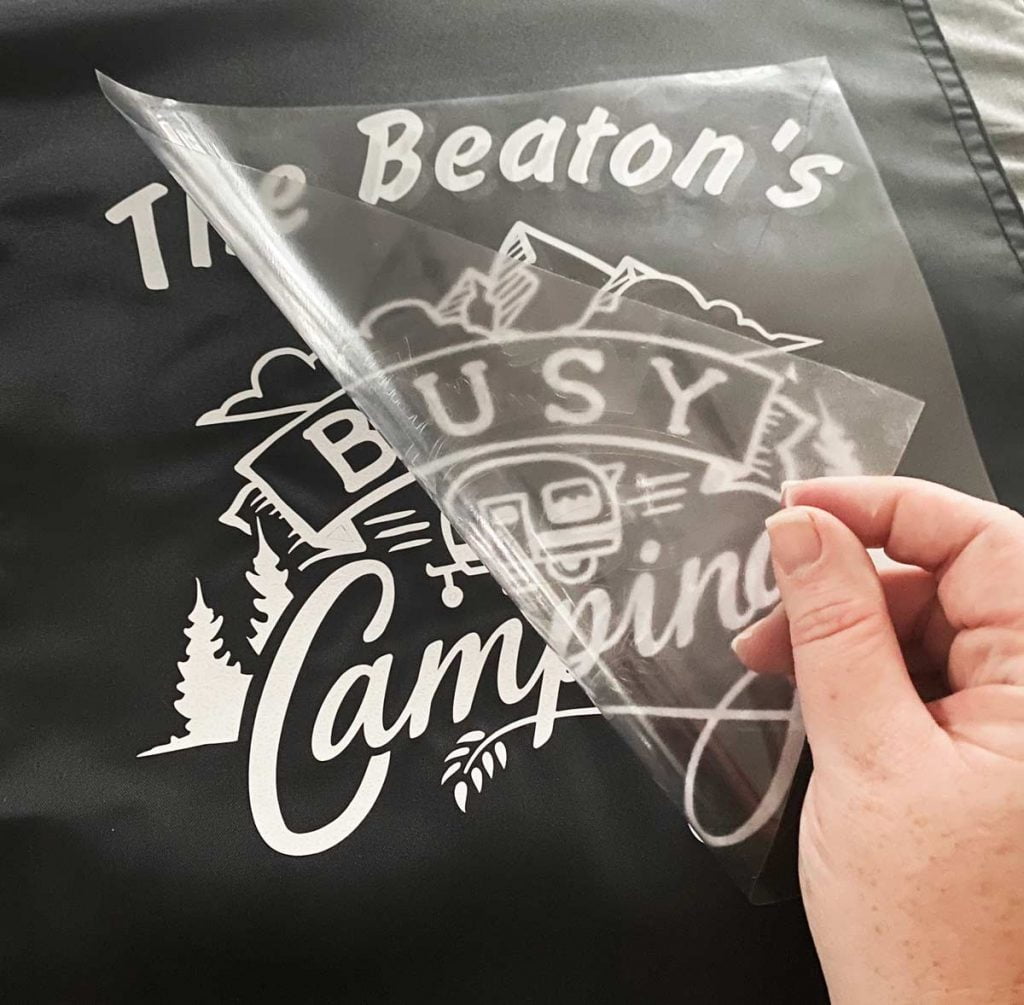
If you see that some of your letters might not be fully adhered. Place the plastic she back down and reheat that area for 5 seconds. Make sure it cools before trying to remove plastic sheet again.







What a sweet and thoughtful gift. I’m sure your parents will be happy to receive it.
Michelle,
I’m sure your parents were thrilled with your beautiful gift. You are talented and thoughtful.
Karen Maire