This post contains affiliate links, please read our disclosure policy.
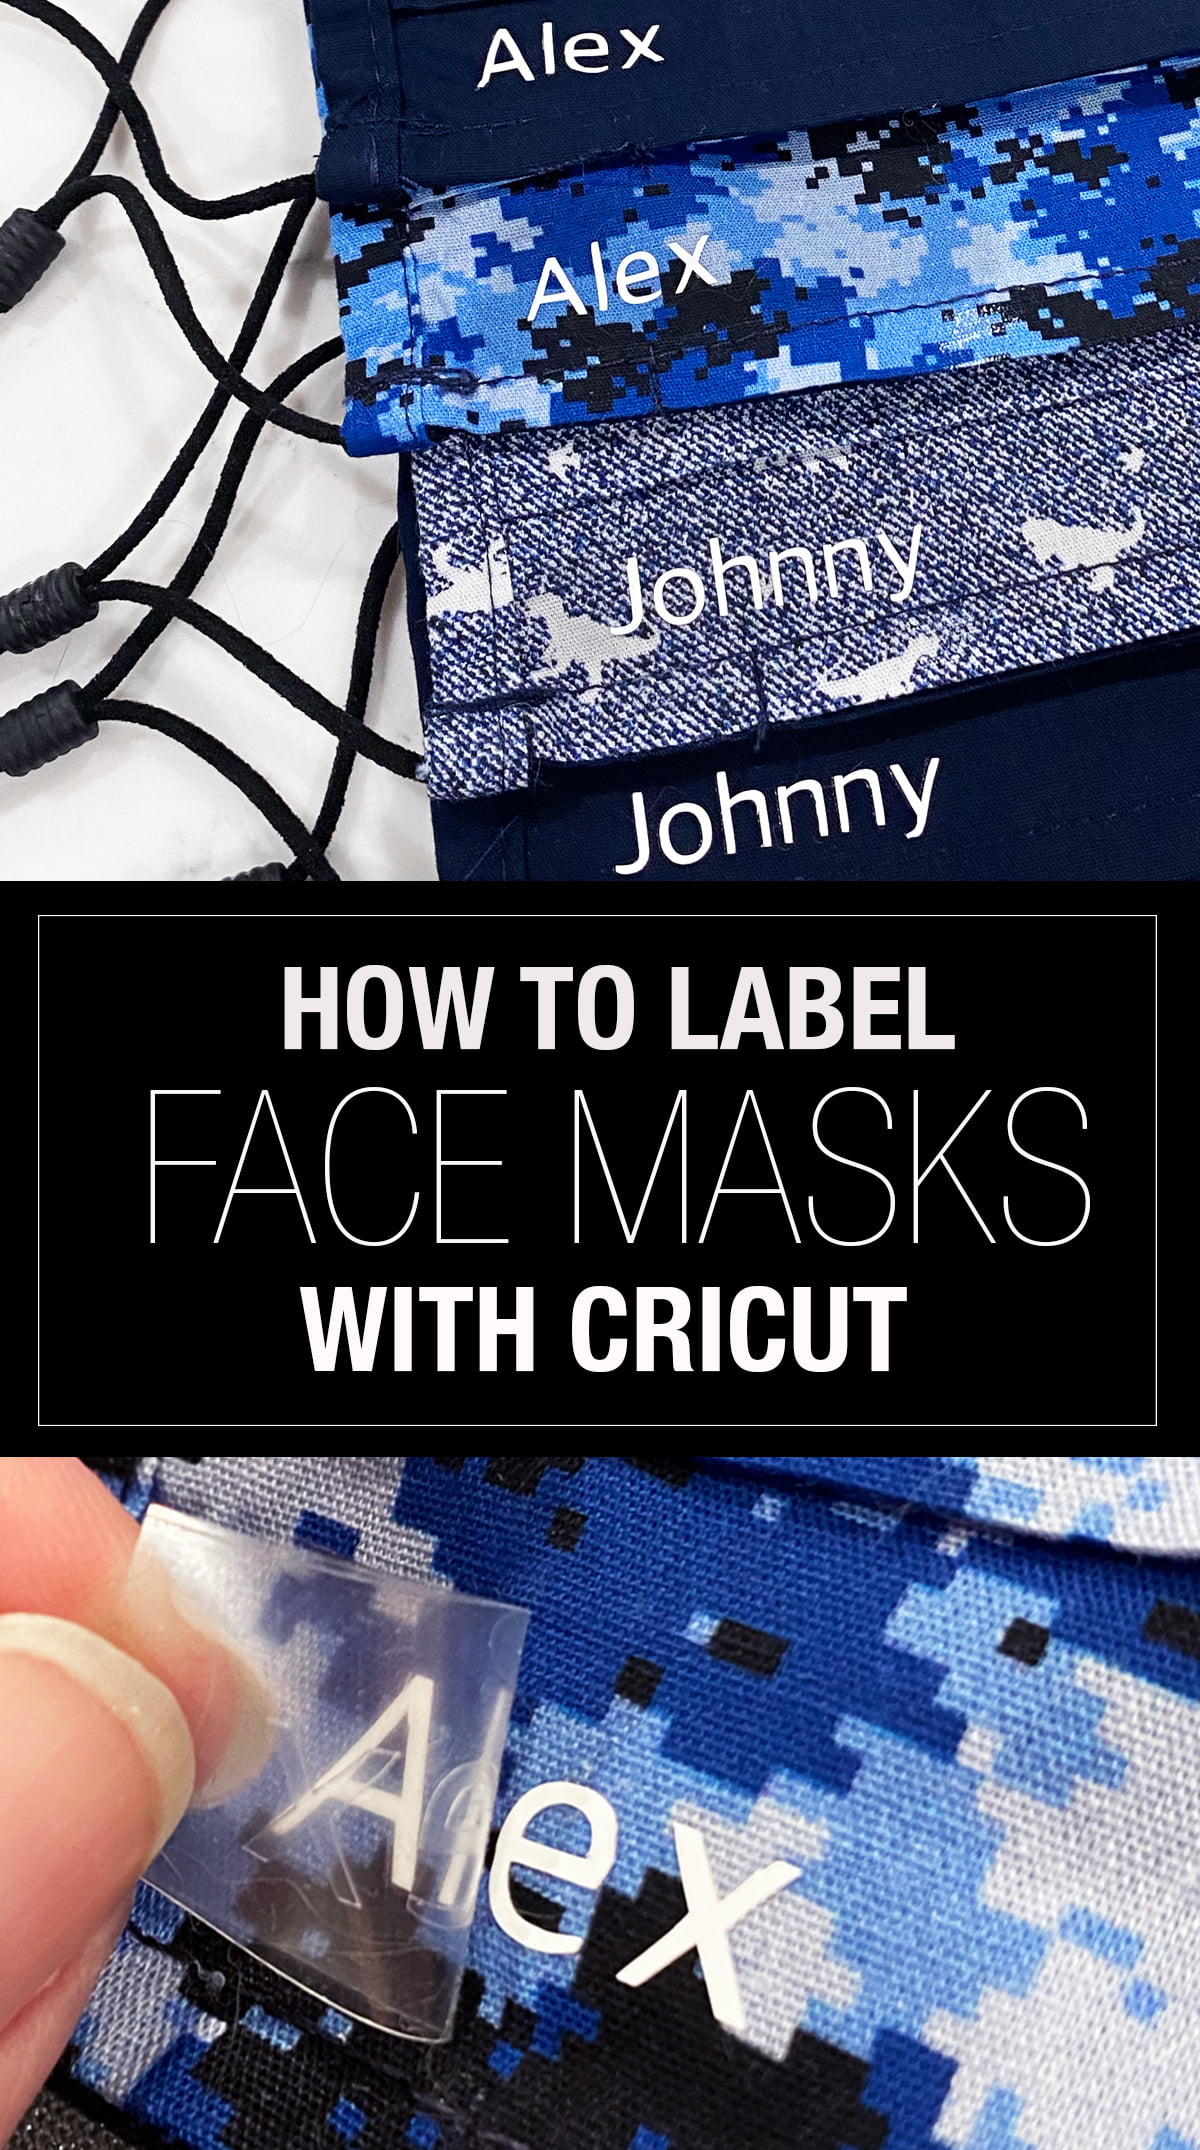
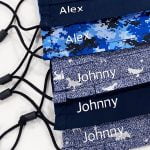
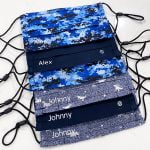
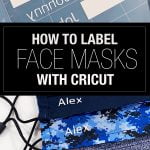
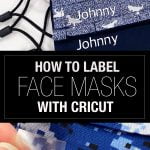
How to make face mask labels with your Cricut. Label your kids face masks for school and day care.
My nephews are getting ready to go back to school and their daycare requires face mask labels with their names. My sister was finding most waterproof labels were going to cost her over $30. I offered to personalize the masks for her by using iron on vinyl and my Cricut.
Still need to make some masks? Check out how I used my Cricut to make face masks here.
Here’s what you’ll need
- Cricut Maker, Explore Explore Air 2 or Cricut Joy
- Cricut Light Grip Mat
- Iron-On Vinyl
- Cricut EasyPress
- Cricut EasyPress Mat
- Masks
Let’s get started making face mask labels.
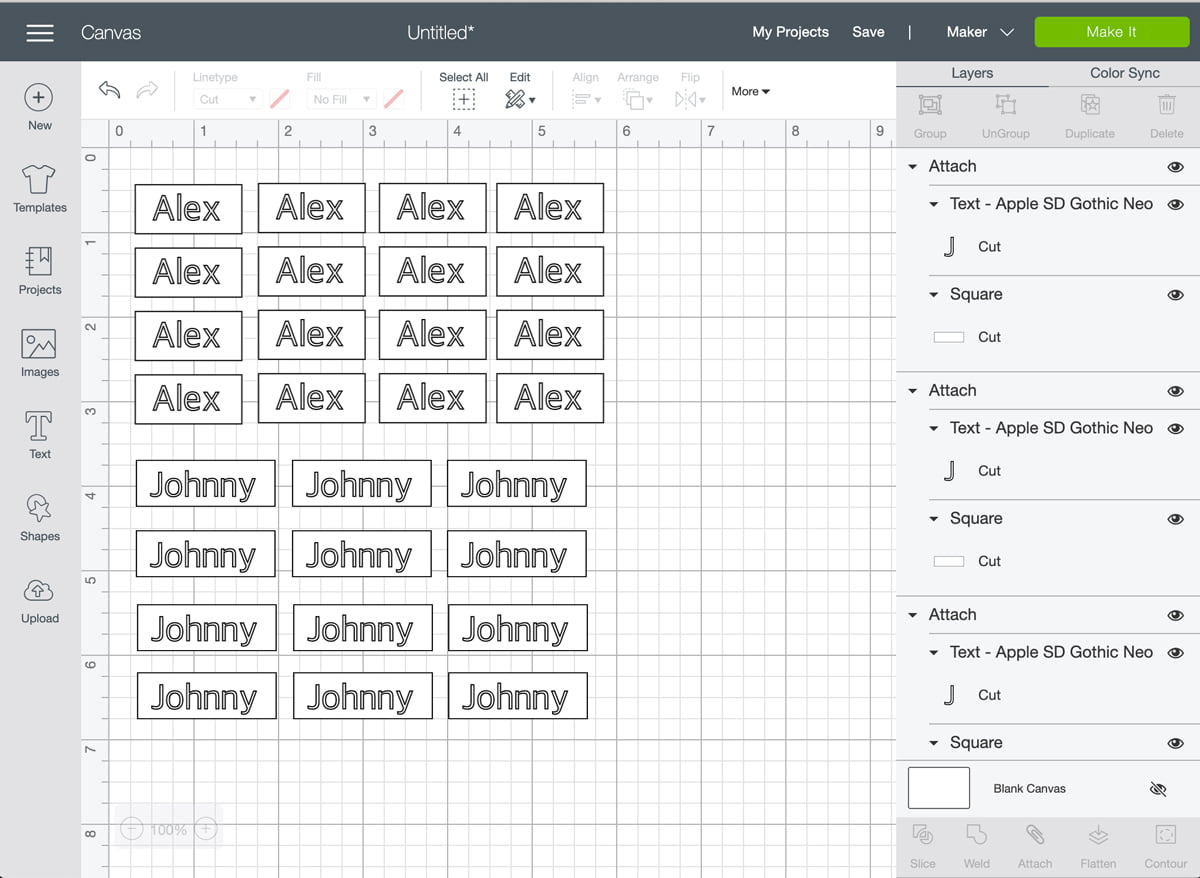
Create your design
In design space use the text tool and a legible font. I say legible because these names are going to be really small you don’t want to over complicate the lettering. We used the font Apple SD Gothic Neo.
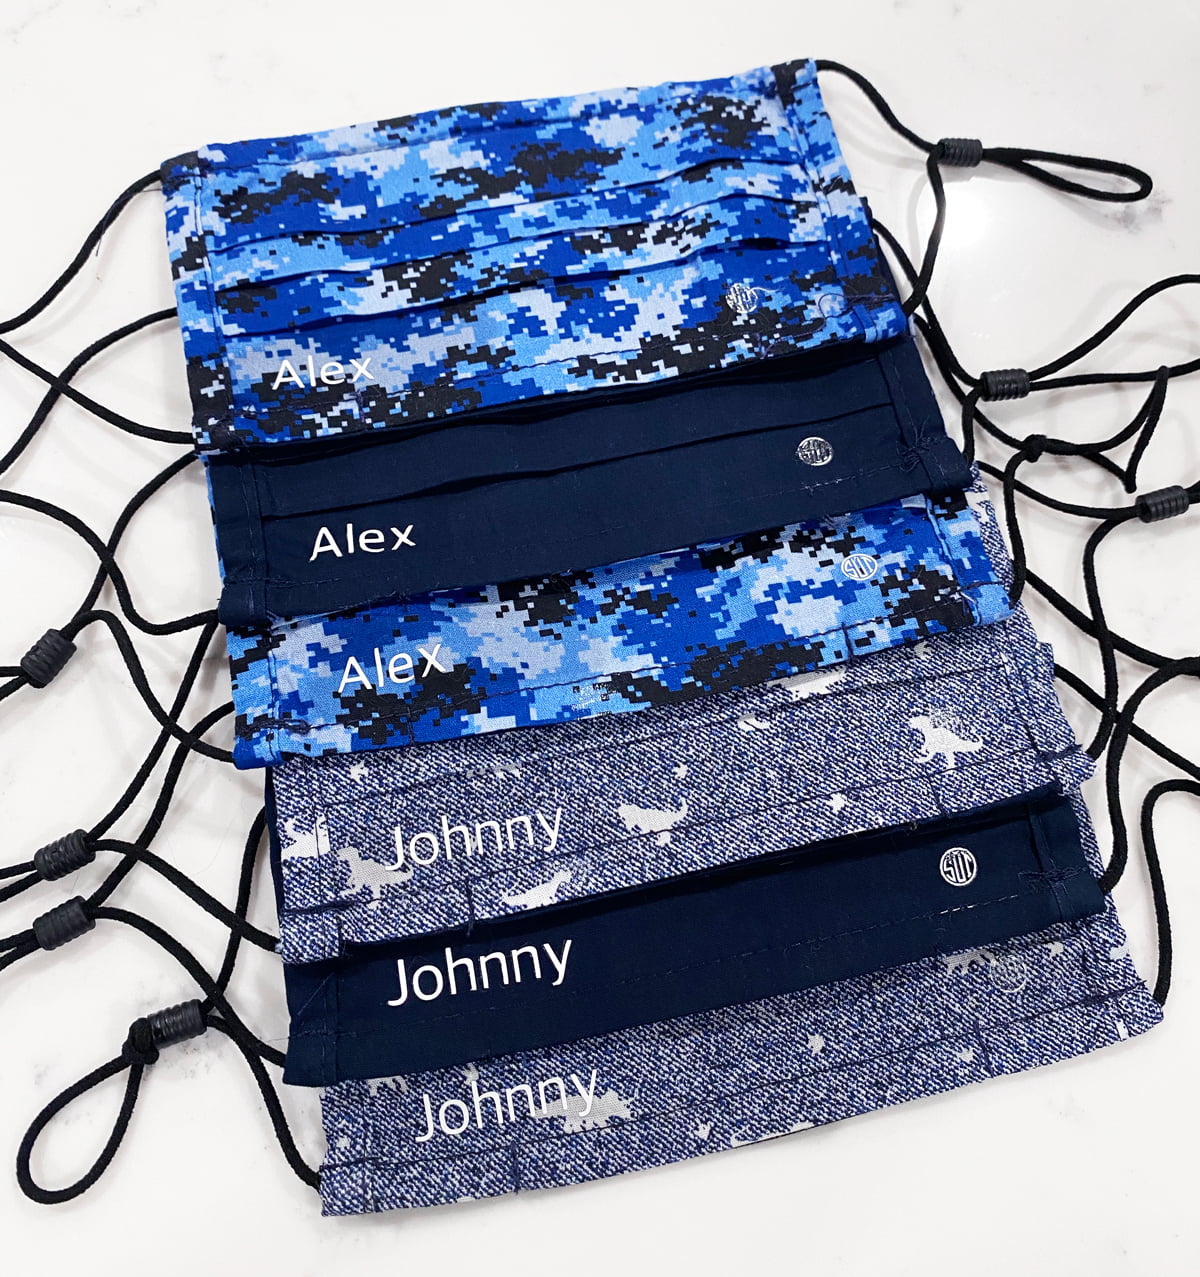
I didn’t want their names huge on the mask so I sized the names to .375 tall which just shy of a half inch which was the perfect size for these masks.
Tip: Place a rectangle box around the names it will make it much easier to weed your vinyl. Once you have your rectangle around your name attach the box with the letters. Then copy and past to create multiple labels.
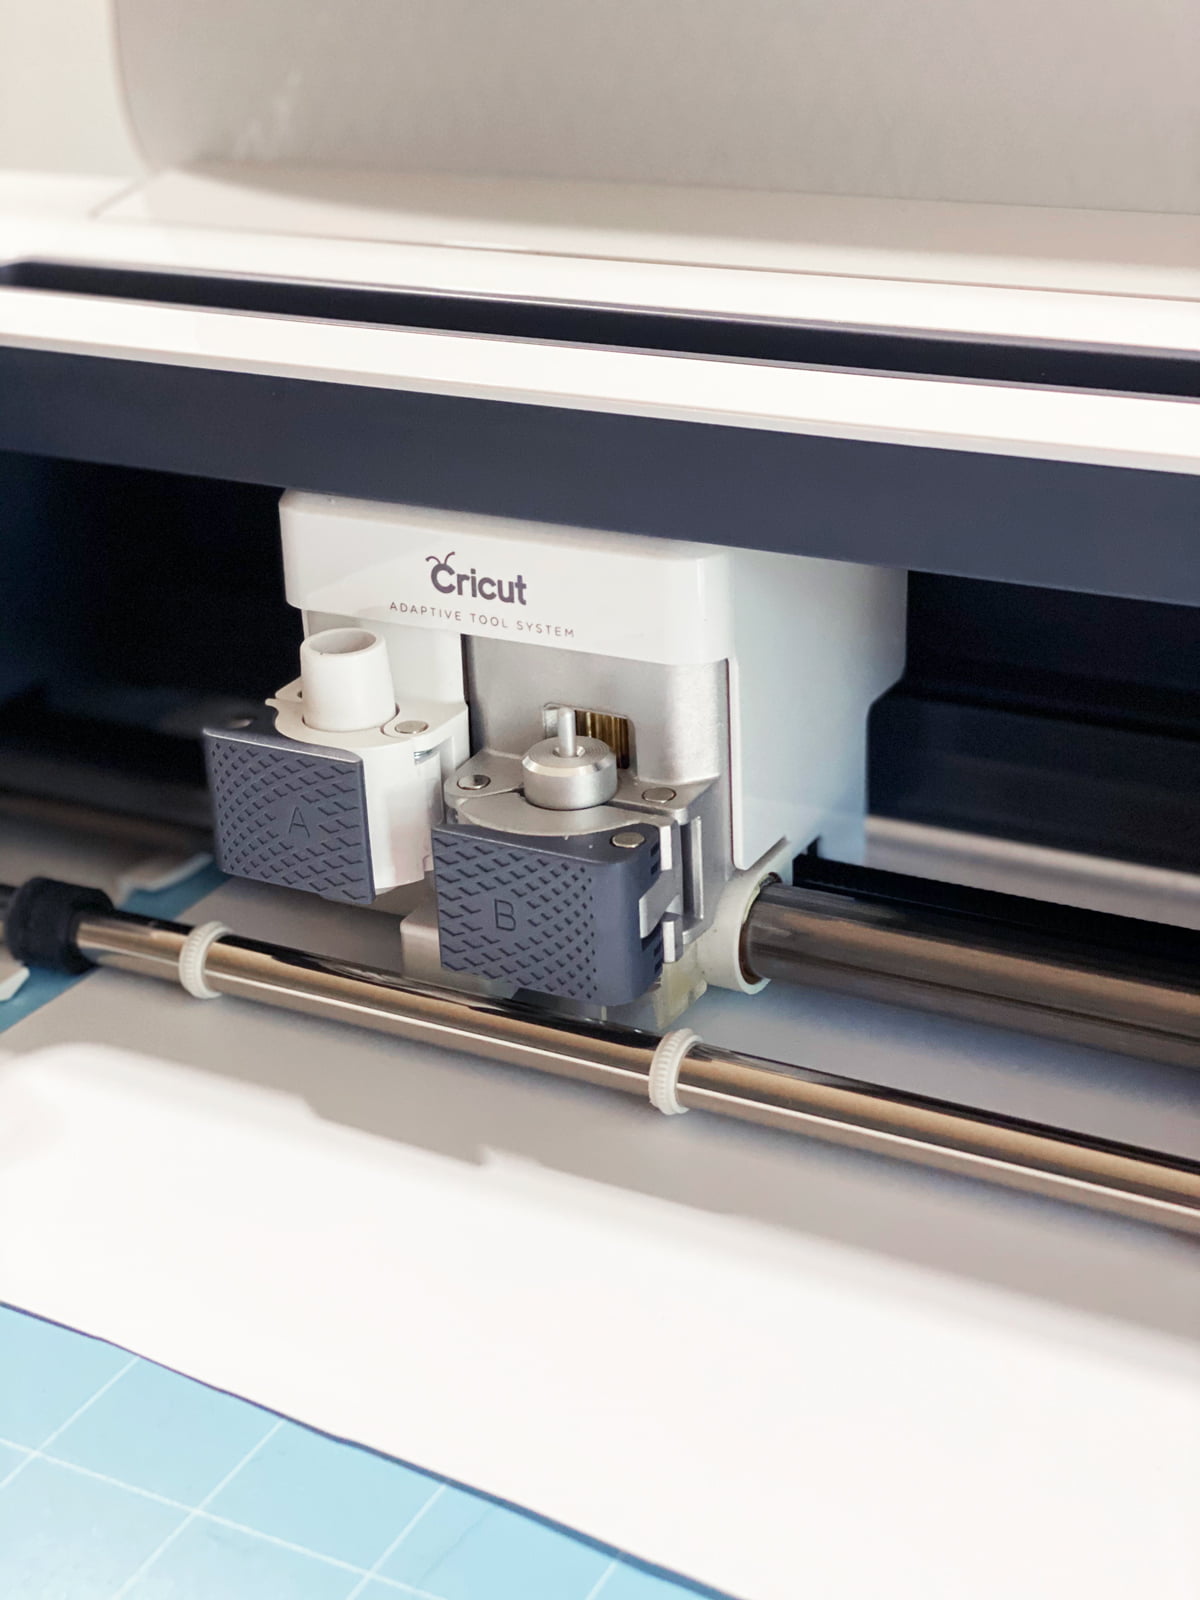
Cut your design
Now it’s time to cut your design. On the light grip mat place your iron-on vinyl shiny side down. Select make it in design space. Make sure to select mirror-on. You always want to mirror your design when using iron-on. Choose your machine and iron-on material. Load your mat, press the flashing “c” and watch it cut!
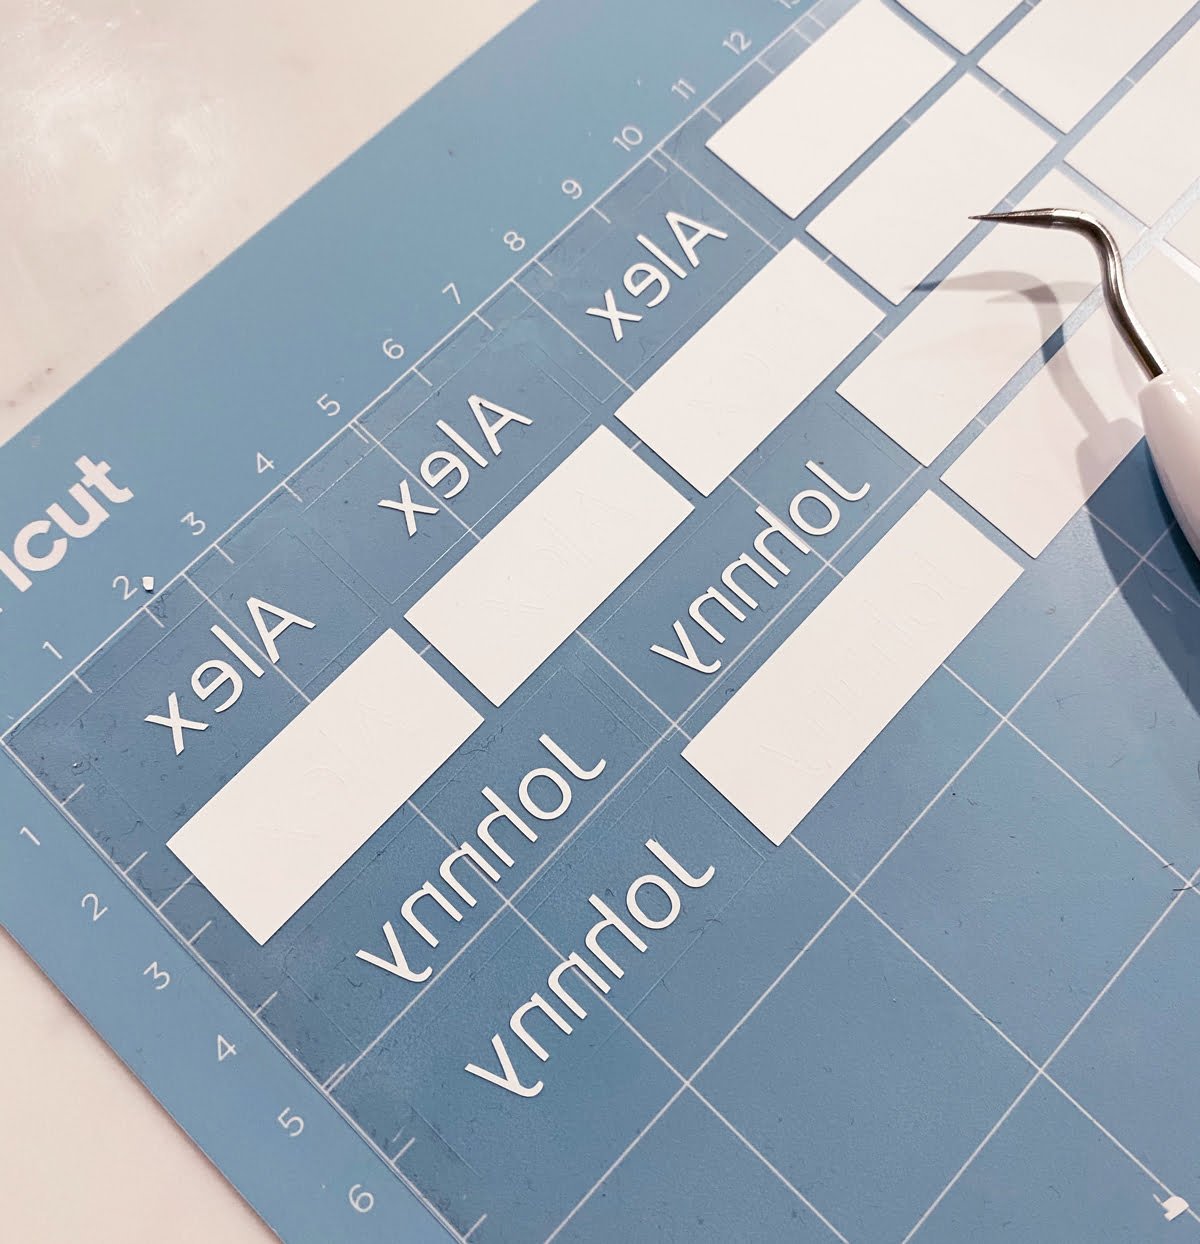
Weeding Vinyl
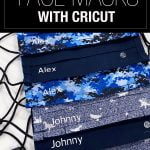
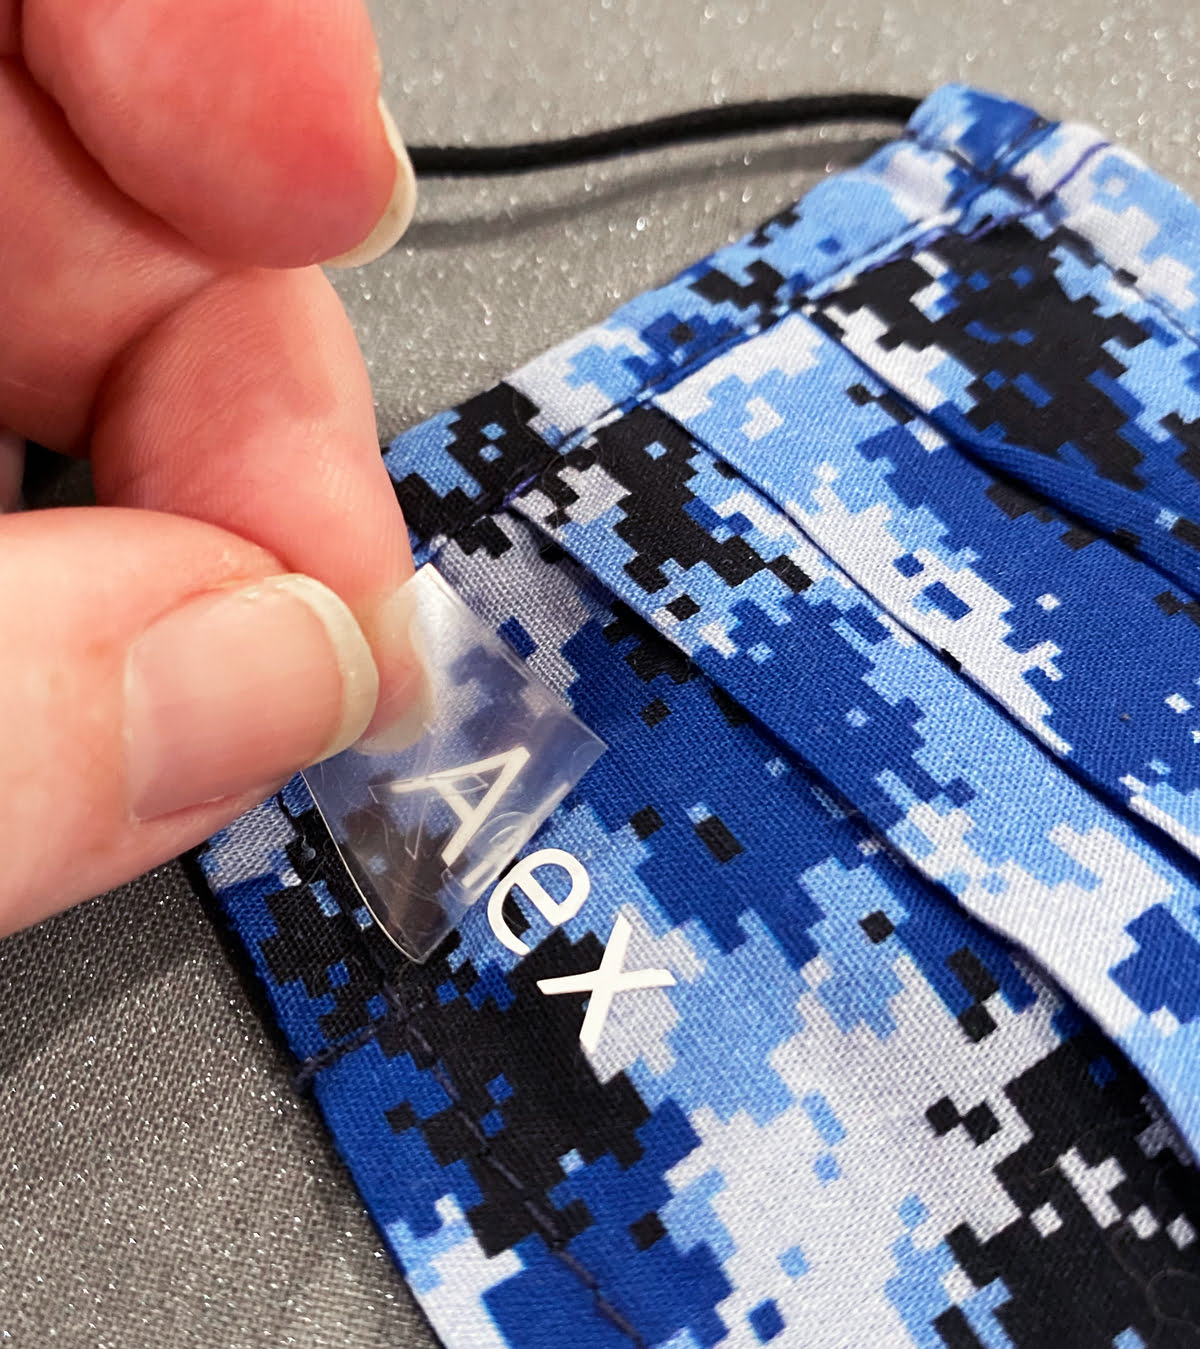
Once your design is cut start to peel back the iron-on vinyl. Leaving the rectangles. One by one start pulling back the rectangles exposing the names. Continue to weed out the excess vinyl.
Use scissors or and exacto knife to cut out the section you need to label your mask.
Iron-on your labels
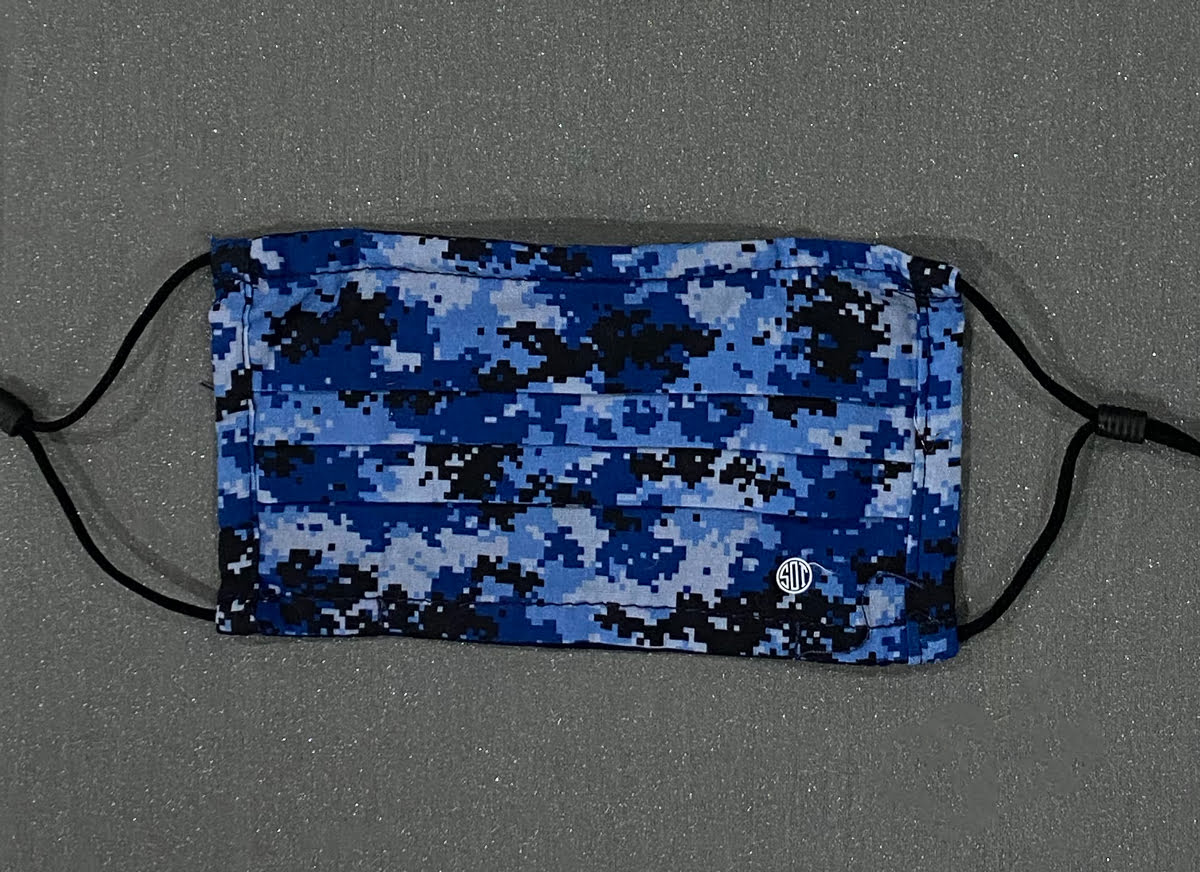
I am using an EasyPress to iron-on my vinyl. These masks are a cotton poly blend so I set the EasyPress to 300 degrees for 15 seconds. When it comes to temperature the “C” will turn green. Place your mask on to your EasyPress mat then place the iron on in the desired position and press for 15 seconds applying pressure as you press.
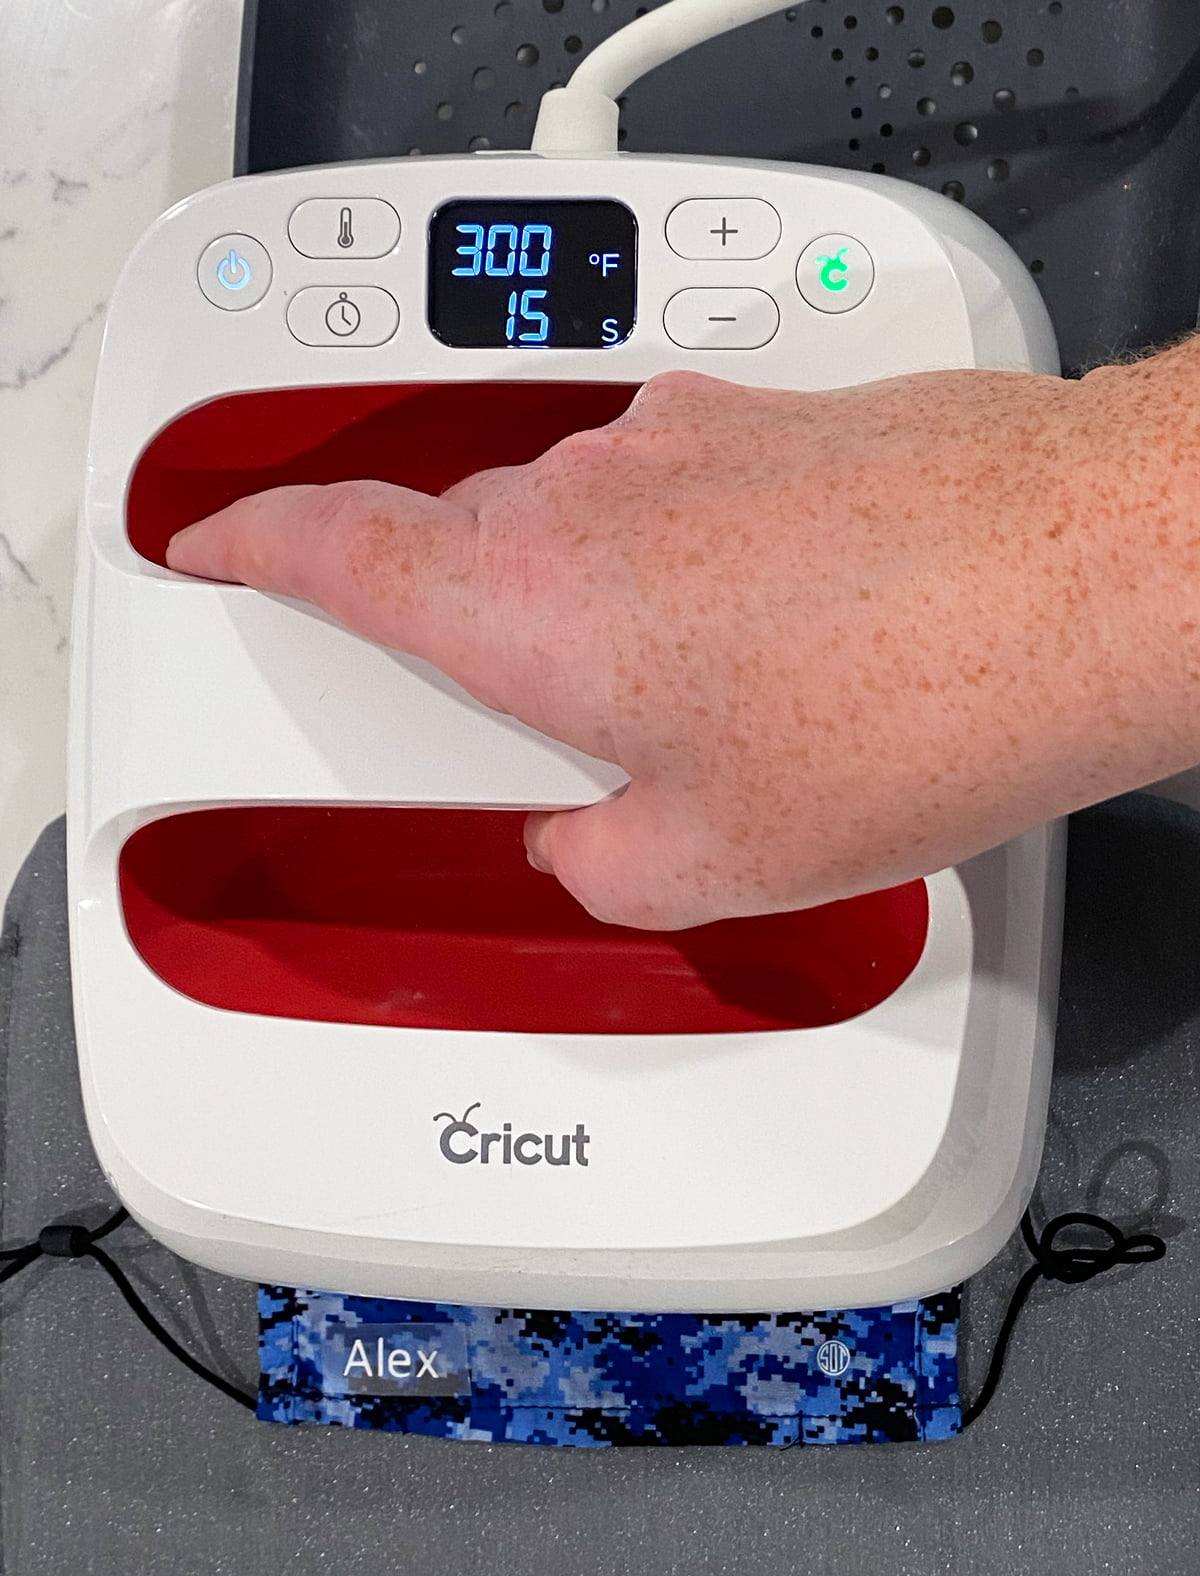 Let the plastic carrier sheet cool completely before peeling it off. If you see your letters lifting go ahead and add some more heat to the label.
Don’t have an EasyPress. No worries use an iron and follow the instructions on the iron-on packaging.
In a matter of just minutes you have labeled your face masks! This is a simple project that will put your mind slightly more at ease knowing that your kids masks won’t get mixed up at school. I cut out extra labels and gave them to my sister incase they added any more masks into their collection.
Want to personalize your masks and make them more fun? Follow this same process but add some designs.