This post contains affiliate links, please read our disclosure policy.
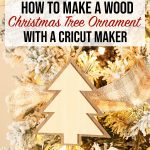
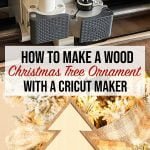
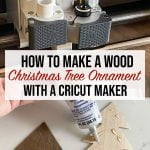
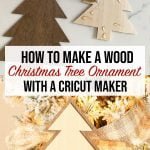
How to make wood Christmas tree ornaments with Cricut Maker using basswood and wood veneer.
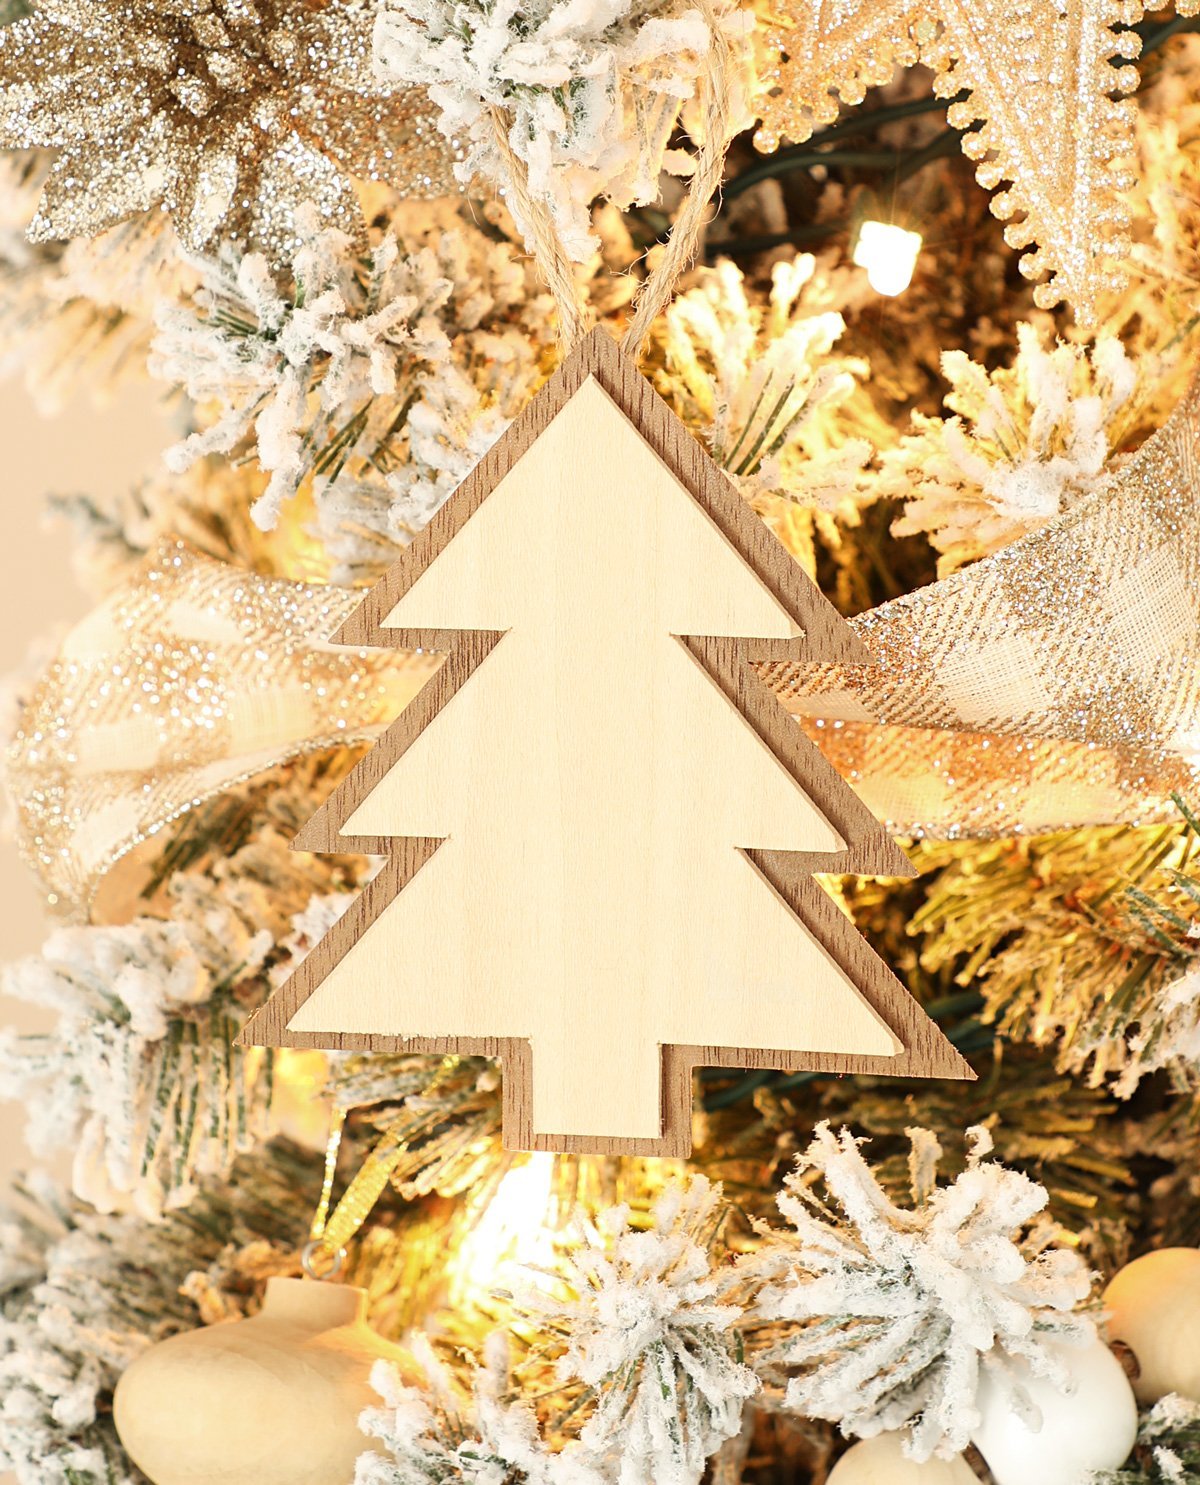
Christmas crafting is in full swing. I make a lot of my own Christmas decorations every year. Today I am cutting basswood and veneer to show you how to make wood Christmas tree ornaments with Cricut Maker. Did you know that your Cricut Maker could cut wood? You just need a strong grip mat a knife blade and a deep point blade. Let me show you how how to cut wood with your Cricut.
Looking for other Christmas decor ideas? How about an embroidery hoop wreath or a mason jar Christmas tree.
Let’s go over some of the basics about cutting wood with your Cricut Maker first before we start creating.
This post contains affiliate links.
What Is Basswood?
Basswood is a denser wood than balsa wood, it has a smooth, even wood grain – an ideal surface for clean cuts to craft models, toys, puzzles, or even small gift crates. It can be painted and stained easily without having to seal it first.
What Is Veneer?
A veneer is a thin sheet of wood that can be applied to another surface. Cricut Natural Wood Veneers can be stained, painted, molded, glued, and layered. Did you know you can also cut wood veneer with a Cricut Explore Air 2?
What Kind Of Wood Can The Cricut Maker Cut?
For full tutorials on how basswood with your Cricut Maker here. Also how to cut wood veneer sheets with your Cricut Explore Air 2 or Cricut Maker here.
How Thick Of A Wood Can The Cricut Maker Cut?
The Cricut Maker can cut materials up to 2.4mm or 3/32 of an inch with the knife blade. I use Cricut basswood but recently they have been sold out. If you are buying basswood online or at craft stores make sure it can be cut on your machine and is not too thick.
Note: Cricut basswood is 1/16. If you are buying other basswood make sure it is either 1/16 or 1/32 since these are the basswood settings in design space.
Things To Note About Cutting Basswood
Here are some FAQa about cutting basswood with your Cricut Maker.
- What is the maximum size a cut with basswood? 10.5” x 11.5” or 10.5” x 23.5”
- What is the minimum size of cut? 0.75” x 0.75” (includes interior and exterior cuts)
- Width of cuts should not be smaller than the diameter of a pencil
- Make sure all cuts are at least ¼” away from the edge of basswood (this could damage your blade)
Which mat should I use? Strong Grip Mat
Let’s make Wooden Christmas Tree Ornaments
Now that we got that out of the way let’s make some wood Christmas tree ornaments with the Cricut Maker.
Here’s What You’ll Need:
- Cricut Maker
- Strong Grip Mat
- Veneer Sheet
- Basswood
- Knife Blade
- Deep Point Blade
- Painters Tape
- Beacon Adhesives 527 Multi-use Glue
- Jute or Twine
- Glue Gun
Grab Your Design
Looking for this SVG file? Sign up below and it will be sent right to your inbox.
cutting the basswood first
Let’s start by cutting the basswood first. Grab your knife blade, strong grip mat, basswood and painters tape. I like to cut both the basswood and veneer in the large and medium size trees. That way you can alternate how you assemble them. Once you upload your design into design space we are ready to get started.
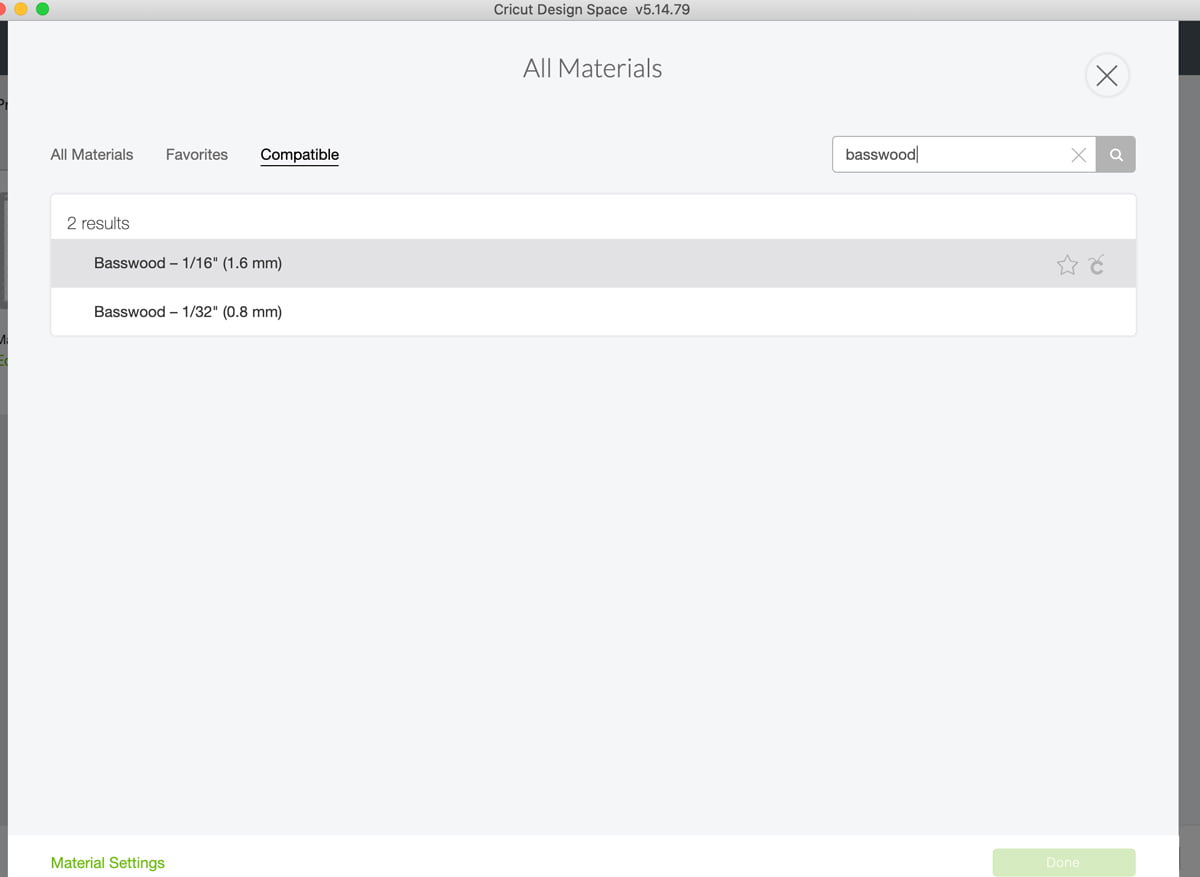
Set Material
Click continue and let’s set our material. Click browse all materials and you are going to want to type in chipboard. If you are not seeing it come up and you are on your iPad go onto your computer. Basswood takes longer to cut so I suggest plugging your Cricut Maker into your computer that way you don’t lose connection. This can happen with cuts that take over an hour.
Tape The Basswood To Mat
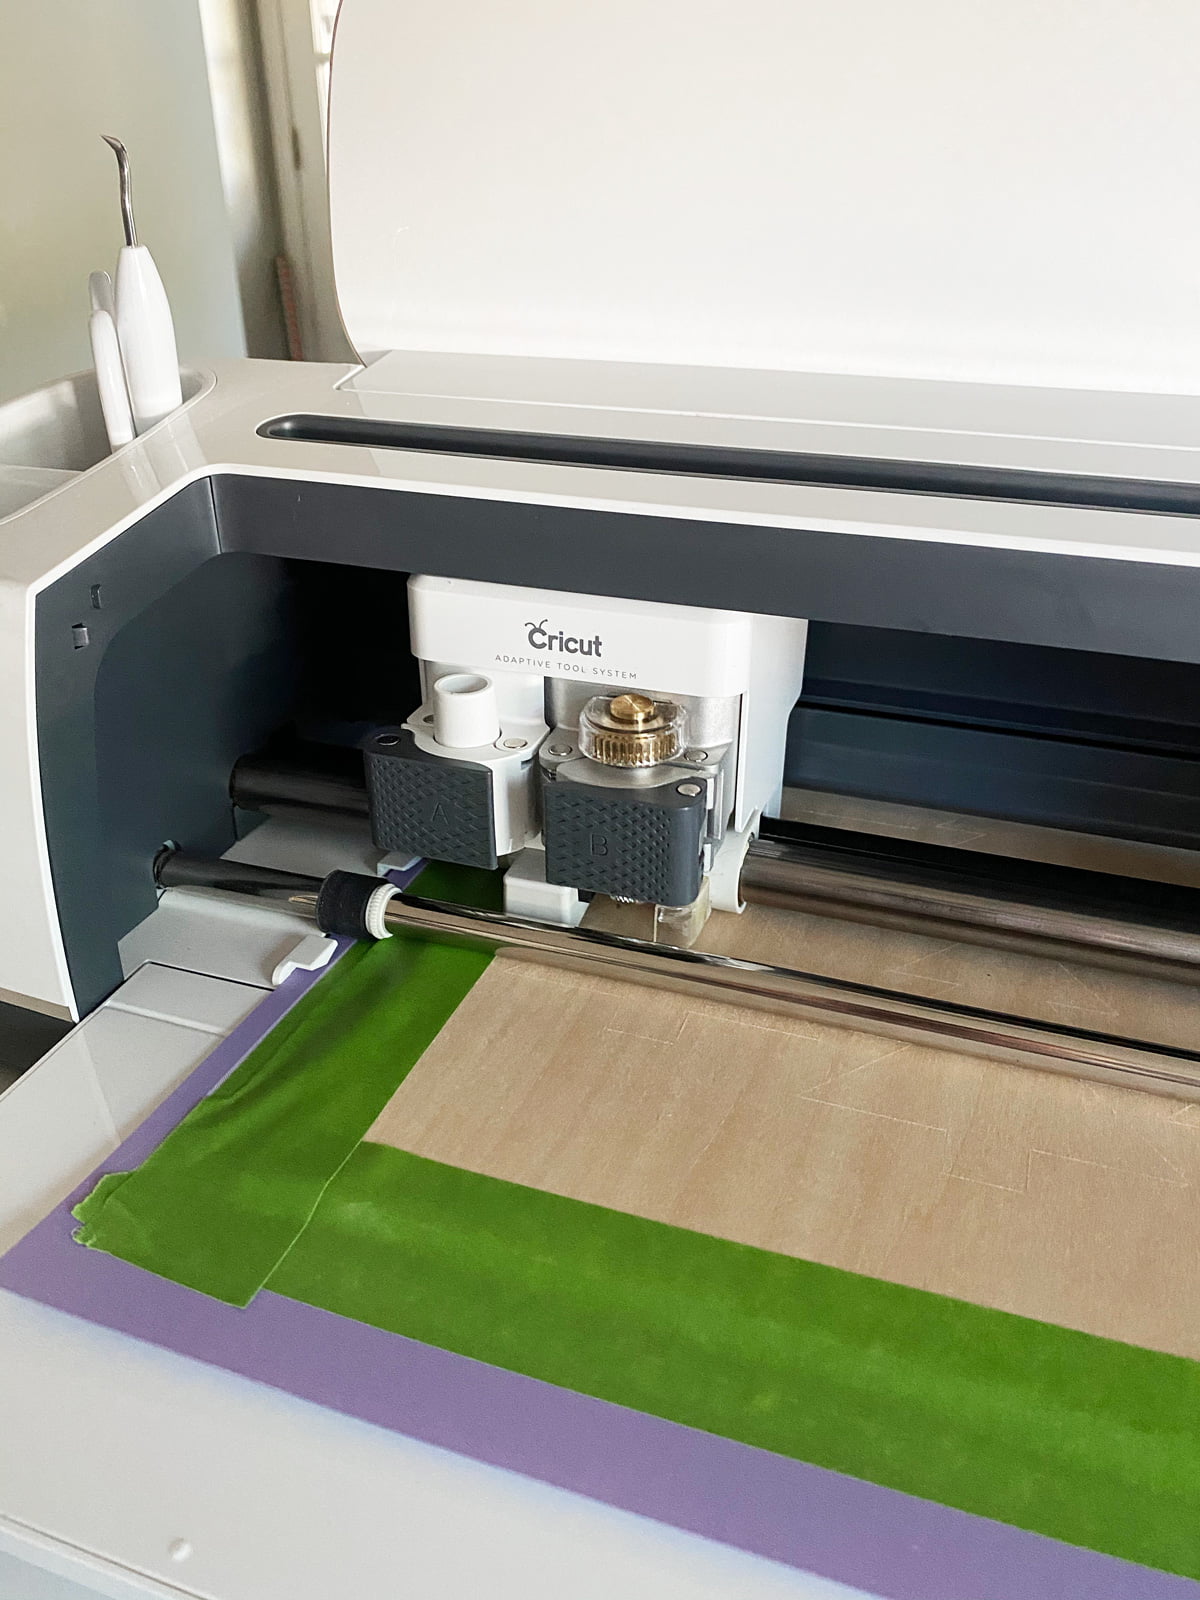
Ok now we are ready to load our mats. Normally we would just put our materials on to the mat and we are ready to go but because we are cutting a thicker material you are going to want to get out some painters tape.
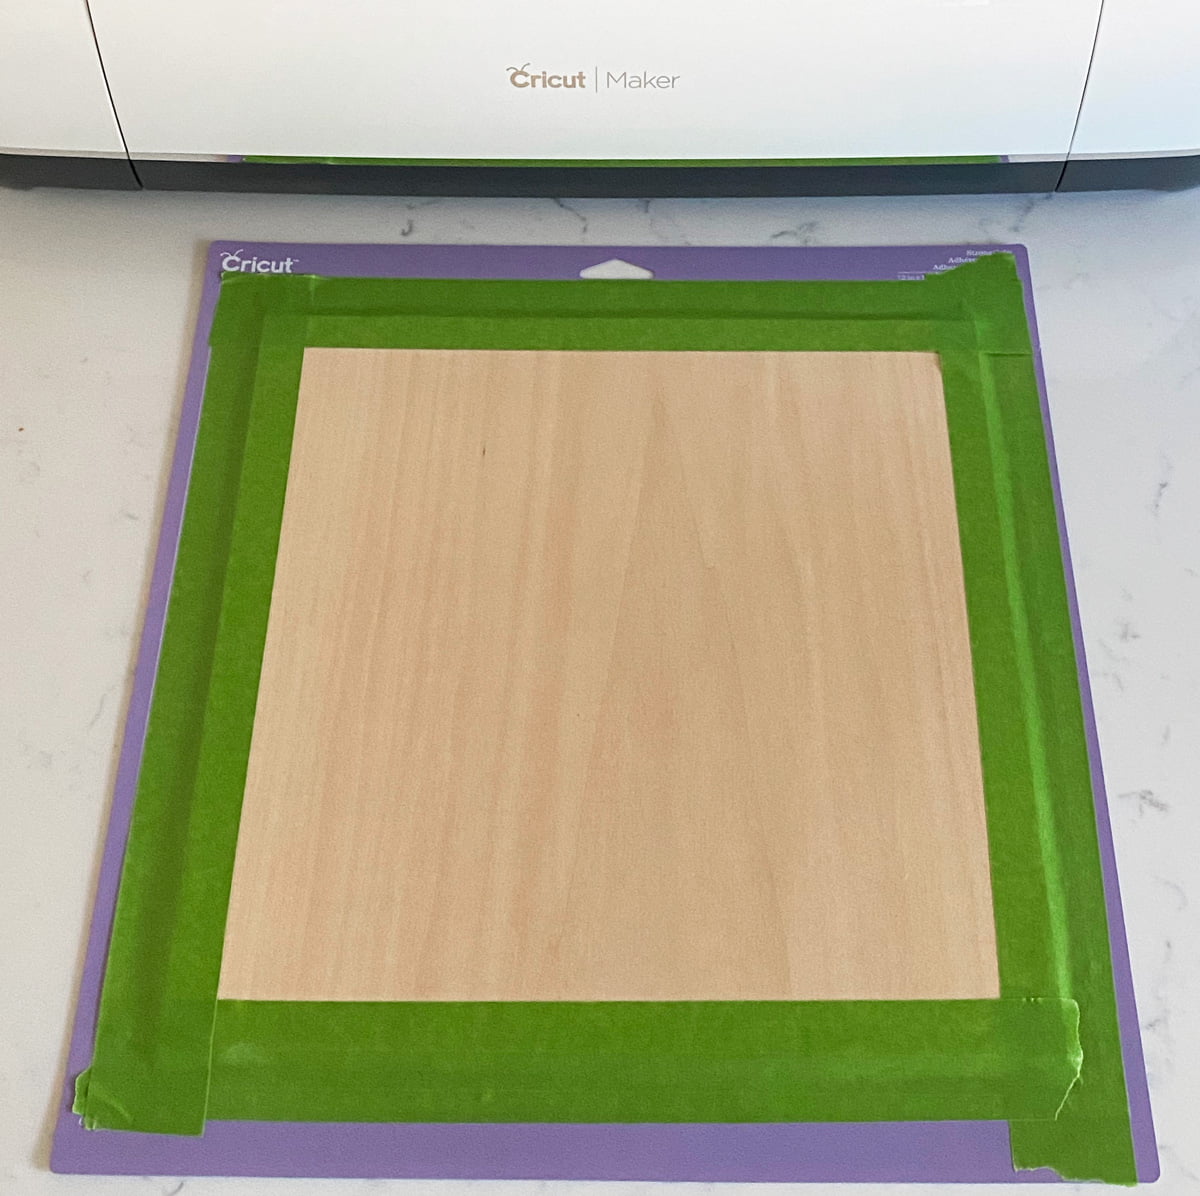
Place your basswood lined up on the right side and tape around securing to the mat.
Knife Blade
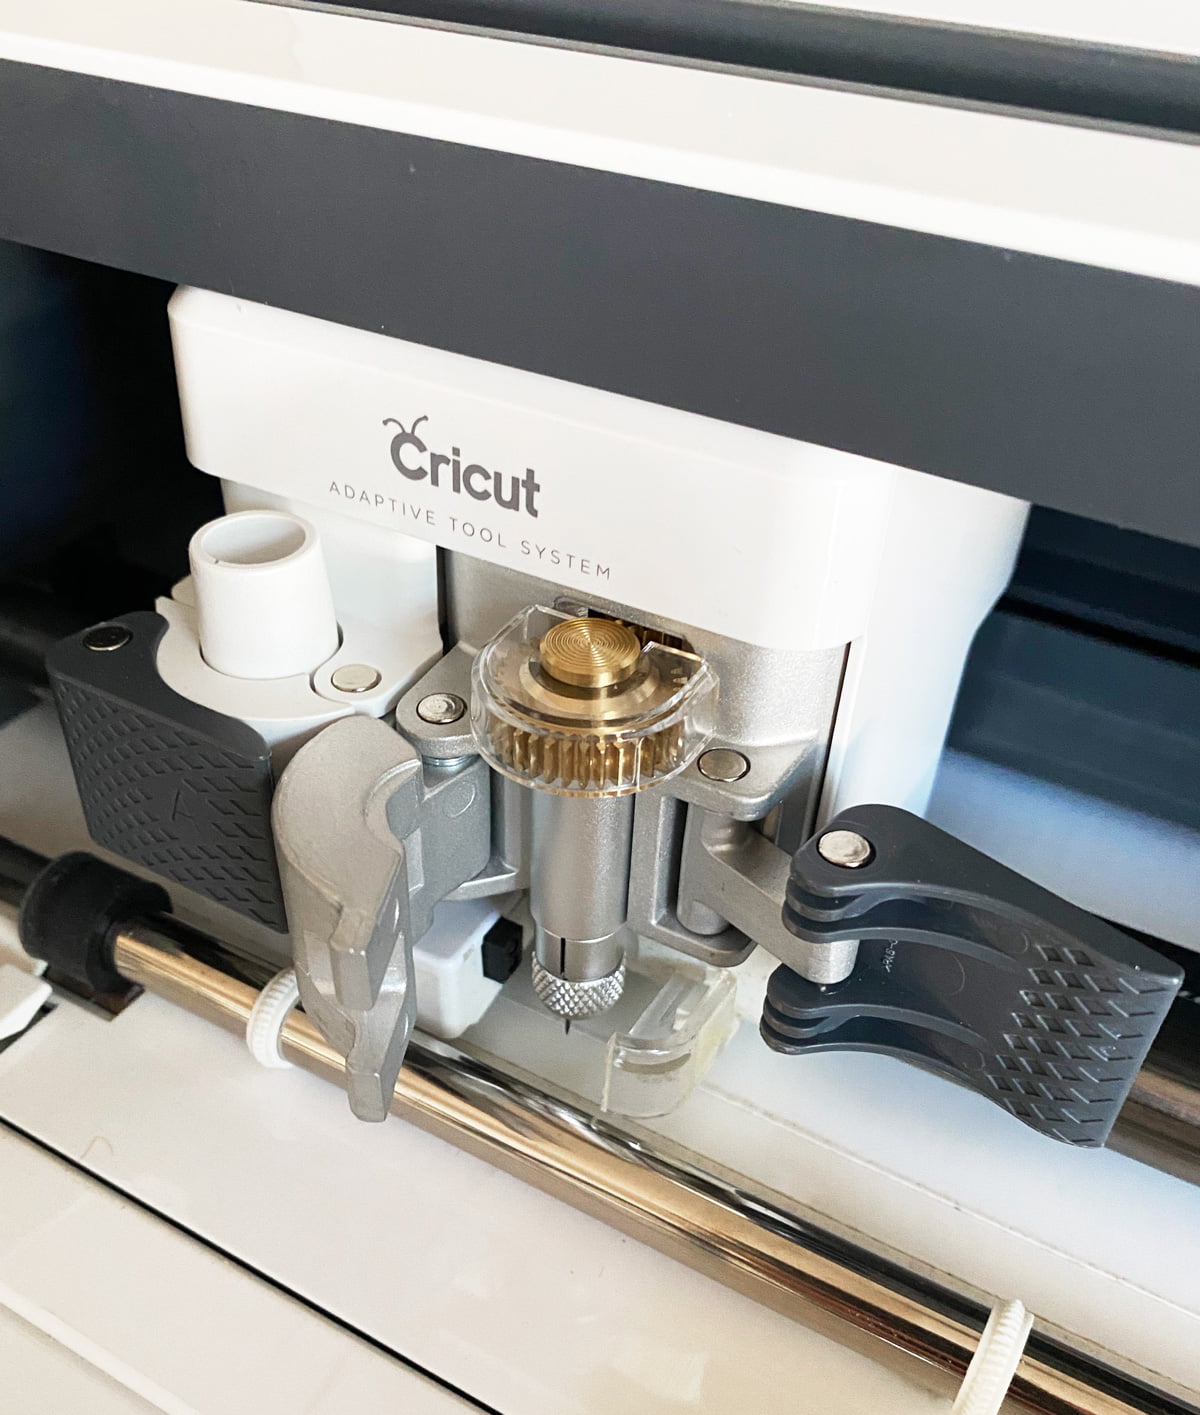
Before you load your mat you are going to want to load your knife blade. The knife blade cuts extra deep and it allows you to cut basswood. To load the knife blade remove the plastic cap over the blade and open slot b on your maker. Place the blade in so the flat open part of the gear is against the machine. Now if you haven’t calibrated your knife blade follow these instructions here.
Cut Basswood
Now you are ready to load your mat. Place your mat within the groves and press your lit up arrow buttons. Once your mat is loaded the Cricut “C” should also be lit up. Press this and your Maker should begin to cut.
Because we are cutting through a thick material the maker makes multiple passes on your design. The more intricate the design the longer it takes to cut. These cuts took about 45 minutes.
Remove the painters tape from your mat. Flip mat upside down and remove the basswood.
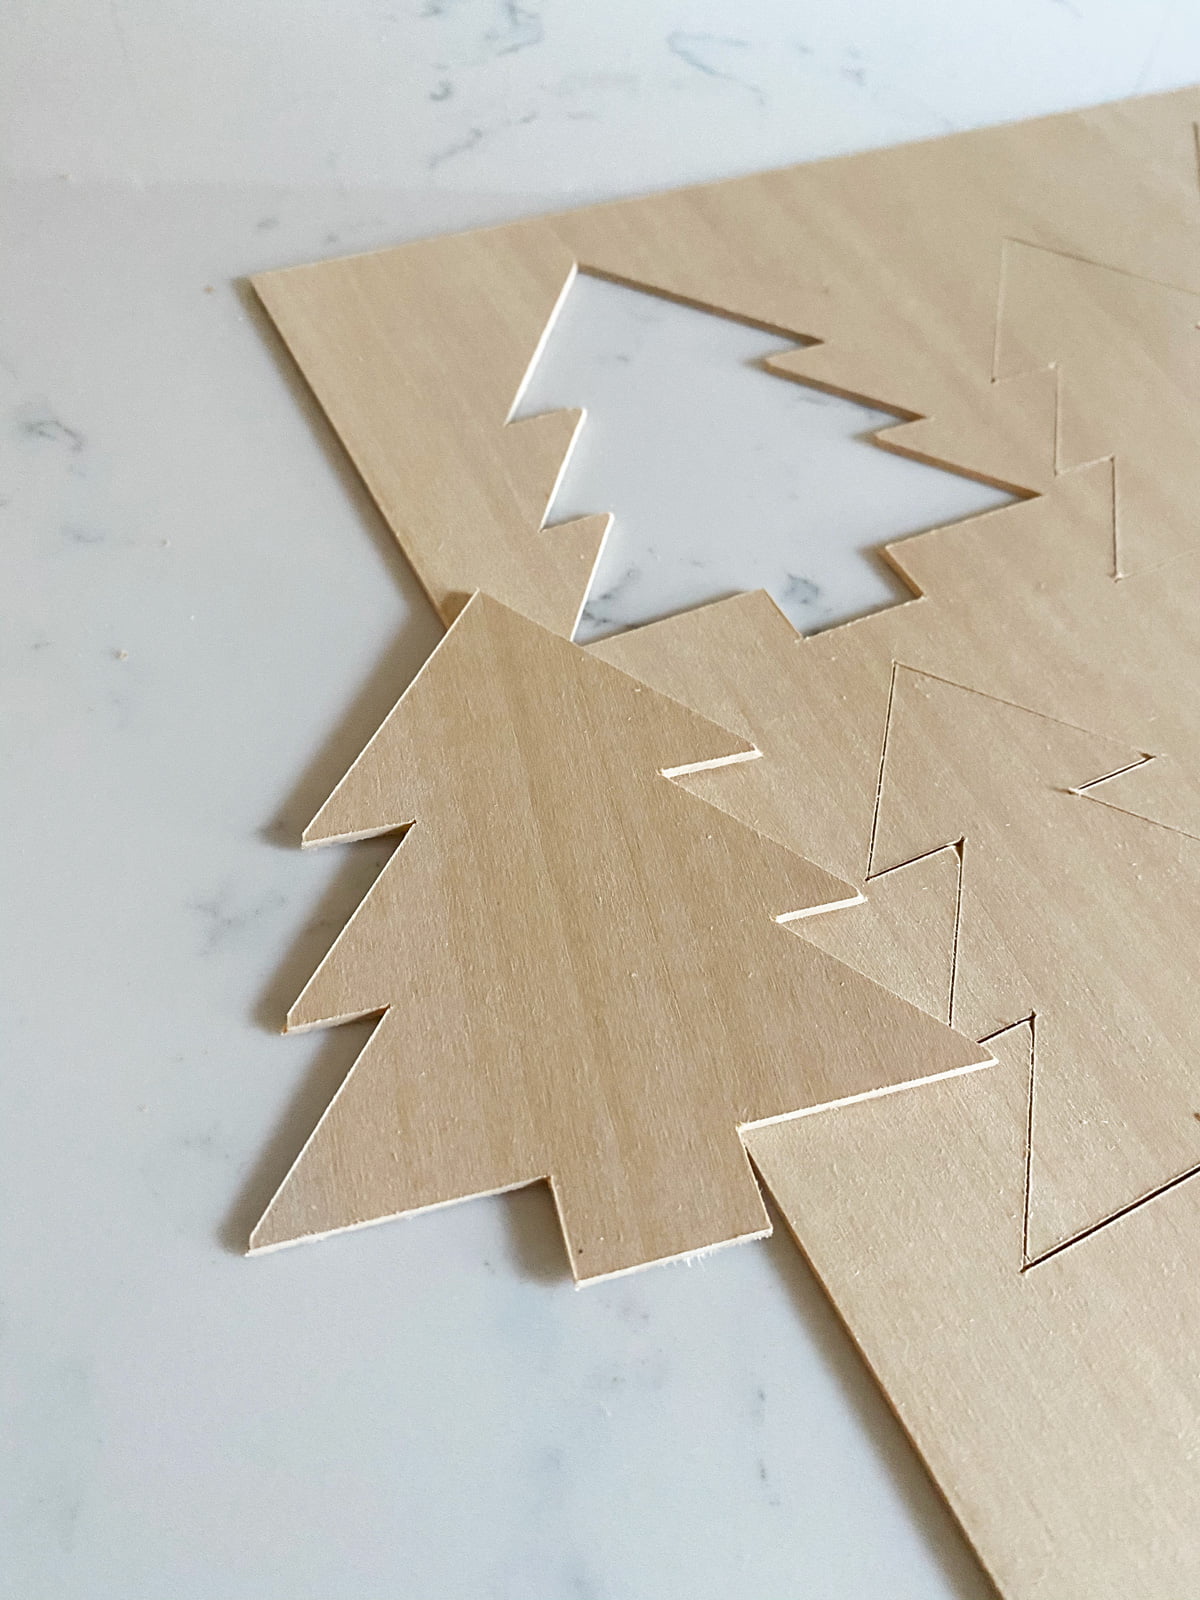
Pop your cut pieces out. If there is resistance you may need the assistance of an exacto knife. If your knife blade is dull and needs to replaced it may not cut all the way through your basswood. Not to worry trace along the likes with your exacto knife. I suggest doing this on a self healing cutting mat.
Let’s cut wood veneer
We are going to use the exact same svg and design space file but set your material to veneer instead of basswood.
Set Material
In Cricut Design Space create and size the image you want to cut. Cricut Explore- Turn dial to custom. On the maker and explore set your materials by selecting browse all materials. Then, select Natural Wood Veneer from the list.
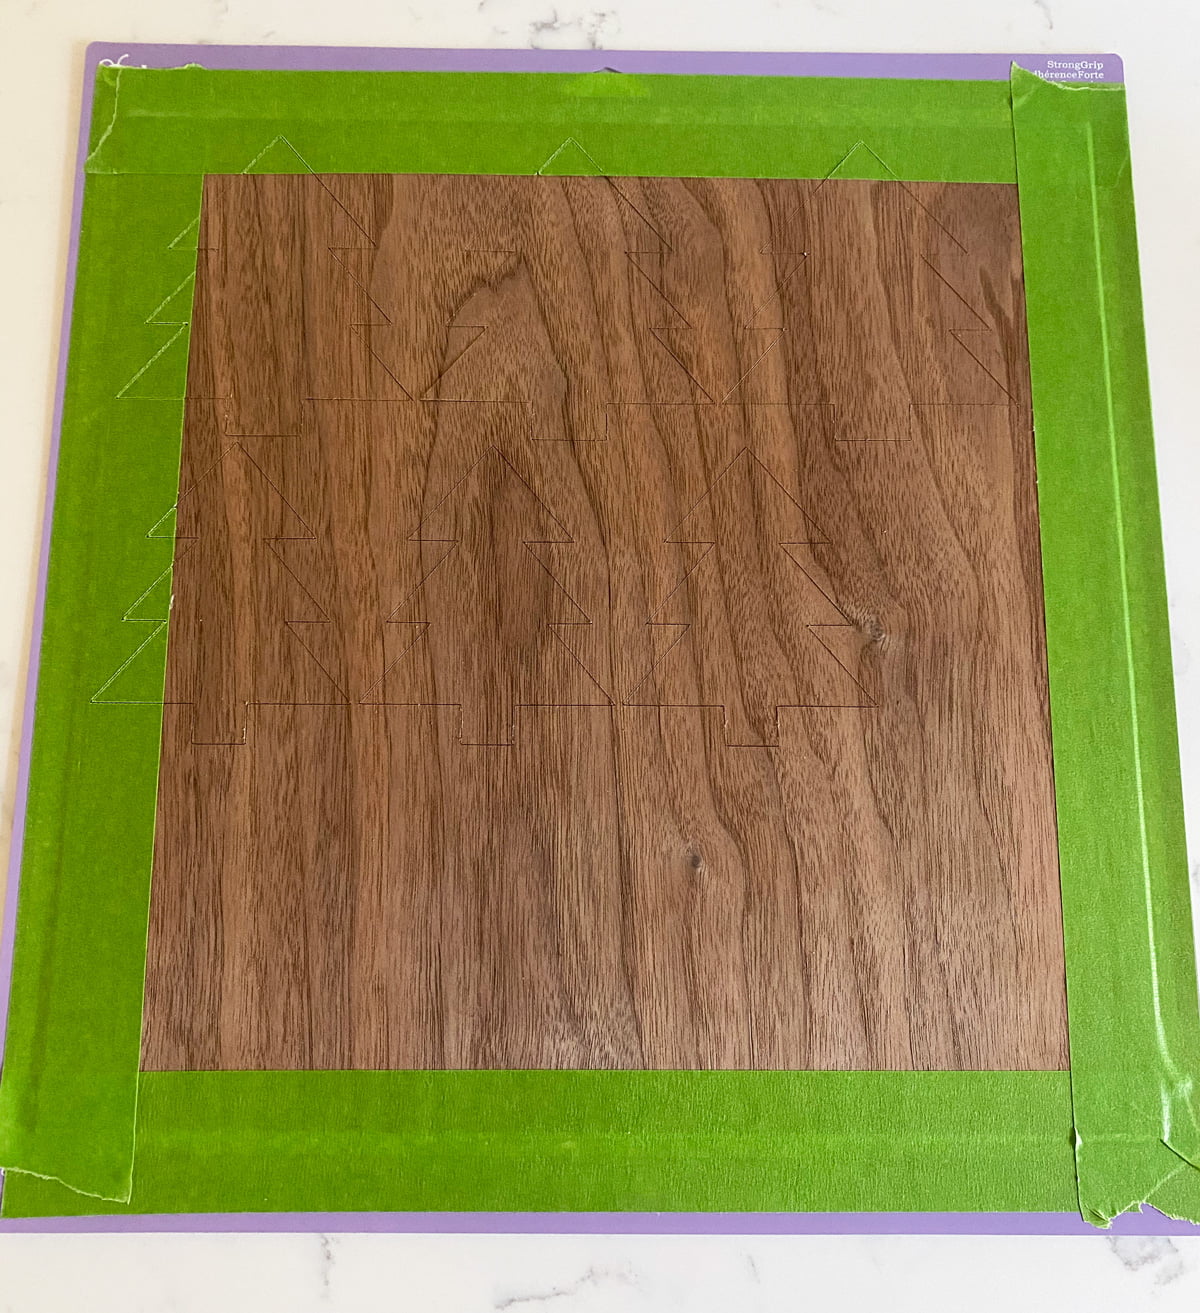
Secure Veneer To Mat
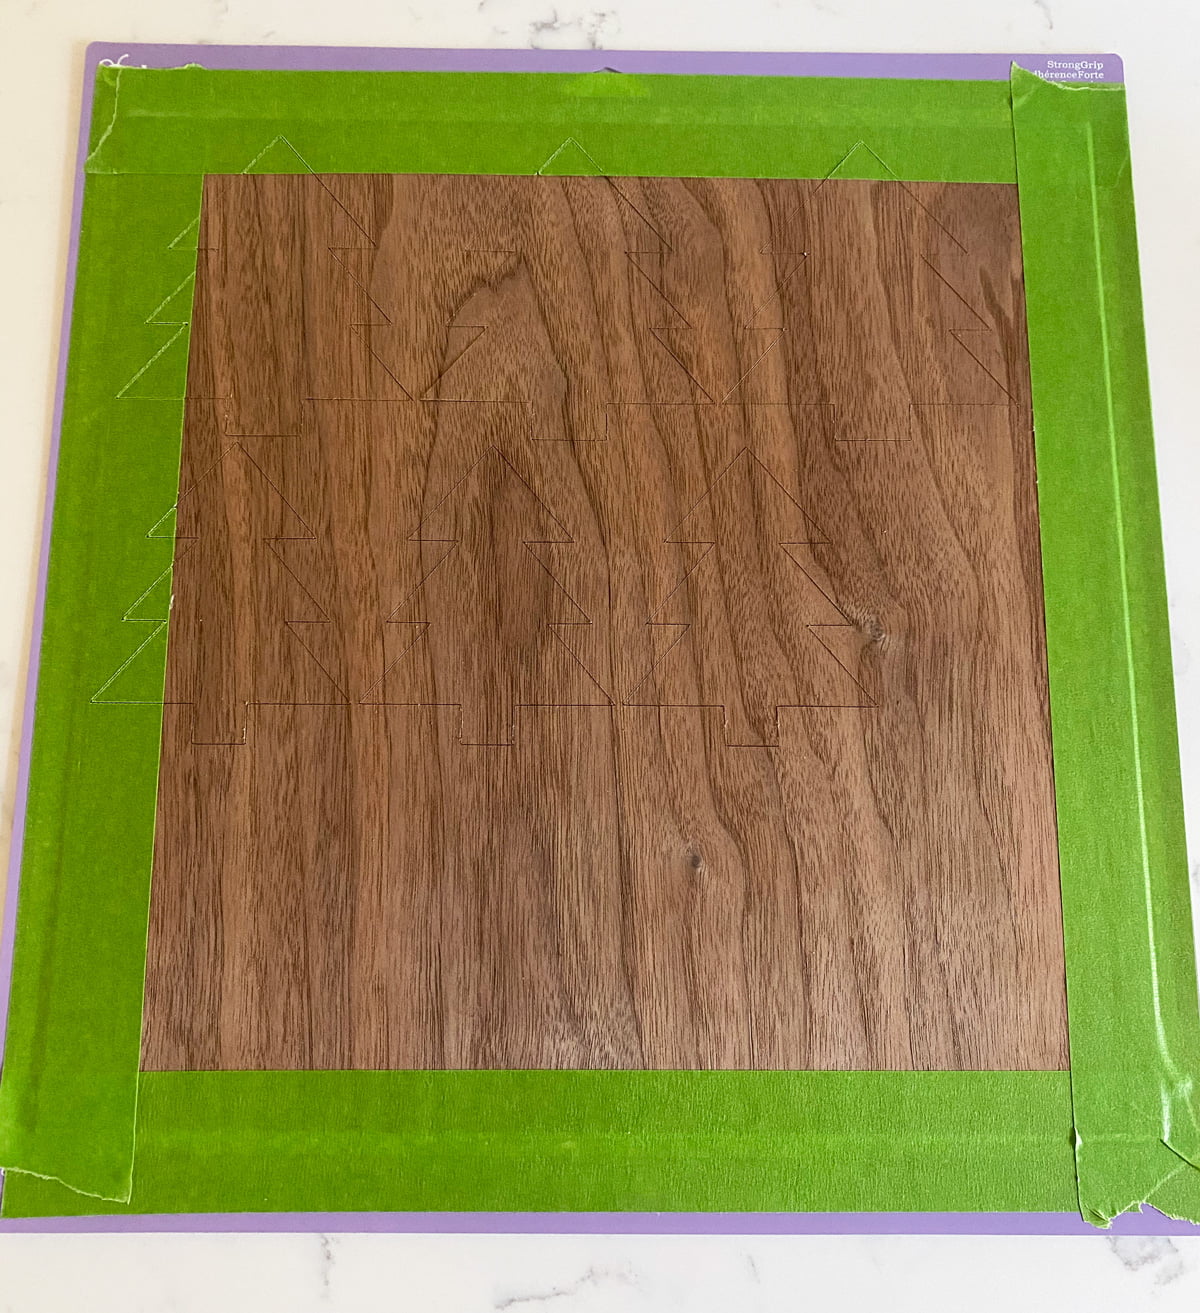
Place the veneer sheet onto the StrongGrip mat with the grain of the veneer running along the length of the mat. You will want to make sure that the veneer Is adhered to the mat. I like to use a brayer when working with veneer. Grab your painters tape and tape your veneer around all for edges. I like to use frog tape.
Deep Point blade
Install into clamp b the Deep-Point blade and housing.
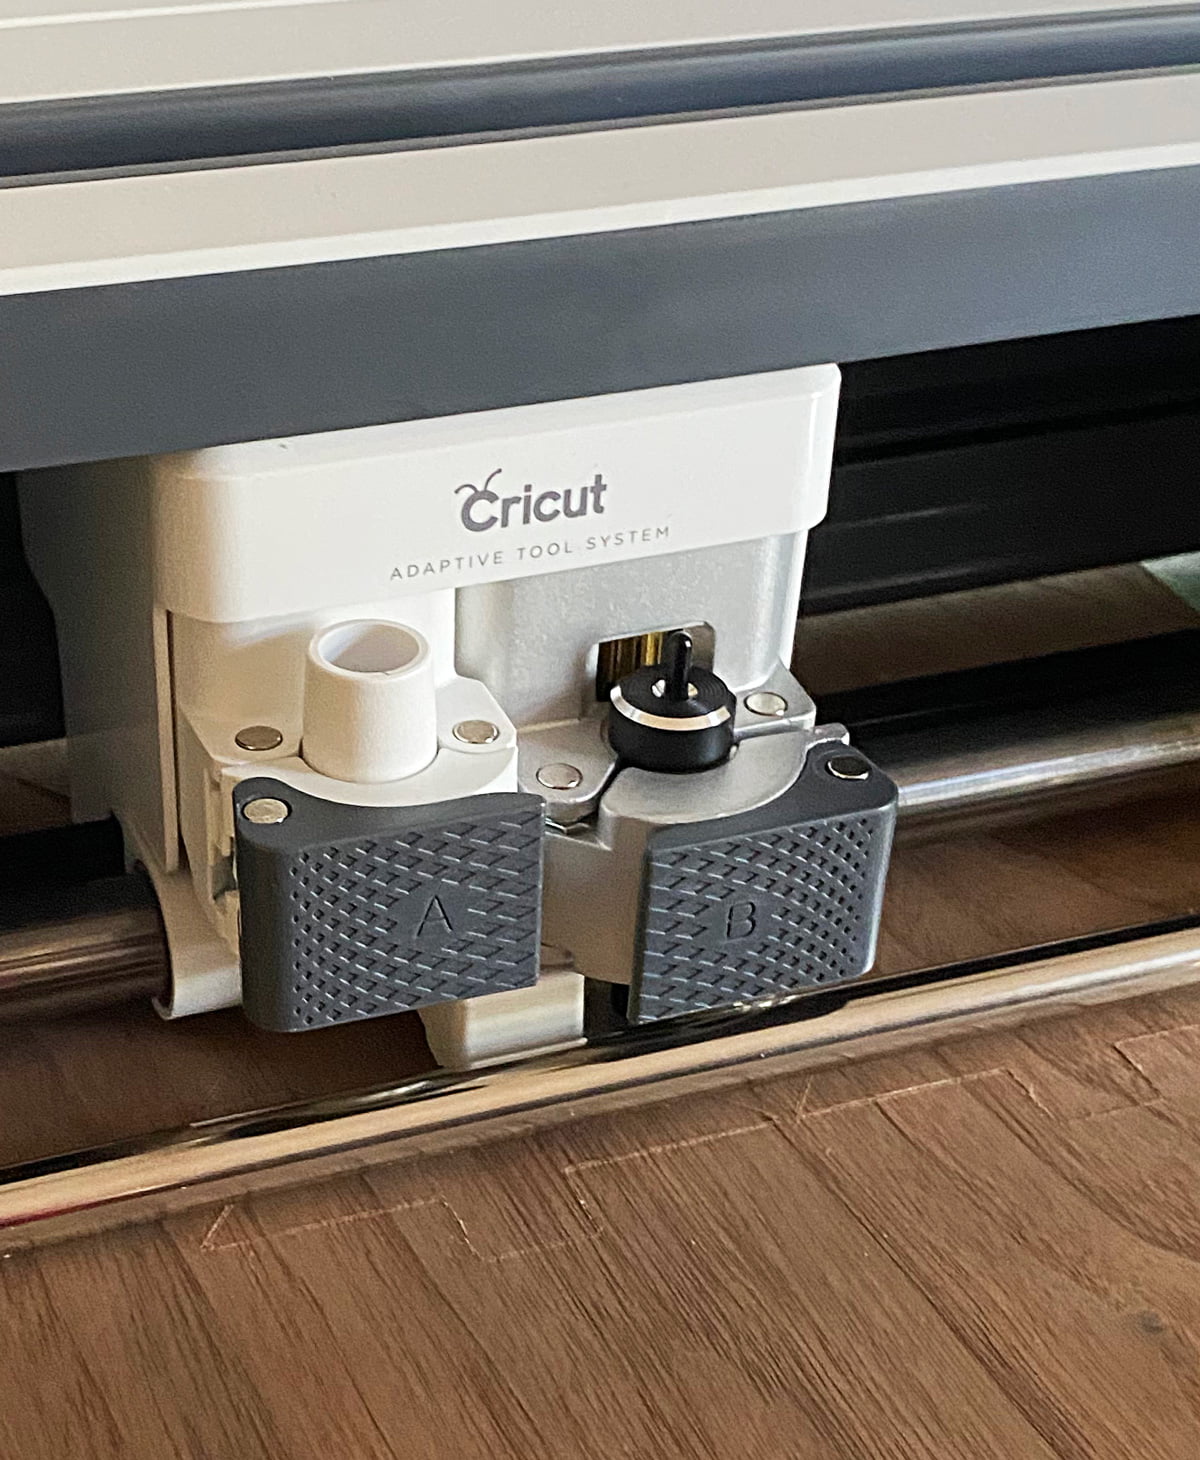
Cet Veneer
Now you are ready to load your mat. Place your mat within the groves and press your lit up arrow buttons. Once your mat is loaded the Cricut “C” should also be lit up. Press this and your Cricut should begin to cut.
Remove the painters tape from your mat. Flip mat upside down and remove the veneer. Pop your cut pieces out. If there is resistance you may need the assistance of an exacto knife. If your blade is dull and needs to replaced it may not cut all the way through your veneer. Not to worry trace along the likes with your exacto knife. I suggest doing this on a self healing cutting mat.
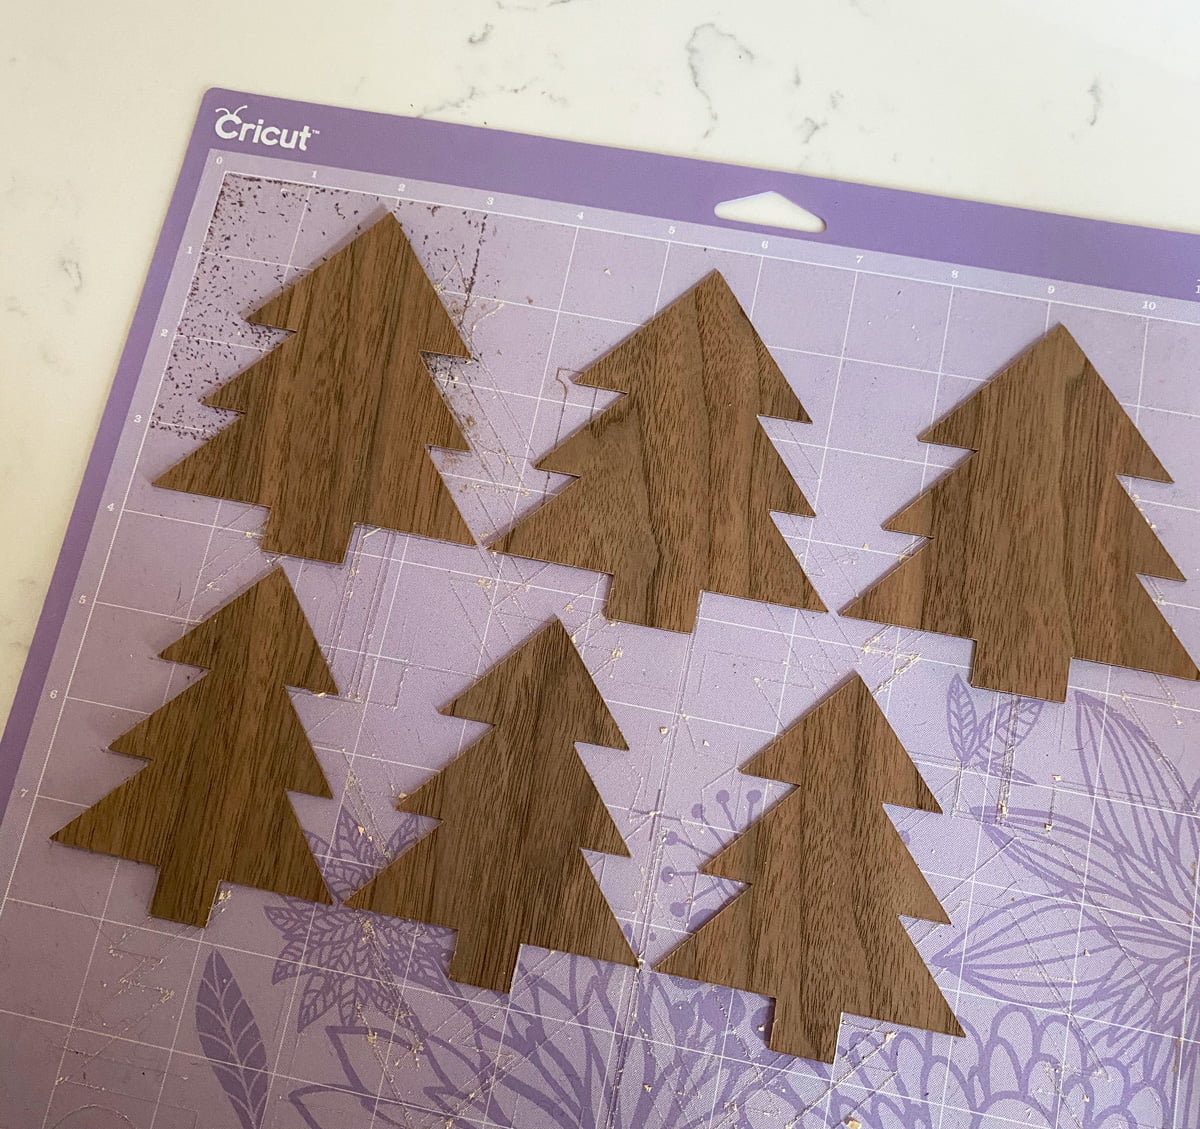
Remove the painters tape from your mat. Flip mat upside down and remove the veneer. Pop your cut pieces out. If there is resistance you may need the assistance of an exacto knife. If your blade is dull and needs to replaced it may not cut all the way through your veneer. Not to worry trace along the likes with your exacto knife. I suggest doing this on a self healing cutting mat.
Final Step: Assemble
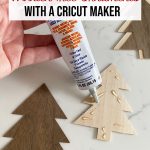
Now that everything is cut out it is time to assemble your ornaments. I am using Beacon Adhesives 527 Multi-use Glue to adhere the basswood to the veneer.
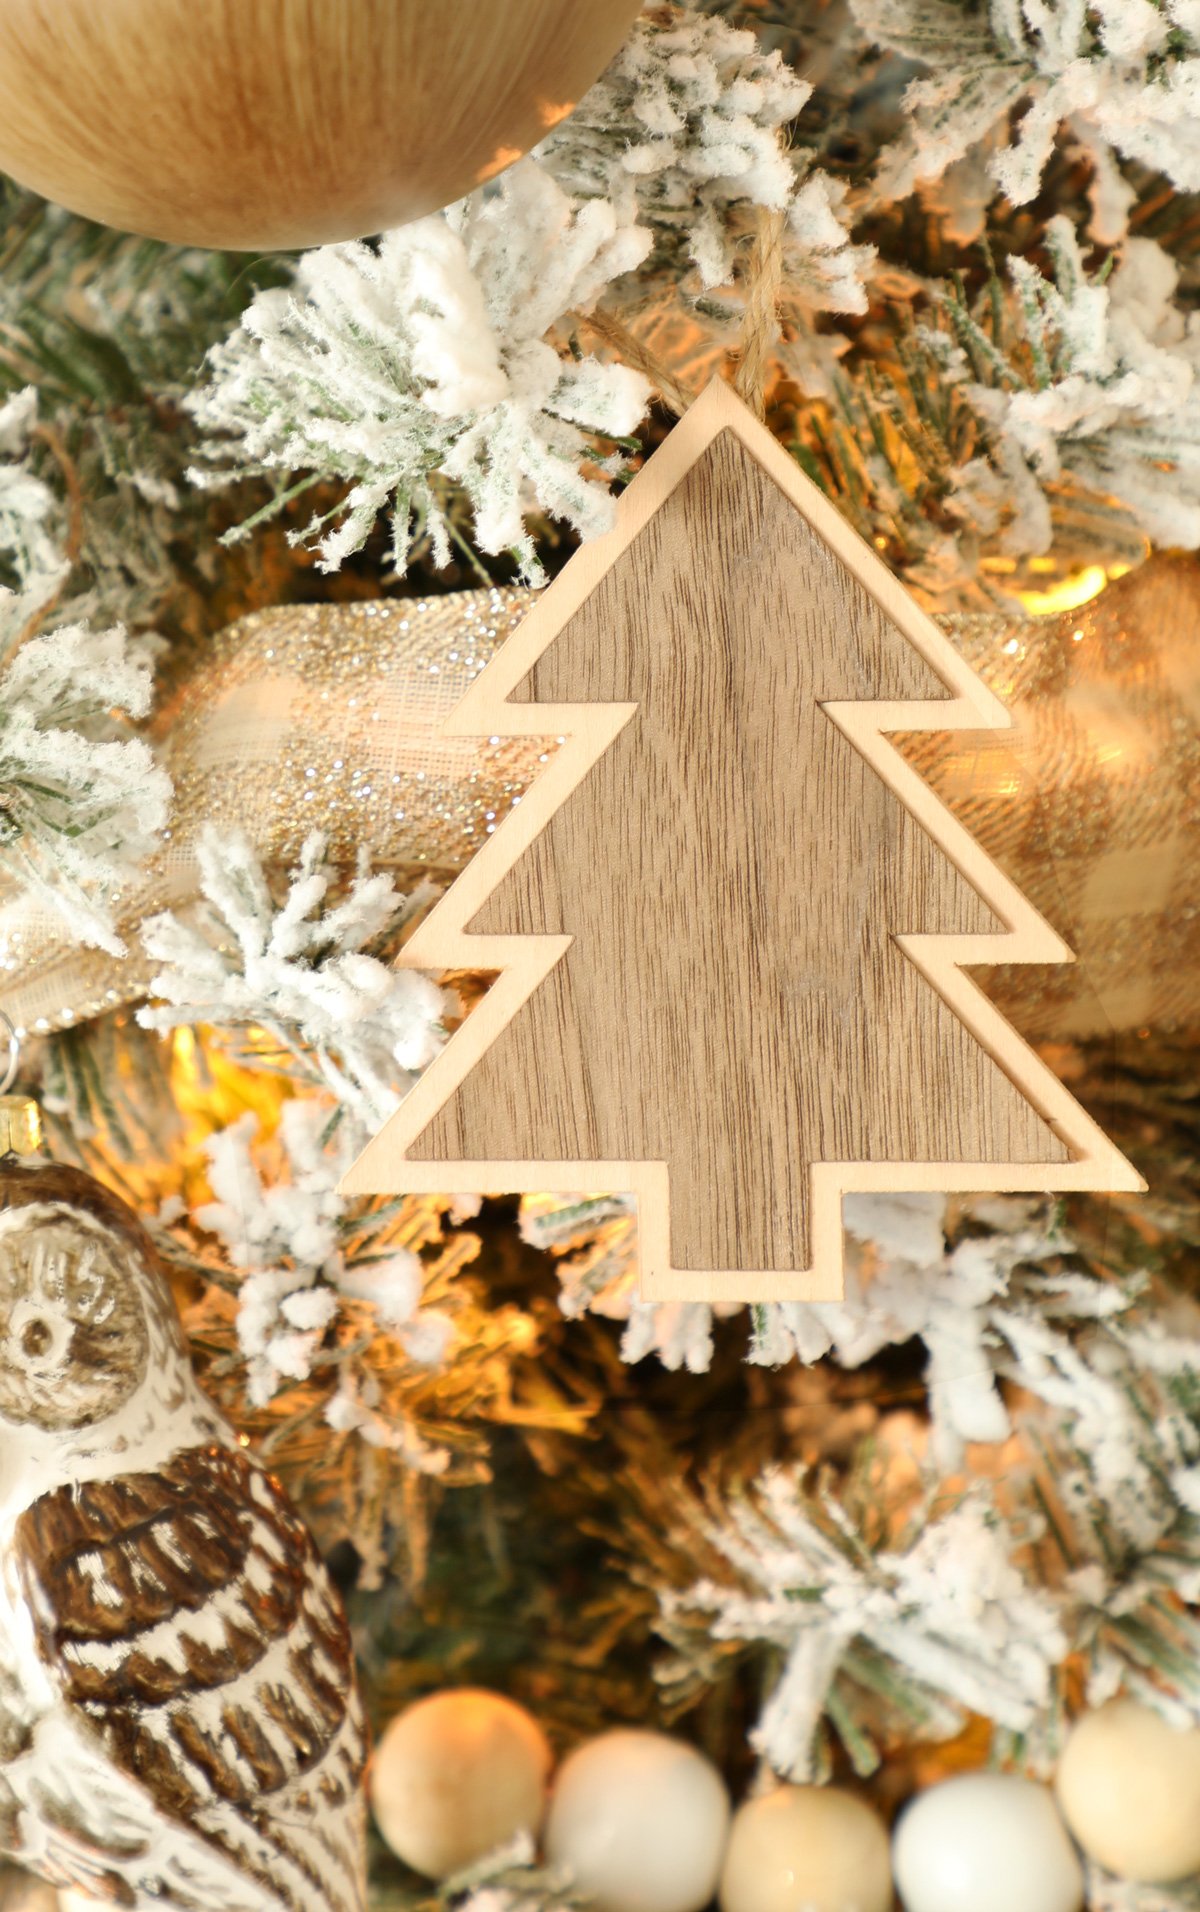
Now since we cut different sizes you will want to take a larger Christmas tree in basswood or veneer and glue a smaller tree to it using a glue that can be used on wood. Place it on the larger tree and make sure to center both of the tips of the Christmas tree. Then let them dry.

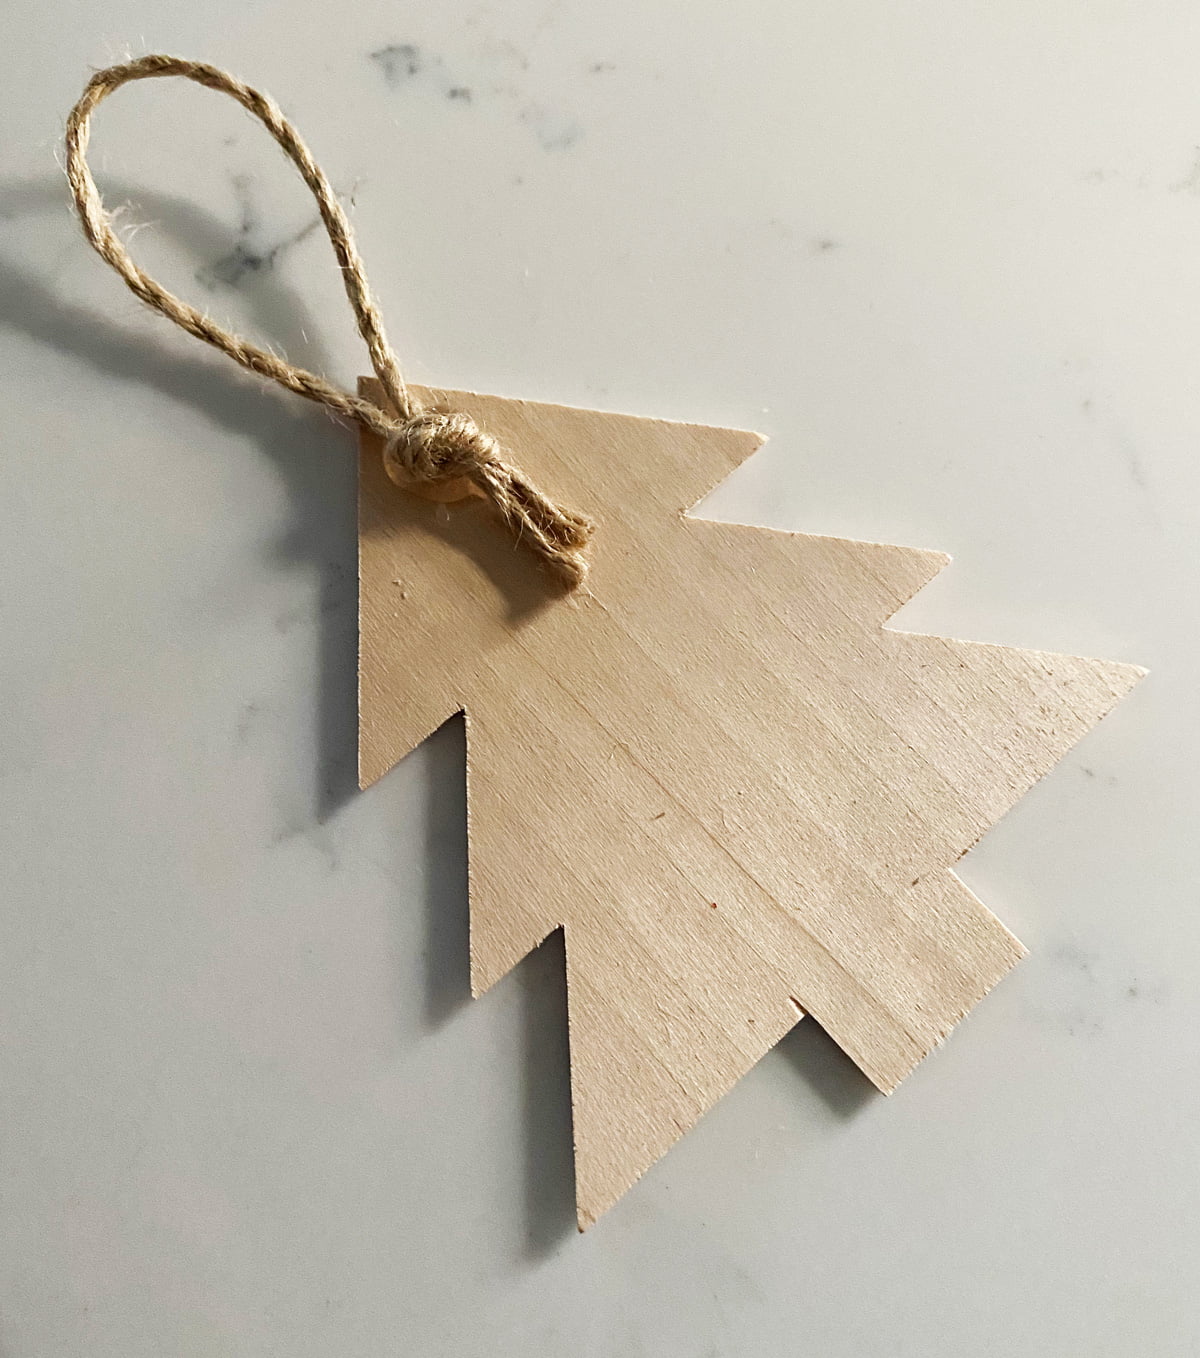
Once dry grab your scissors and twine cutting about 4 inch pieces folding in half and tying a knot to create a loop. This will be your hanger. Add a dab of hot glue to the back of the ornament and adhere the knot to the wooden tree.
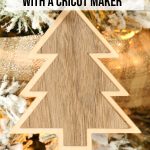
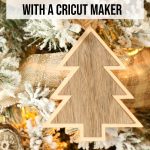
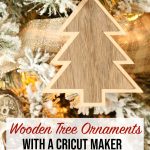
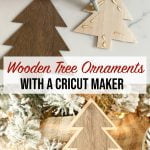
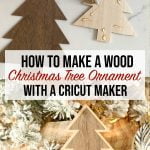
And just like that you have a beautiful hand made ornament to adorn your tree. You also used your Cricut Maker to cut two different types of wood! Congrats. This is a bit of an advanced project but just think with the skills you learned today you can tackle so many more creative projects!


So cute! Thank you for sharing