This post contains affiliate links, please read our disclosure policy.
Table of Contents
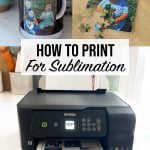
- Step by step instructions for how to print for sublimation. Including printer settings, my favorite sublimation ink and sublimation paper.
- How Sublimation Printing Works
- What is sublimation printing?
- What is a sublimation printer?
- Can you use a regular printer for sublimation?
- Software for Sublimation
- Sublimation Supplies
- How To Print For Sublimation
- Step One- Size Your Sublimation Design or Photos to Print
- Step Two- Sublimation Printer Settings
- Step Three- Sublimate
- Don’t have a sublimation printer yet but want to try sublimation?
Step by step instructions for how to print for sublimation. Including printer settings, my favorite sublimation ink and sublimation paper.
Let’s talk about print for sublimation. Sublimation crafts are newer in mainstream crafting but the technology has been used commercially for decades as an alternative to screen printing. But with sublimation printers now being more accessible we can start making dye sublimation prints at home.
How Sublimation Printing Works
A sublimation printer prints sublimation dyes on to a transfer sheet that when high temperature heat is added it will turn into a gaseous state and sublimate or imprint on to a surface or textile that has a high polyester count.
It sounds more complicated than it is. Let’s break down what a sublimation printer is and how to purchase one, sublimation software to use and the best print settings for sublimation.
This post contains affiliate links.
What is sublimation printing?
Sublimation printing is a printing process that transfers ink on to a material using heat. In this case you print with sublimation ink onto a sublimation paper which is then heat pressed on to an object ie: shirt, mug, hat, etc. This is a permanent process that gives you a professional quality.
Sublimation is used by many print on demand companies.
What is a sublimation printer?
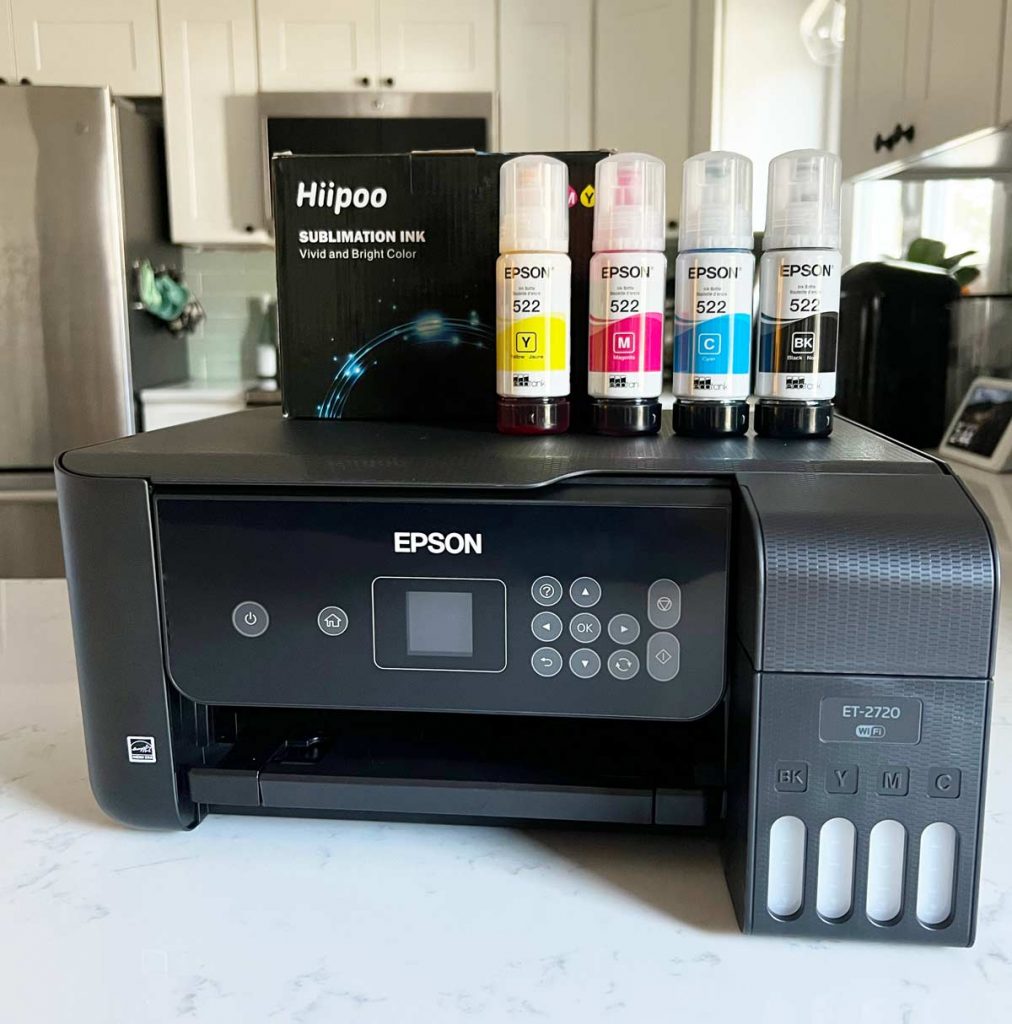
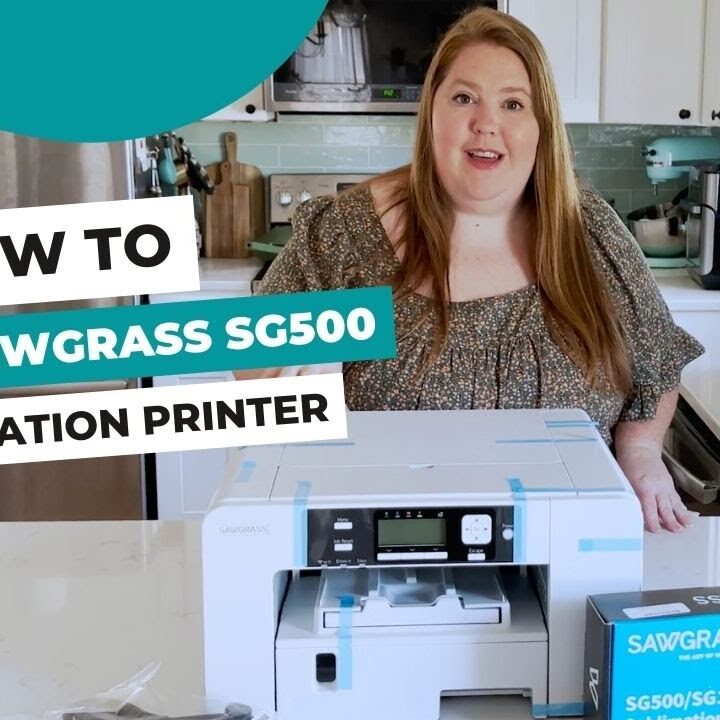
A sublimation printer is a printer that can support sublimation dye or ink. You can buy a sublimation printer like a Sawgrass SG500 or you can convert an Epson EcoTank printer. To learn how to convert an Epson printer check out this easy tutorial.
Note sublimation printers are very expensive from $700 to thousands. Which is why many crafters choose to convert a printer into a sublimation printer.
Can you use a regular printer for sublimation?
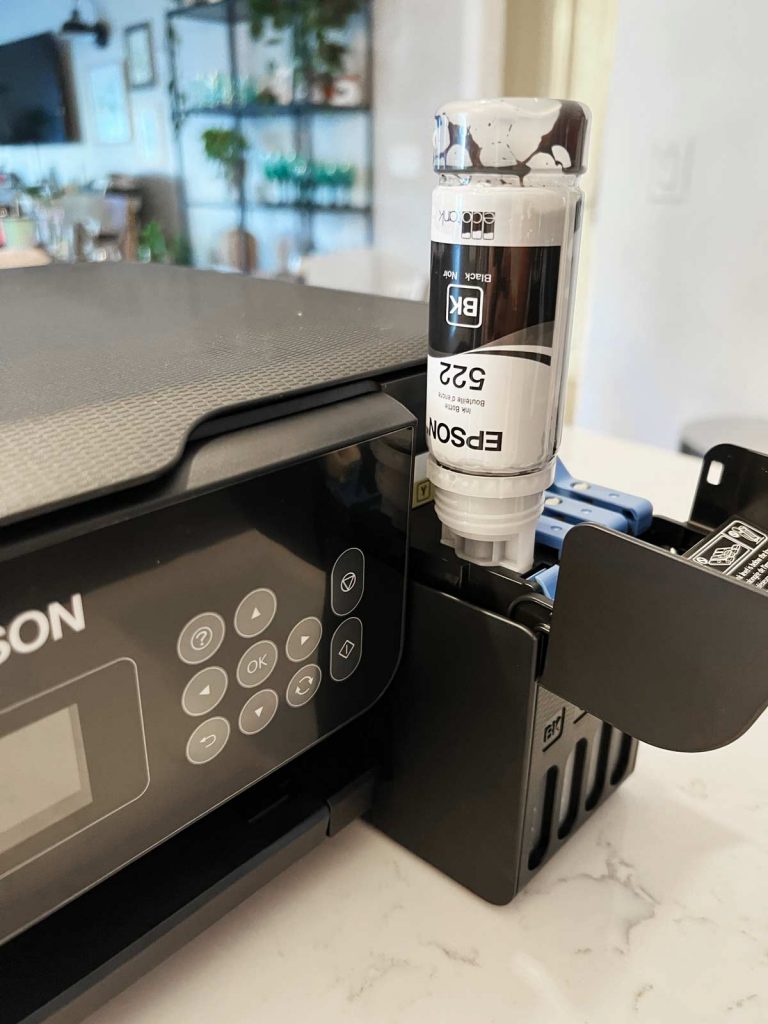
An Epson sublimation printer is an Epson EcoTank printer that has been converted into a sublimation printer. It’s essentially a hack that will turn a $200 printer into a sublimation printer that saves hundreds. Follow these step by step instructions on how to turn an Epson EcoTank into a sublimation printer.
Software for Sublimation
To sublimate you will need a software that allows you to resize, mirror, edit and print.
- Cricut Design Space
- Inkscape
- Canva
- Adobe Illustrator
- Adobe Photoshop
- Silhouette Studio
- Sawgrass Creative Studios
- Procreate
Sublimation Supplies
- Cricut EasyPress 3 or Heat Press
- Sublimation Printer
- Sublimation Paper
- Heat Resistant Tape
- Butcher Paper
- Heat Resistant Mat
How To Print For Sublimation
Step One- Size Your Sublimation Design or Photos to Print
In your software of choice, I like to use Cricut Design Space, size your design or photo. I like to make it slightly bigger than the blank. About 1/4 inch bleed or over hang on each side. If your sublimation blank is small try printing multiple designs on one sheet of sublimation paper.
You will want to remember to mirror your design before printing.
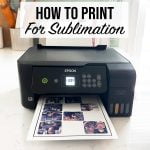
Step Two- Sublimation Printer Settings
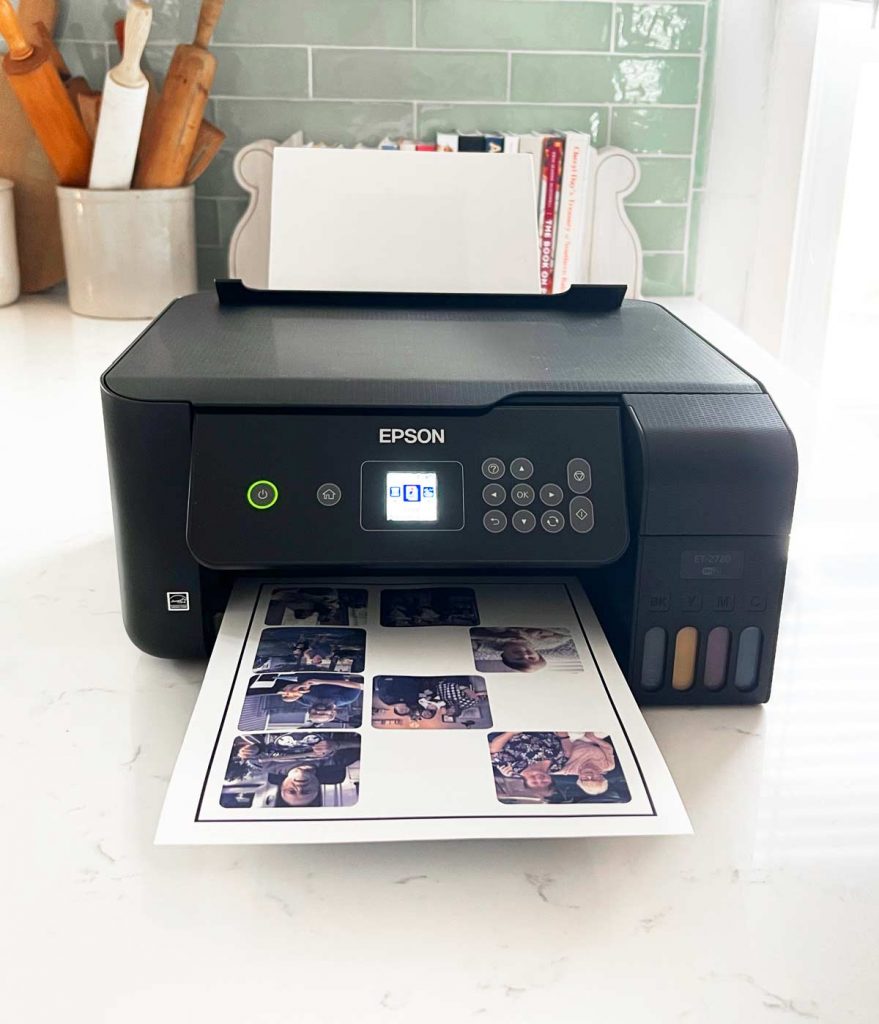
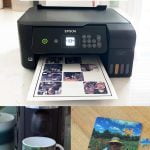
Once you select print use the system dialogue box. Select your printer and under media & quality select photo for media type. Then under quality select best.
If your printer has multiple ways to feed the paper your can also select which tray to feed from.

It’s just as easy as that. Select print and wait for your sublimation print to be done.
Step Three- Sublimate
Now that you are ready to sublimate you will want to look up the recommended heat settings for your sublimation blank. Preheat your heat press to the temperature.
Add your sublimation print to your blank. Remove any plastic thats on your sublimation surface and use heat resistant tape to hold your sublimation print to your blank. The printed size should be making contact with the blank surface.
Place your blank down on a heat resistant mat , like the Cricut EasyPress Mat. There should be butcher paper in between the mat and your blank. Also place a piece of butcher paper between the blank and your heat press. This protects all your surfaces from excess sublimation ink.
Apply your heat press with medium pressure for the recommended time. Once down let your sublimation blank cool down. It will be very hot!
Peel back the heat resistant tape and the print. It’s as easy as that.
Don’t have a sublimation printer yet but want to try sublimation?
If you don’t have a sublimation printer yet but want to still give it a try you have a few options. Try sublimation transfer sheets. A few different companies have these my favorite are the Cricut Infusible Ink transfer sheets. You can cut them on your Cricut or Silhouette no printer needed. Learn more about how to use Infusible Ink transfer sheets here.
Check out how I made mugs using Infusible Ink.
Another option is to purchase a print for sublimation. There are sellers on Etsy where you can purchase a design print or upload and customize your own.
Sublimation Resources
How to Setup a Sawgrass SG500 Sublimation Printer | Step-by-Step Guide
How to Setup a Sawgrass SG500 Sublimation Printer | Step-by-Step Guide
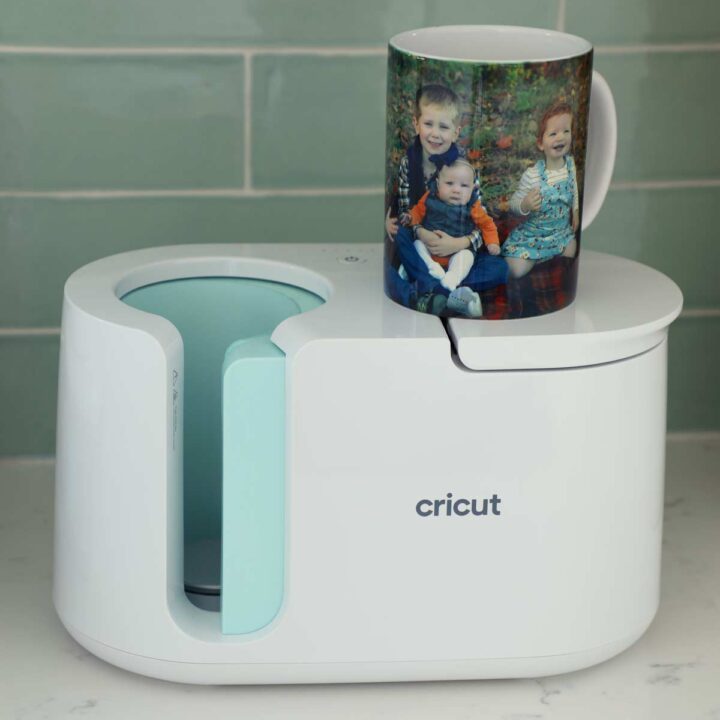
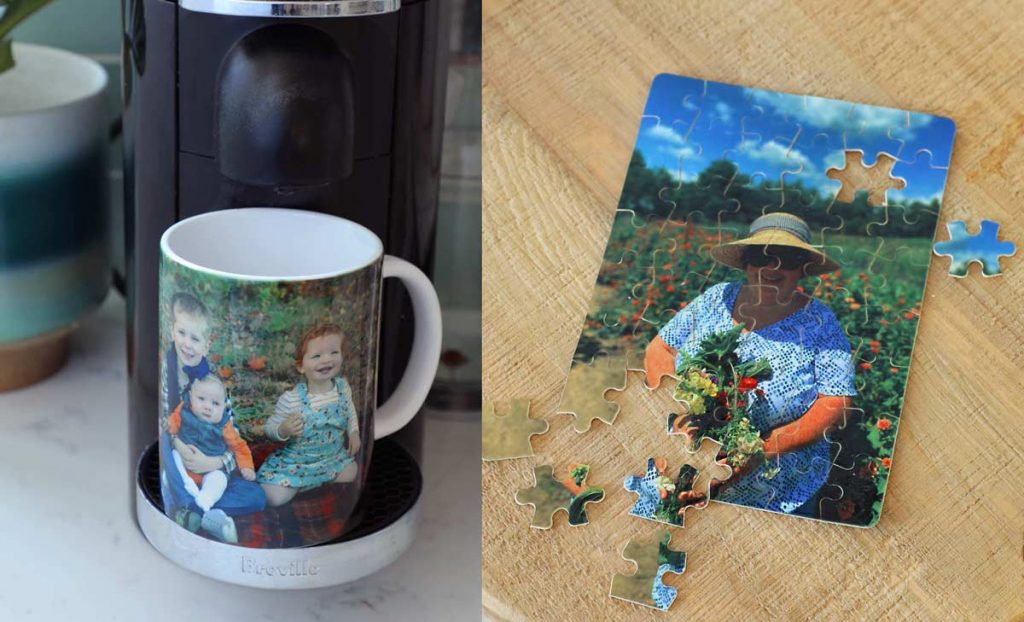
How to make a Photo Mug with Sublimation: Step-by-Step Guide
Learn how to make a photo mug using sublimation. Follow along as I walk you through the process step by step, from selecting the right image to printing and pressing the design onto the mug. Get ready to create a personalized and unique gift for yourself or a loved one!
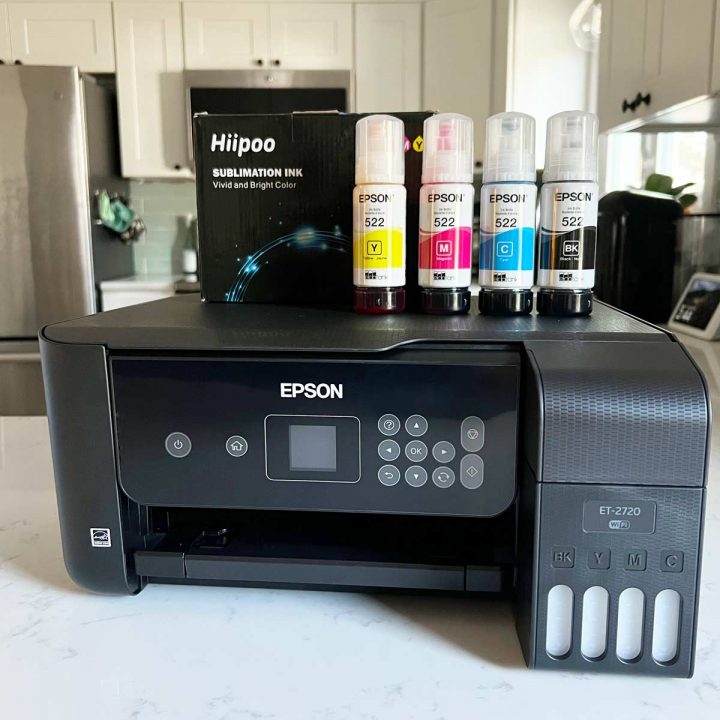
How to convert a Epson EcoTank into a sublimation printer
If you are looking to learn more about sublimation printers or how to convert a printer into a sublimation printer. Check out how I converted the Epson EcoTank 2720 into a sublimation printer.

How To Make A Photo Puzzle with Sublimation
To make a photo puzzle with sublimation, you will need a sublimation printer, sublimation paper, sublimation ink, a heat press, a puzzle blank, and the photo you want to use. First, print your photo onto the sublimation paper using the sublimation ink. Then, place the paper onto the puzzle and press it with the heat press. This will transfer the image onto the puzzle. Finally, break the puzzle apart and you have a personalized photo puzzle!
Favorite Sublimation Blanks
Want to make tumblers, mugs, puzzles, key chains and more with your sublimation printer? Here’s a collection of my favorite sublimation blanks.

Infusible Ink and Cricut Mug Press
Step by step tutorial on how to use the Cricut mug press. Also tips for using multiple Infusible Ink transfer sheets in one design.

How to use Cricut Infusible Ink transfer sheets and Infusible Ink pens.
Learn how to make a Cricut Infusible Ink T-shirt and coasters with Cricut Infusible ink transfer sheets and infusible ink pens.
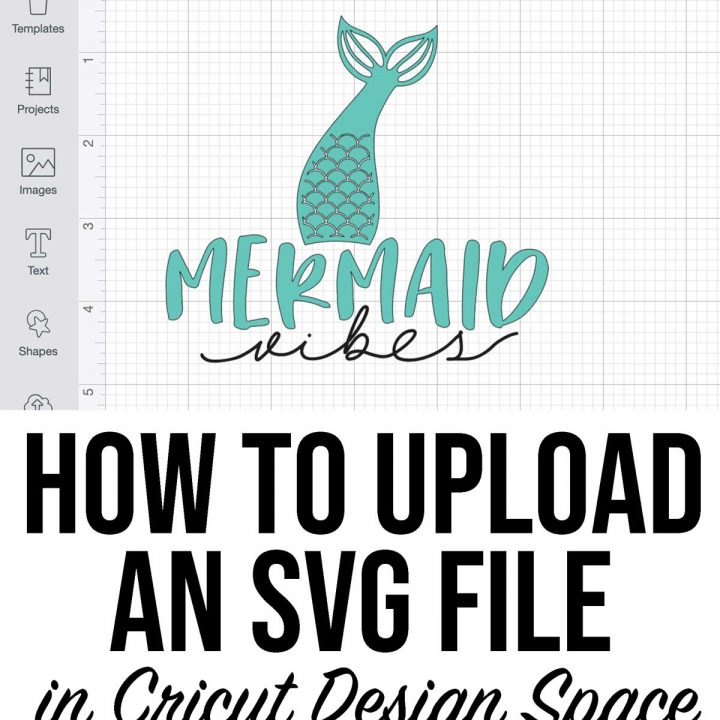
How to upload an SVG in Cricut Design Space
Step by step instructions on how to upload an SVG file in Cricut design space.


2 Comments