This post contains affiliate links, please read our disclosure policy.
How to make marble polymer clay earrings. And the best way to attach earring posts to polymer clay.
This post is sponsored by Beacon Adhesives but all opinions are my own.
This past year I started a new hobby of making polymer clay jewelry. Making earrings might just be my favorite craft. Today I wanted to show you how to make marble clay polymer clay earrings. It’s very easy to make a marble clay slab once you get the technique down. The color possibilities are endless and no paint is needed.
Want to learn how to make other polymer clay earrings? Check out these leopard print polymer clay earrings.
This post contains affiliate links
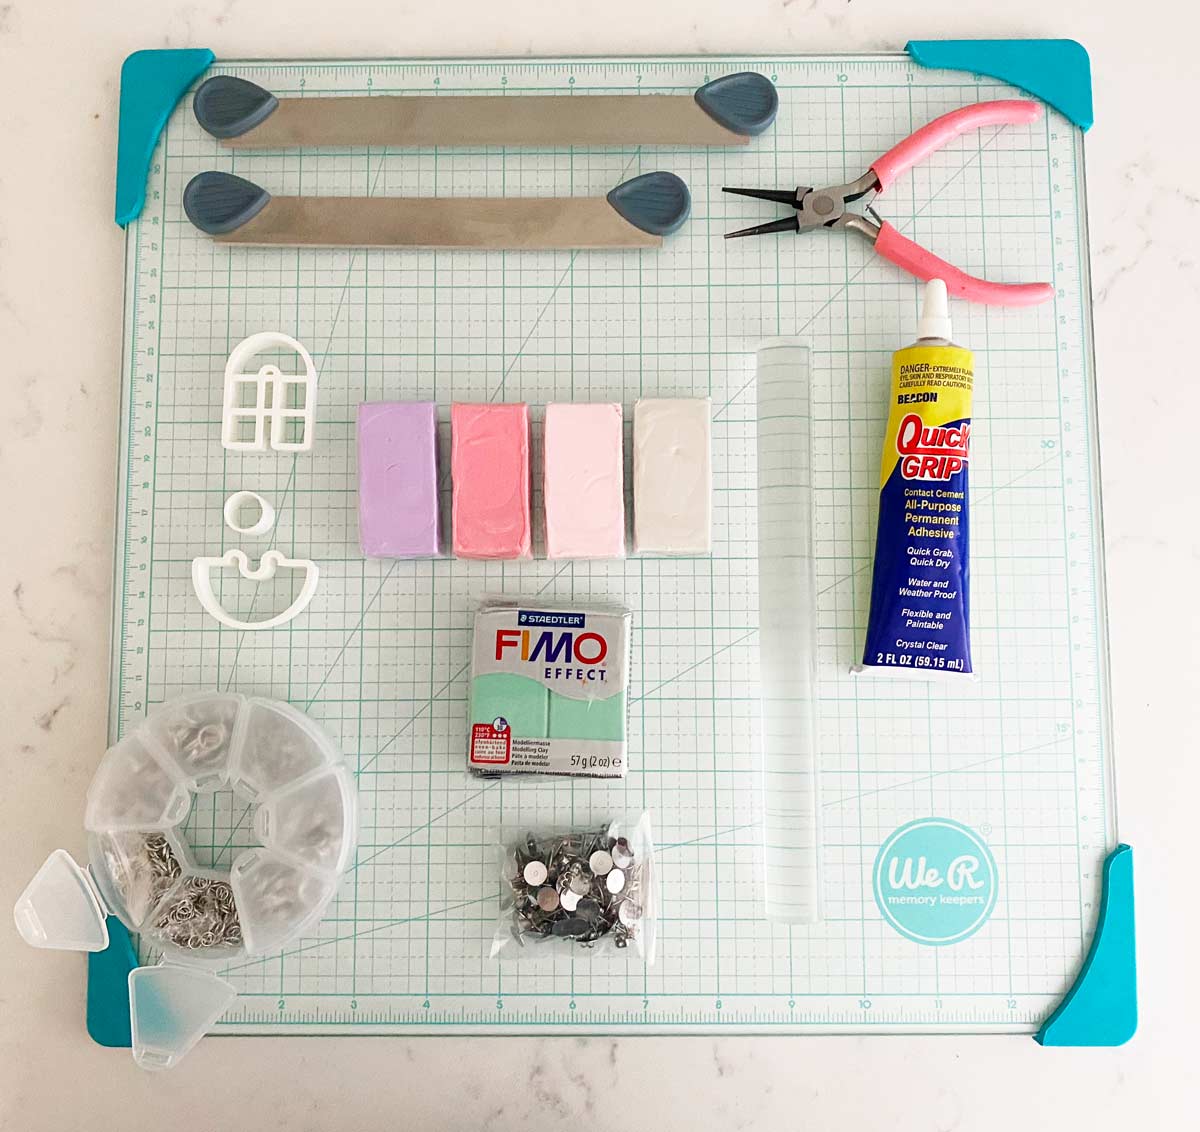
SUPPLY LIST
- Sculpey Souffle Clay
- Beacon Adhesives Quick Grip
- Acrylic Roller
- Clay Press or Pasta Machine (optional)
- Glass Mat or Ceramic Tile
- Parchment Paper or Silicone Baking Pad (optional)
- Clay Blades
- Micro Mesh Sanding Pads or Dremel with polishing wheels
- Jump Rings
- Pliers
- Earring Posts
- Baby Wipes
- Drill and small drill bit
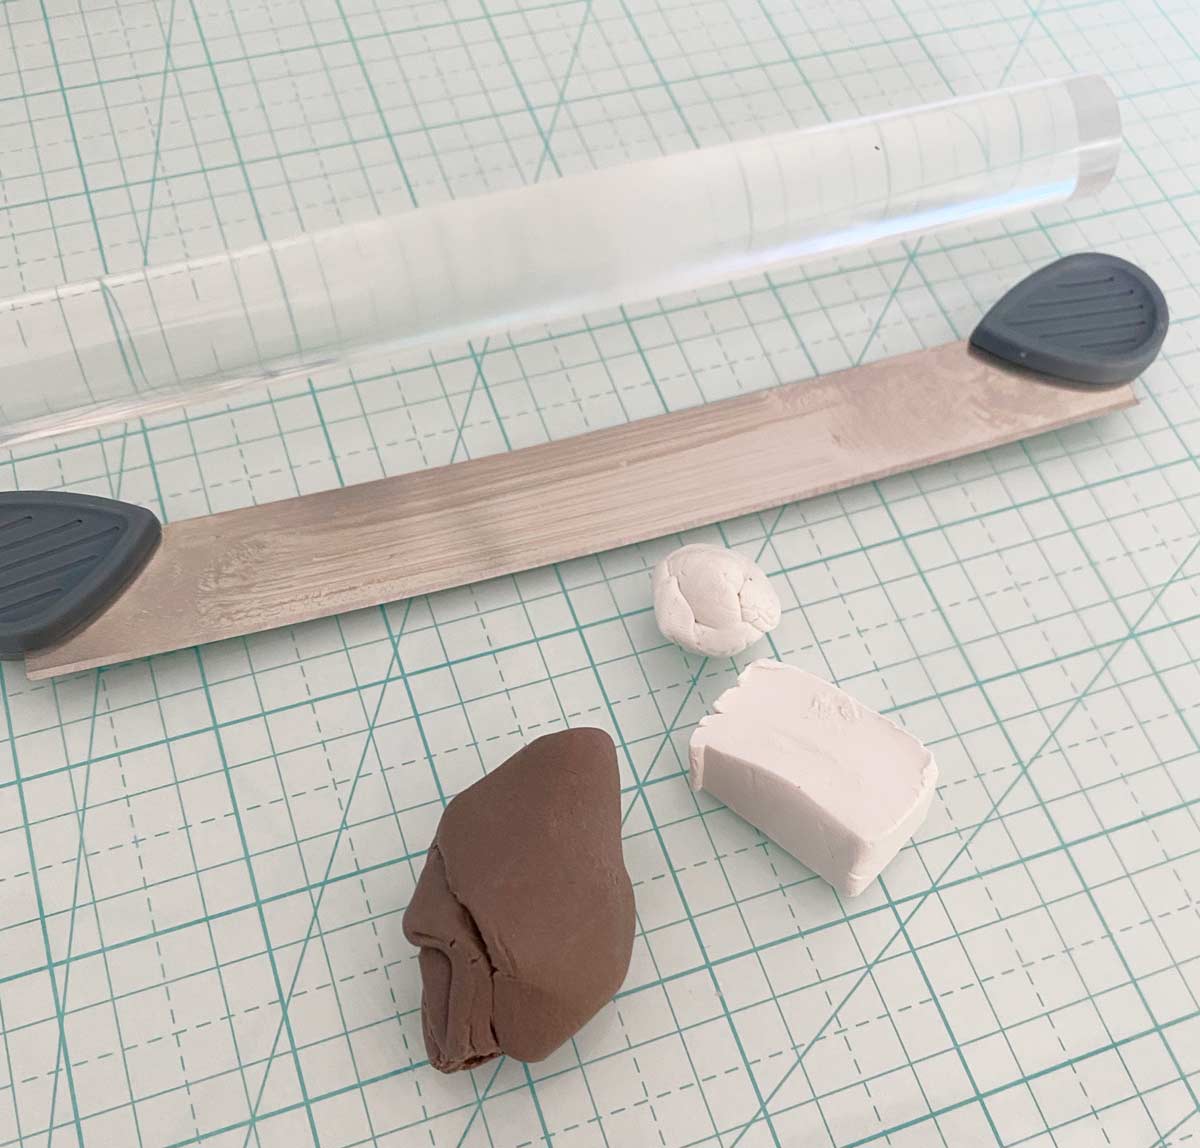
To start out break off about half of a row of your polymer clay. I like to work it in my hands first kneading it. This conditions the clay making it a bit warm. You want your clay not to be cold but at about room temperature.
You are going to want your work surface to be glass, ceramic or parchment paper. Something the clay won’t stick to. I like to clean my surface with baby wipes.
Mixing colors of polymer clay
What I love about polymer clay is that you can mix your own colors. To make the base for this slab I used mocha and white to make a grey that leans towards purple. I added white to the mocha working it first with my hands and then running it a few time through the clay roller. The roller both conditions it but also makes it easier to mix colors.
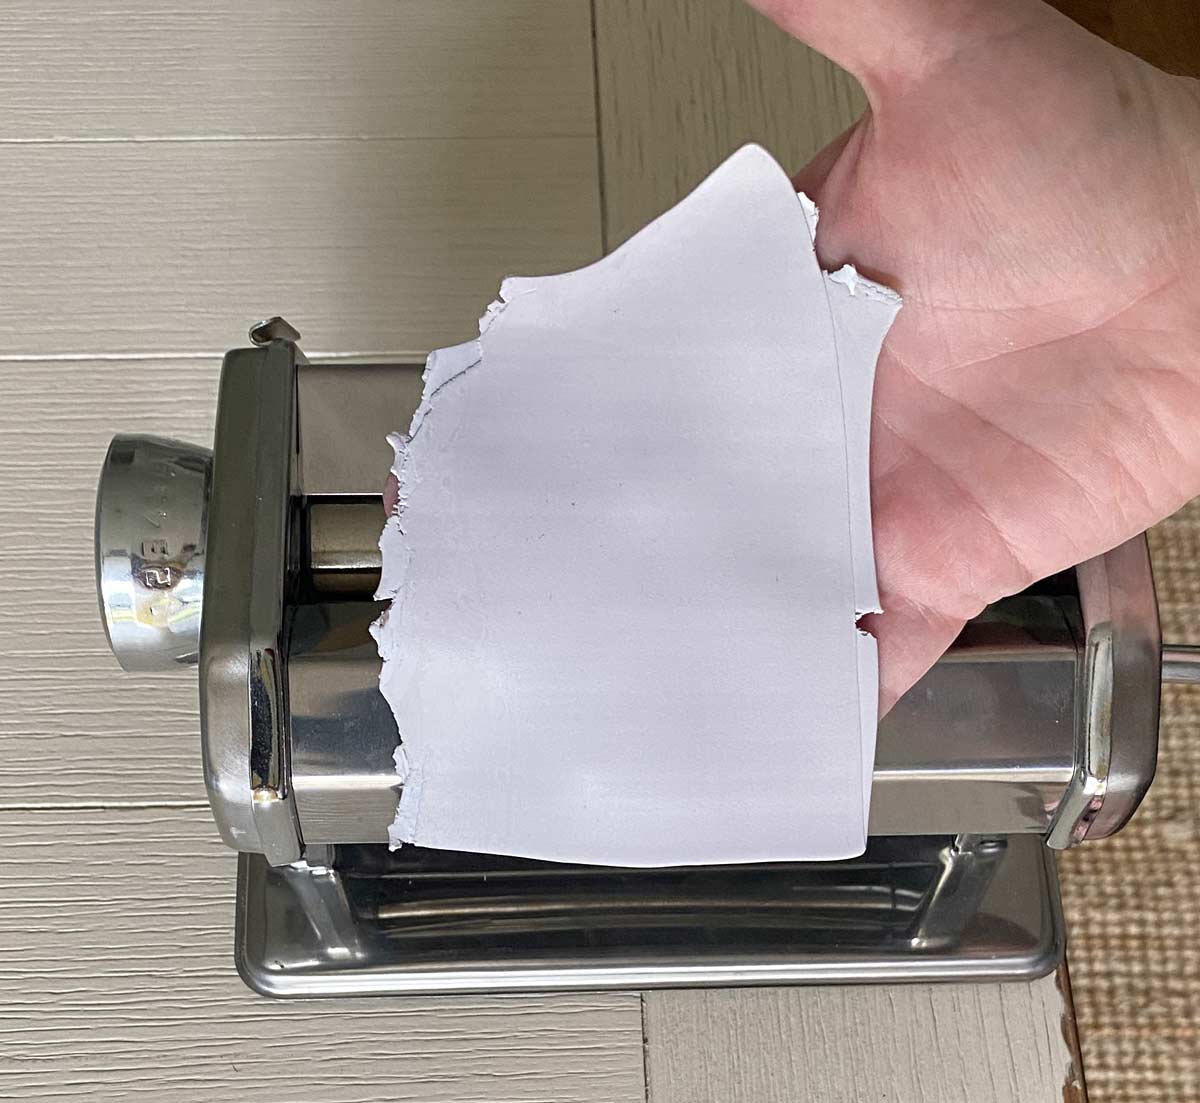
Clay Roller
Now there are two ways to roll out your clay. Either with an acrylic roller or my favorite a clay press. The clay press is just like a pasta roller. For my base piece I set my clay roller to a 5. I work the clay through the roller a few times to make sure it’s conditioned. I always start with my lightest color just incase any residue is left on the rollers. I also run a baby wipe through the press in between colors.
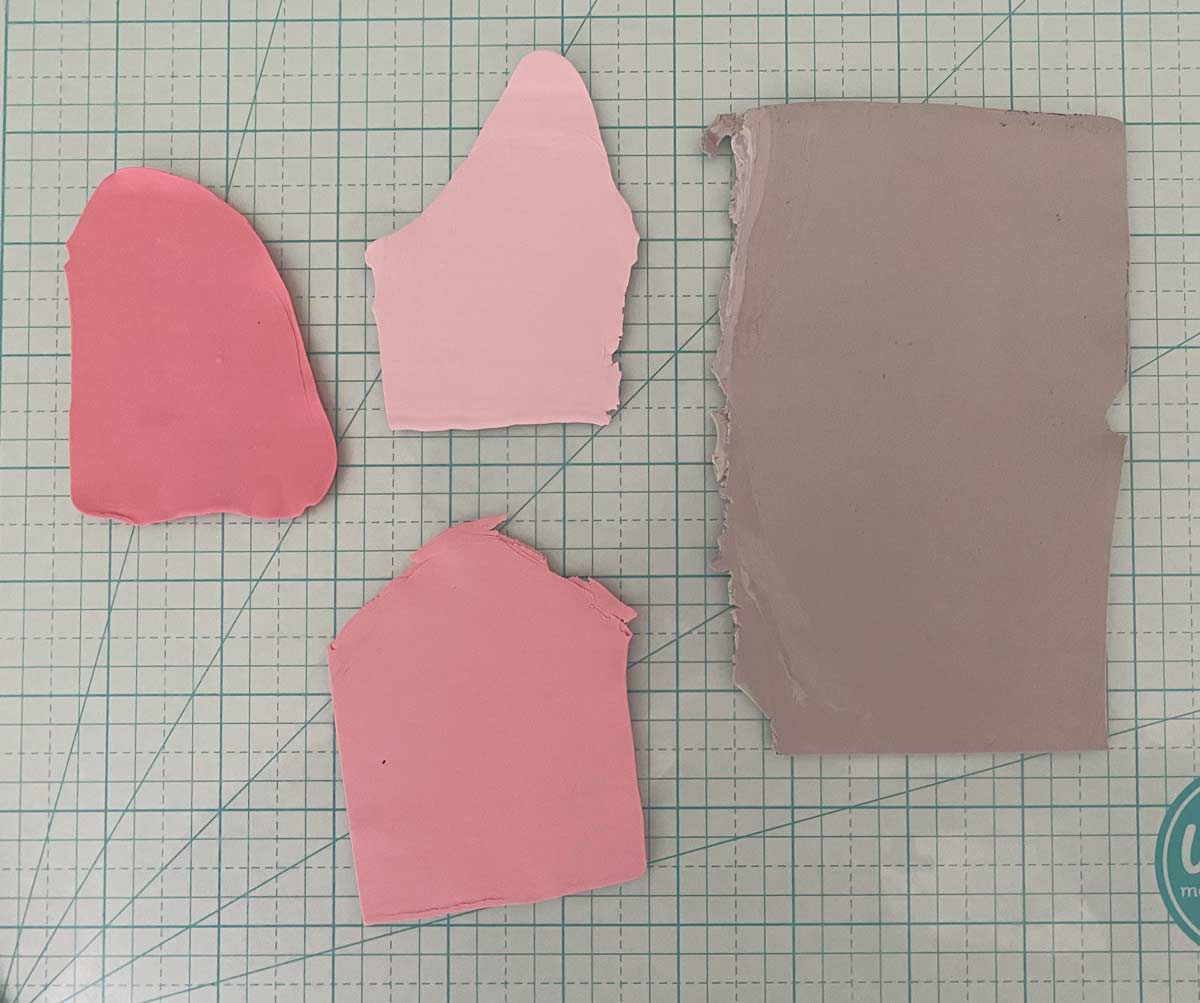
For out marble effect I am going to use 3 colors of pink. I rolled these out thin. If you are using the clay roller it was on setting 7. We are just going to rip off small pieces of clay and add them to our grey base. I like to overlap them with each other and have a few pieces alone.
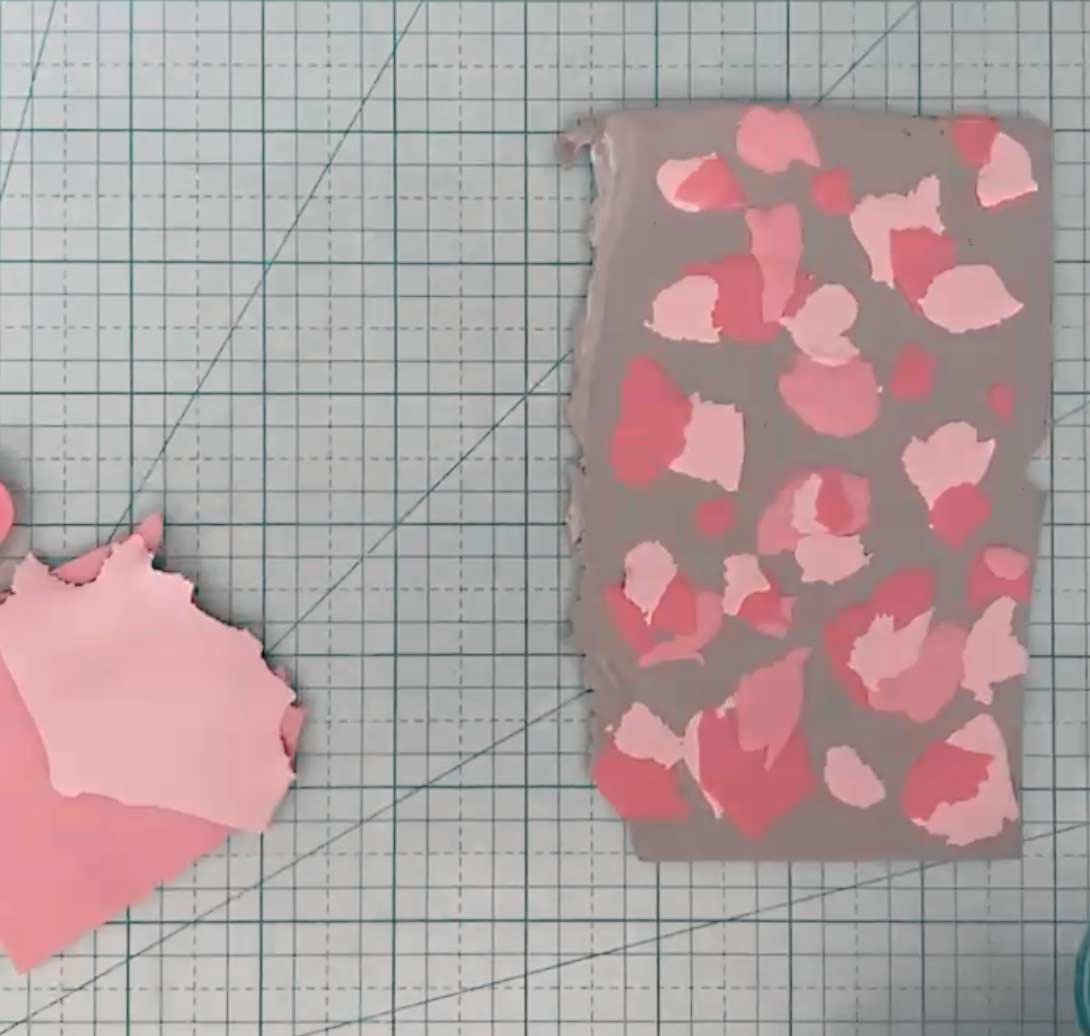
Flattening your layers
Now that you have created your pattern you will noticed it is raised from the base layer of clay. Let’s make it more even. Grab your acrylic roller. Gently roll all the layers of the clay. I start off really lightly and repeat. Increasing pressure if needed.
Now wasn’t that easier than it looked? You have the start of a marble clay slab. You can use this same method to make all different patterns like leopard print.
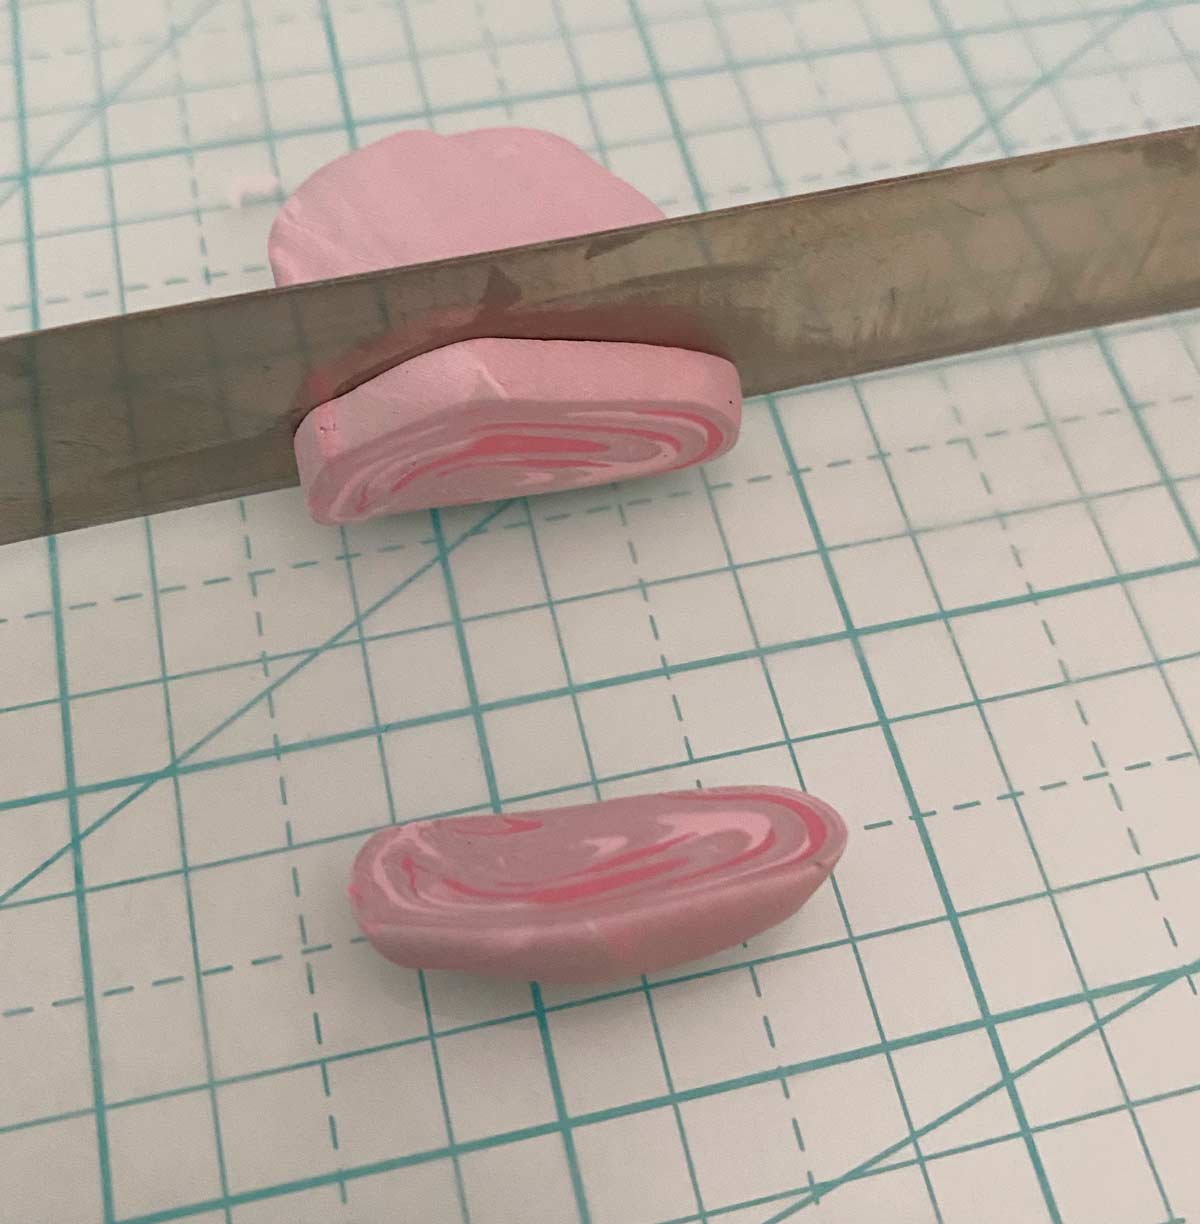
Slicing Polymer Clay for a Marble effect
Next you want to roll your slab tightly like a jelly roll and then roll it on the glass in a circular motion almost making a ball. Using your clay blades slice your roll into even slices. Mine were between 1/8 and 1/4 of an inch.
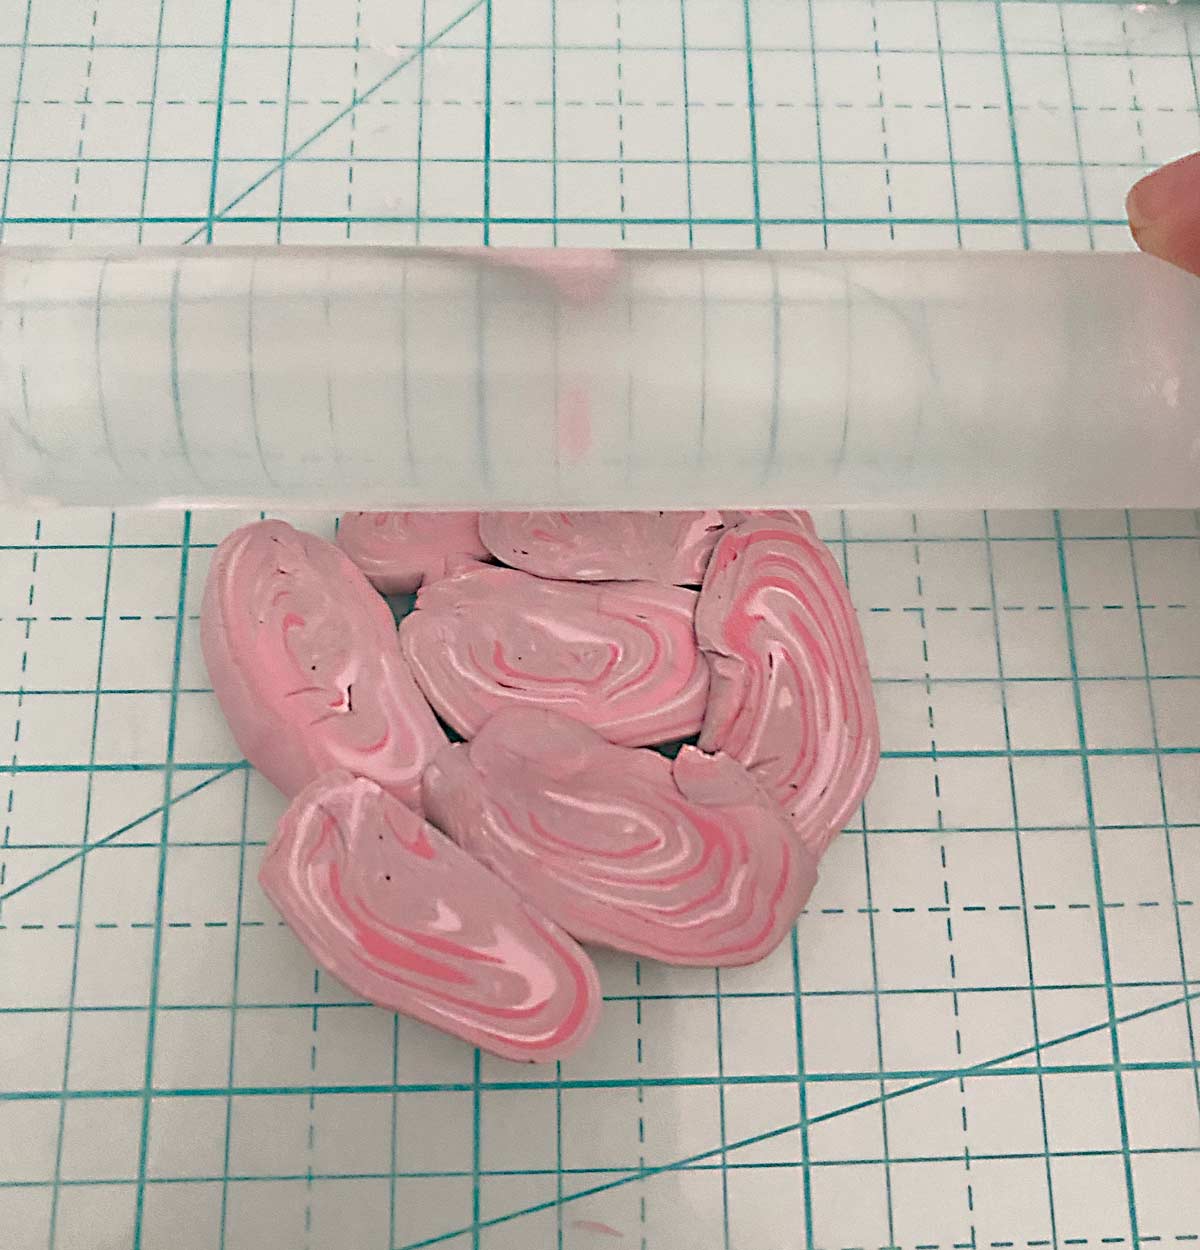
How to make your marble polymer clay slab
Place your slices flat side down and touching/ovelaping each other. Use your acrylic roller to flatten your slab. The run it through your clay roller. I like for my final slab to be on the #5 setting.
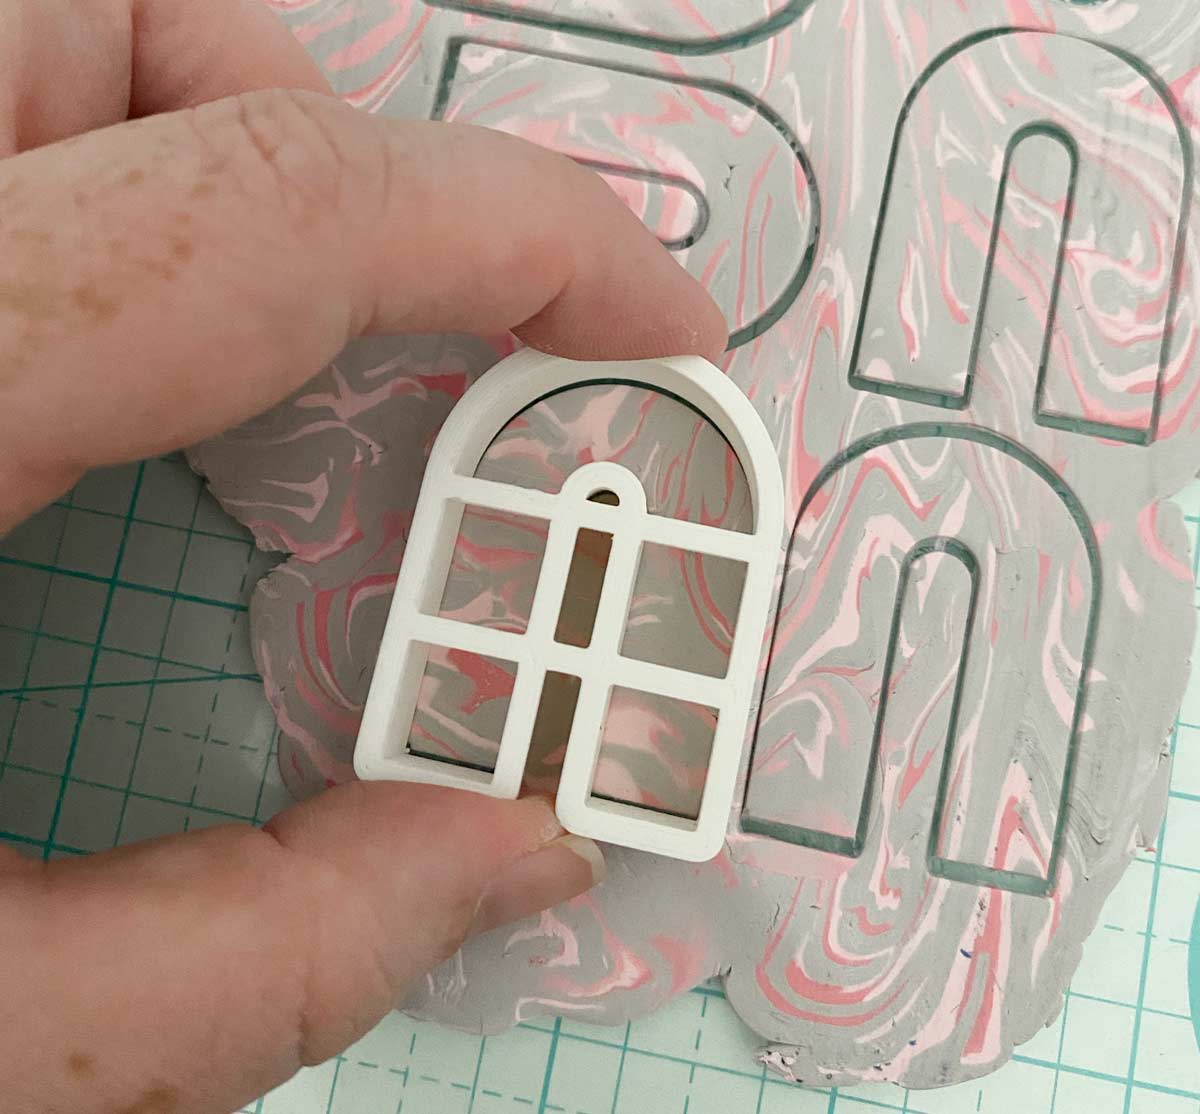
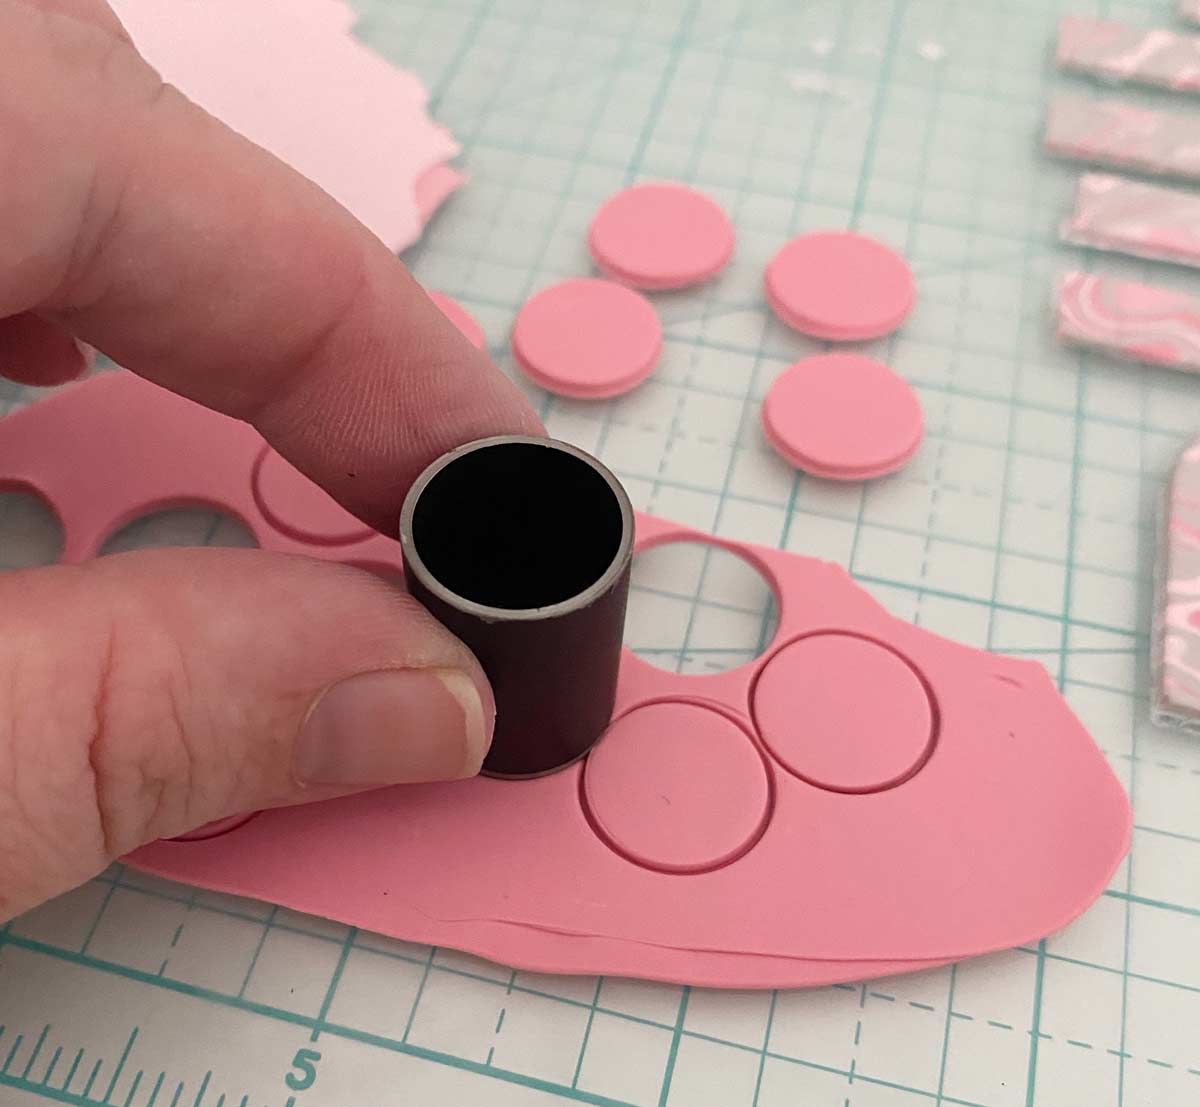
CUTTING EARRING SHAPES
Now that we have our pattern it’s time to cut our clay into shapes to make our earrings. There are multiple ways of doing this. From using and exacto knife and creating your own shapes, mini cookie cutters, fondant cutters, leather punches, or custom shapes from Etsy. Today I am using a set of leather punches for the small circles and a rainbow shape from Etsy.
I like to use the punches and figure out an earring design before cutting the clay. That way I have a plan of what sizes and shapes I will need.
If you have ever cut out cookies then you can do this! Making the cuts close to each other to get the maximum amount of cuts out of the clay. I also cut some extra shapes just incase.
How to bake polymer clay?
Baking polymer clay is pretty simple. Just follow the directions on the back of the packaging essentially. Here is how I like to bake the Sculpey Souffle clay. I place the pieces on a cookie sheet on top of a silicone mat. I layer a piece of parchment paper on top and rest another cookie sheet on top. This ensures a more even bake and your clay pieces will remain flat. I also turn the oven off and leave the pieces inside the oven while it’s cooling.
How long to bake polymer clay?
Typically for the Sculpey Souffle I bake it at 275 for 35-40 minutes. If you are using other clay check the recommended heat settings they can vary.
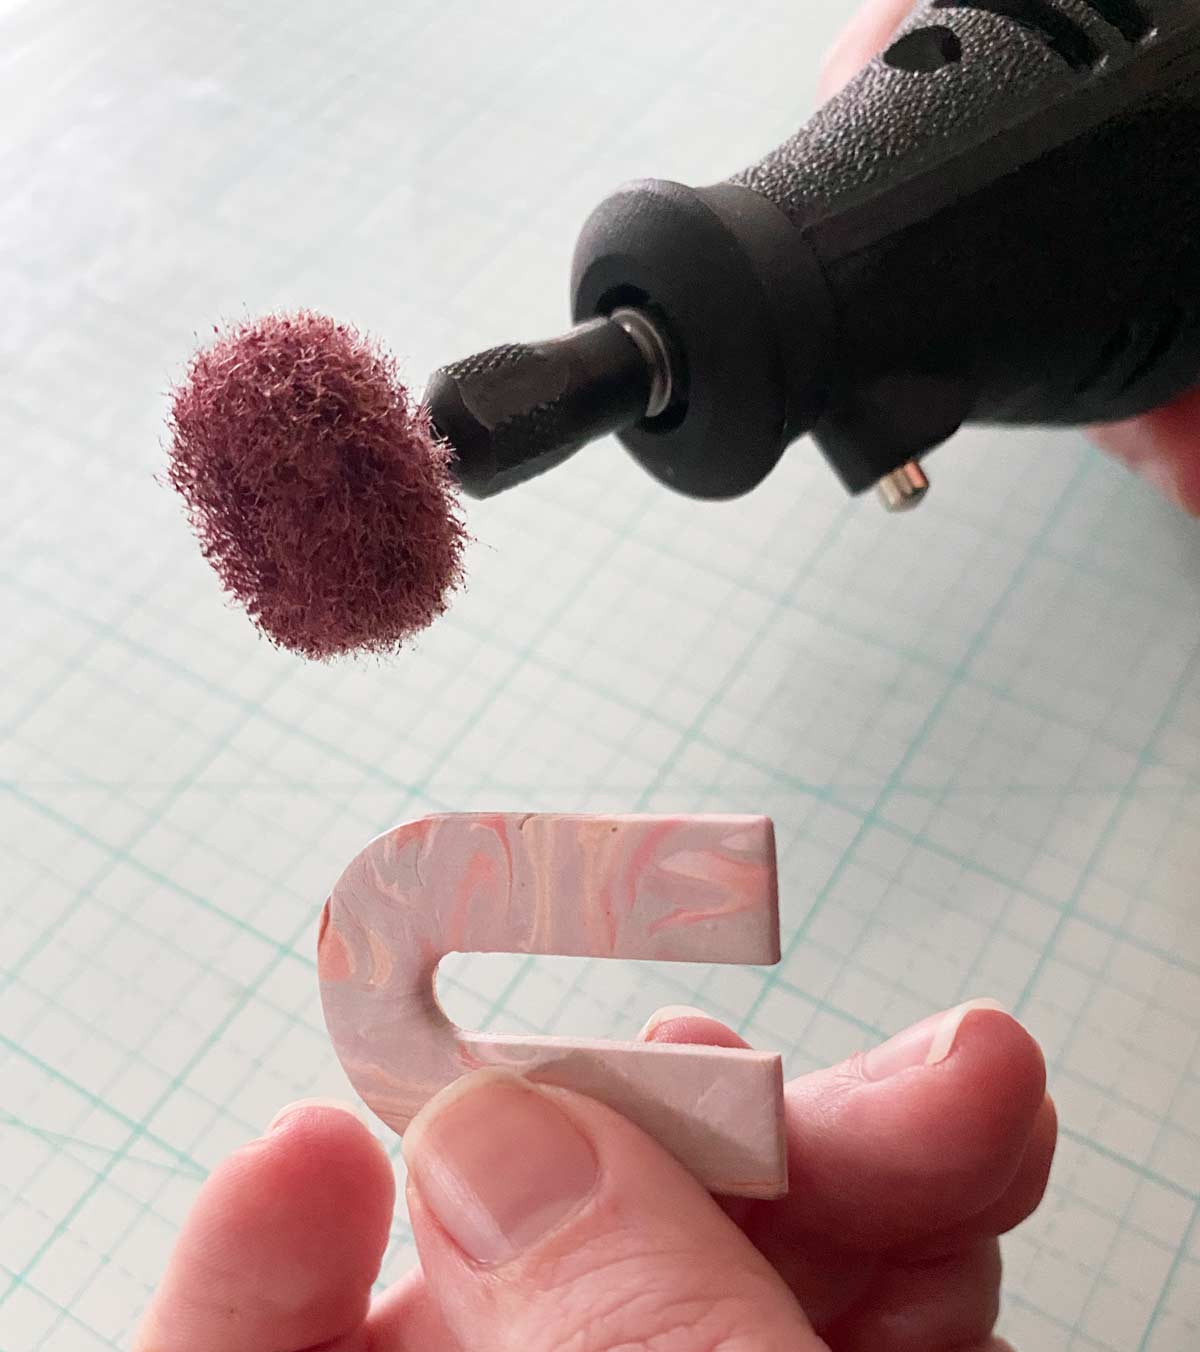
SANDING AND BUFFING POLYMER CLAY
After they clay pieces have cooled it’s time to finish them. To get a finished look they need to be sanded and slightly buffed. I have tried a few methods including using a Dremel and micro mesh sandpaper. The easiest and budget friendly way I found was using these micro mesh sandpaper.
I start out with the coarsest grit to sand the sides of the the earring pieces. Then work your way up to a finer grit. The smoothest mesh pad will start to buff your earrings. Now I like a matte finish so I buff just enough for a smooth surface but not a shine. I use 4 different grits to sand and buff my earrings.
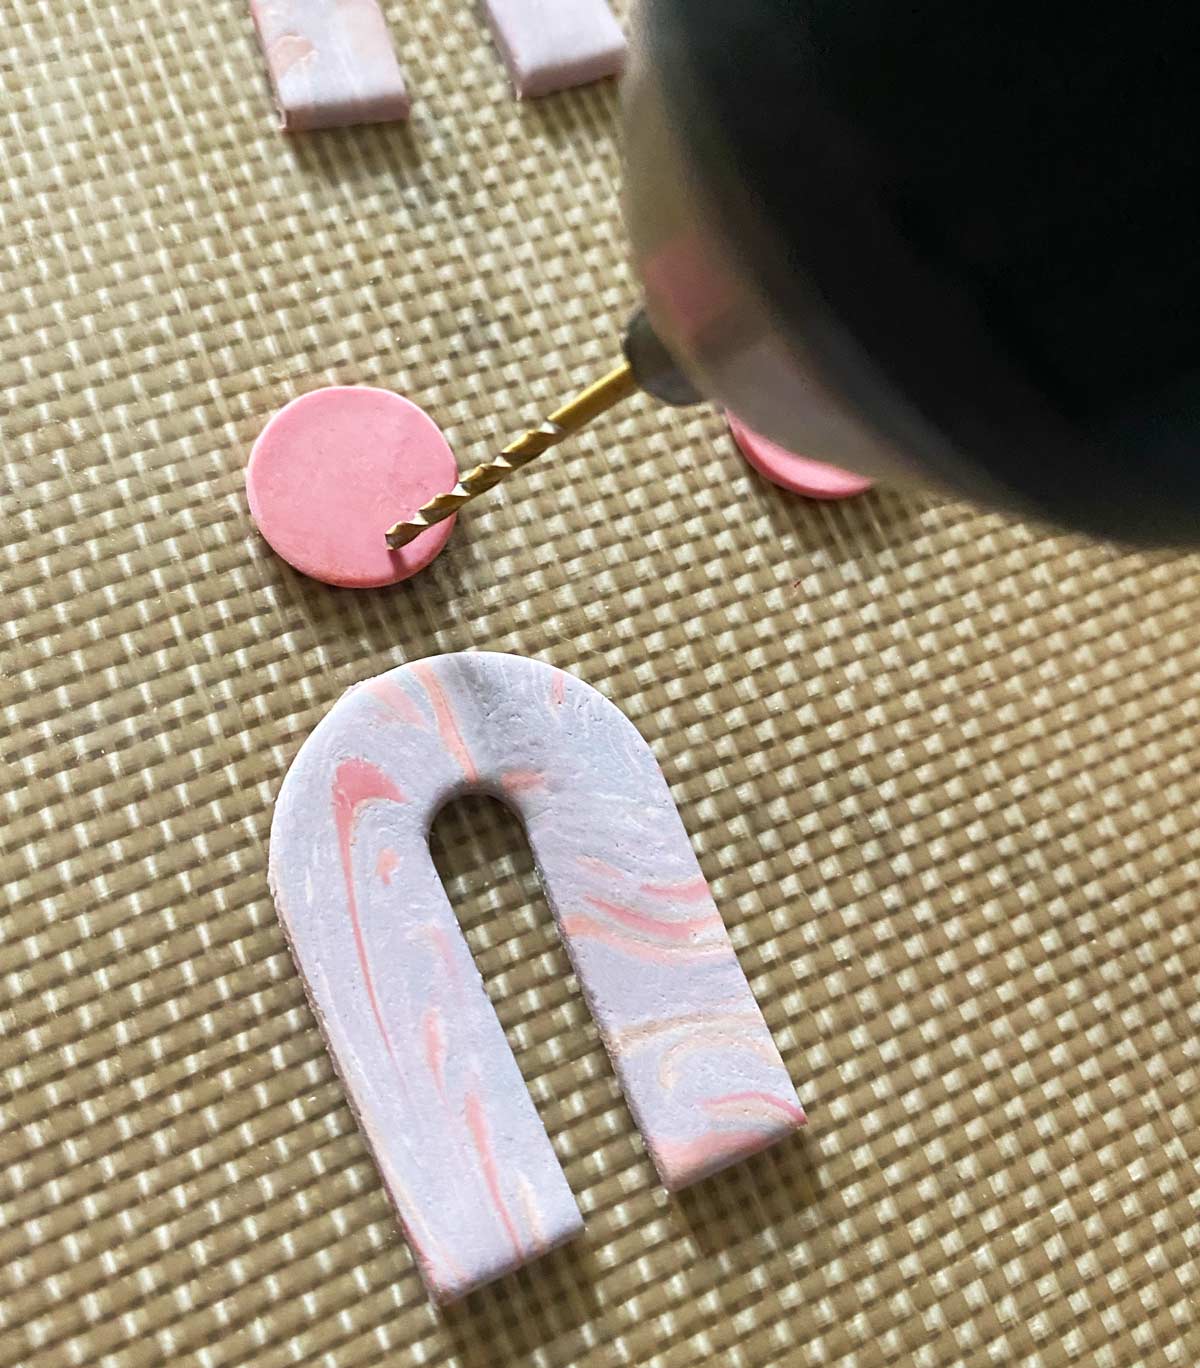
Adding holes for jump rings
Now after making earrings for a year I like to add my holes for jump rings after they are baked. You can do this before you bake the clay with a dotting pen. I either like to use the smallest drill bit I have on my drill or an attachment for my Dremel. I have just discovered this to be easier and more precise.
ASSEMBLING THE EARRINGS
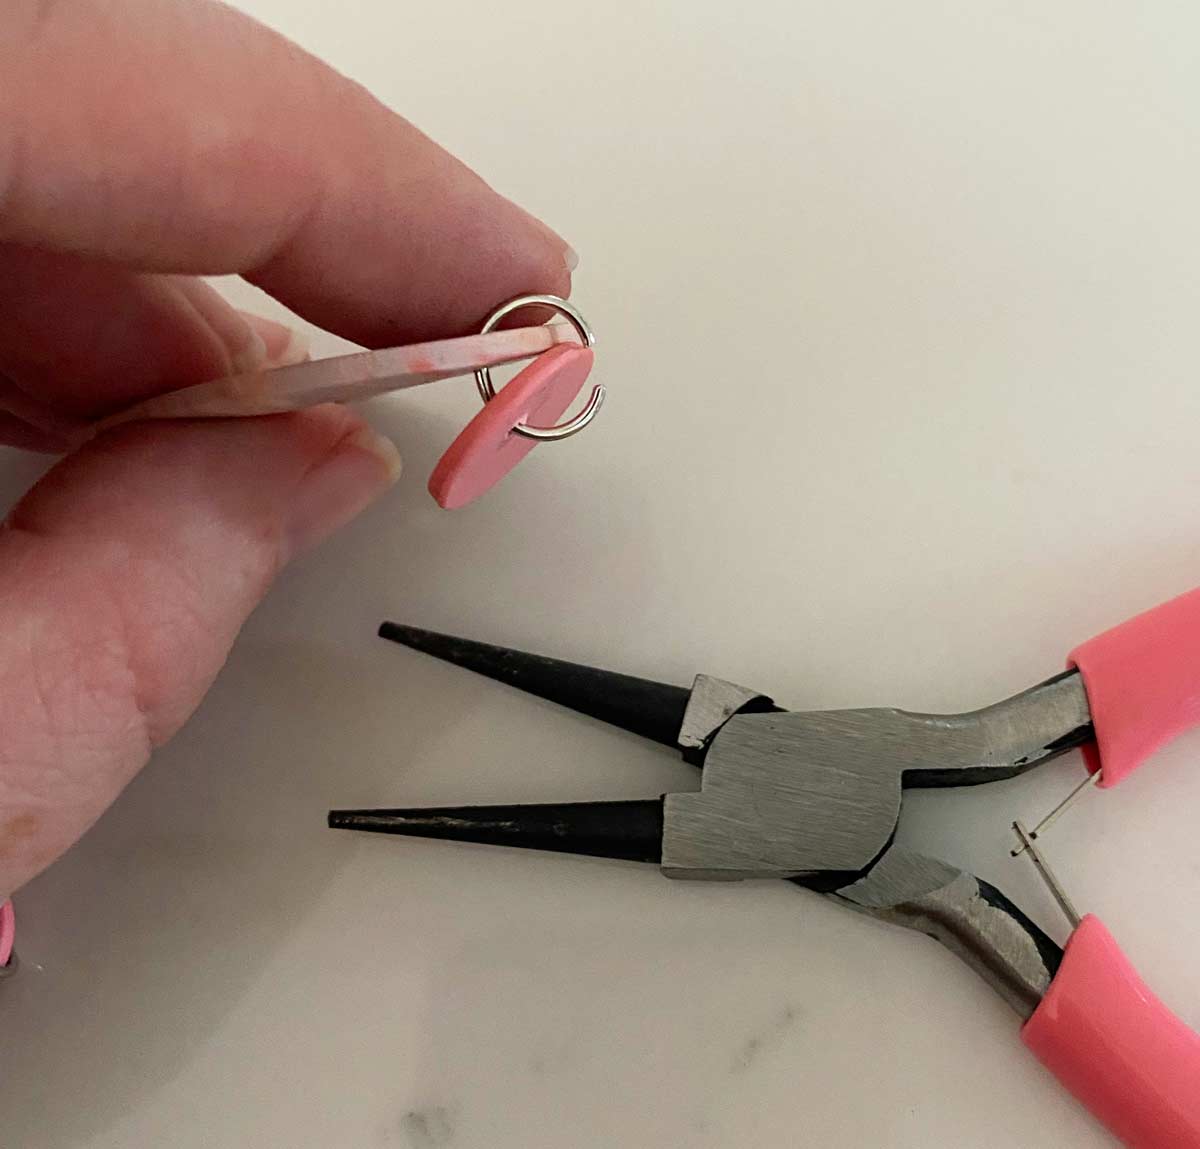
We are almost done! Time to assemble the polymer clay earrings. For this grab your jump rings. I am using these 8mm 21 gauge jump rings and 2 pairs of pliers.
Holding one of the jump rings with needle nose pliers I use my second pair of pliers to pull and open the jump ring. Now you don’t have to open these too much just enough to loop it through your earring piece.
Guide the jump rings through the holes connect the earring pieces. Make sure the opening is in the back of the earrings. Use your pliers to close the gap in your jump rings.
How to attach earring posts to polymer clay
After making earrings the past year I have found the best adhesive for polymer clay. The best way to attach earring posts to polymer clay is with Beacon Adhesive’s Quick Grip. What I like about Quick Grip is that it dries in 10 minutes and cures in 24 hours. The glue is reposition-able for the first few minutes.
Beacon Adhesives Quick Grip is super strong, dries crystal clear, flexible, waterproof, weatherproof, paintable, does not foam and does not expand. It can be used on ceramics, concrete, fabrics, glass, leather, plastics, rubber and woods.
Beacon Adhesives has given me a promo code for 20% off! Use code WEEKENDCRAFT20 for 20% off craft glues on their website. Exclusions apply.
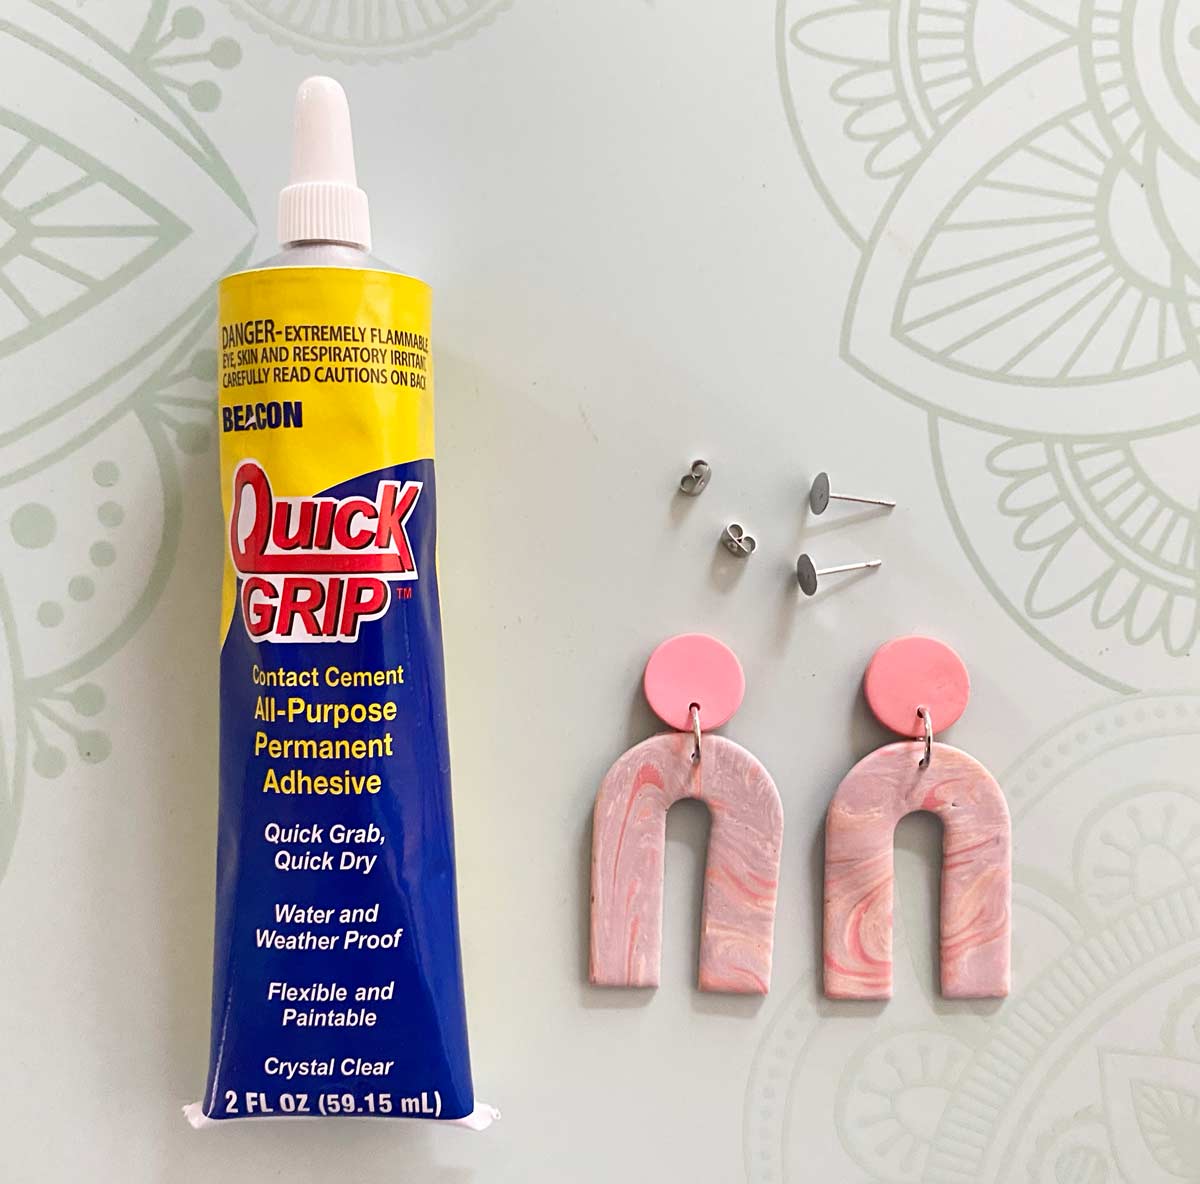
Use a small dollop on the backing of your earring post and position it on the back of your earring in the center. Now this adhesive does dry in 10 minutes but let your earrings cure 24 hours before wearing them.
![]()
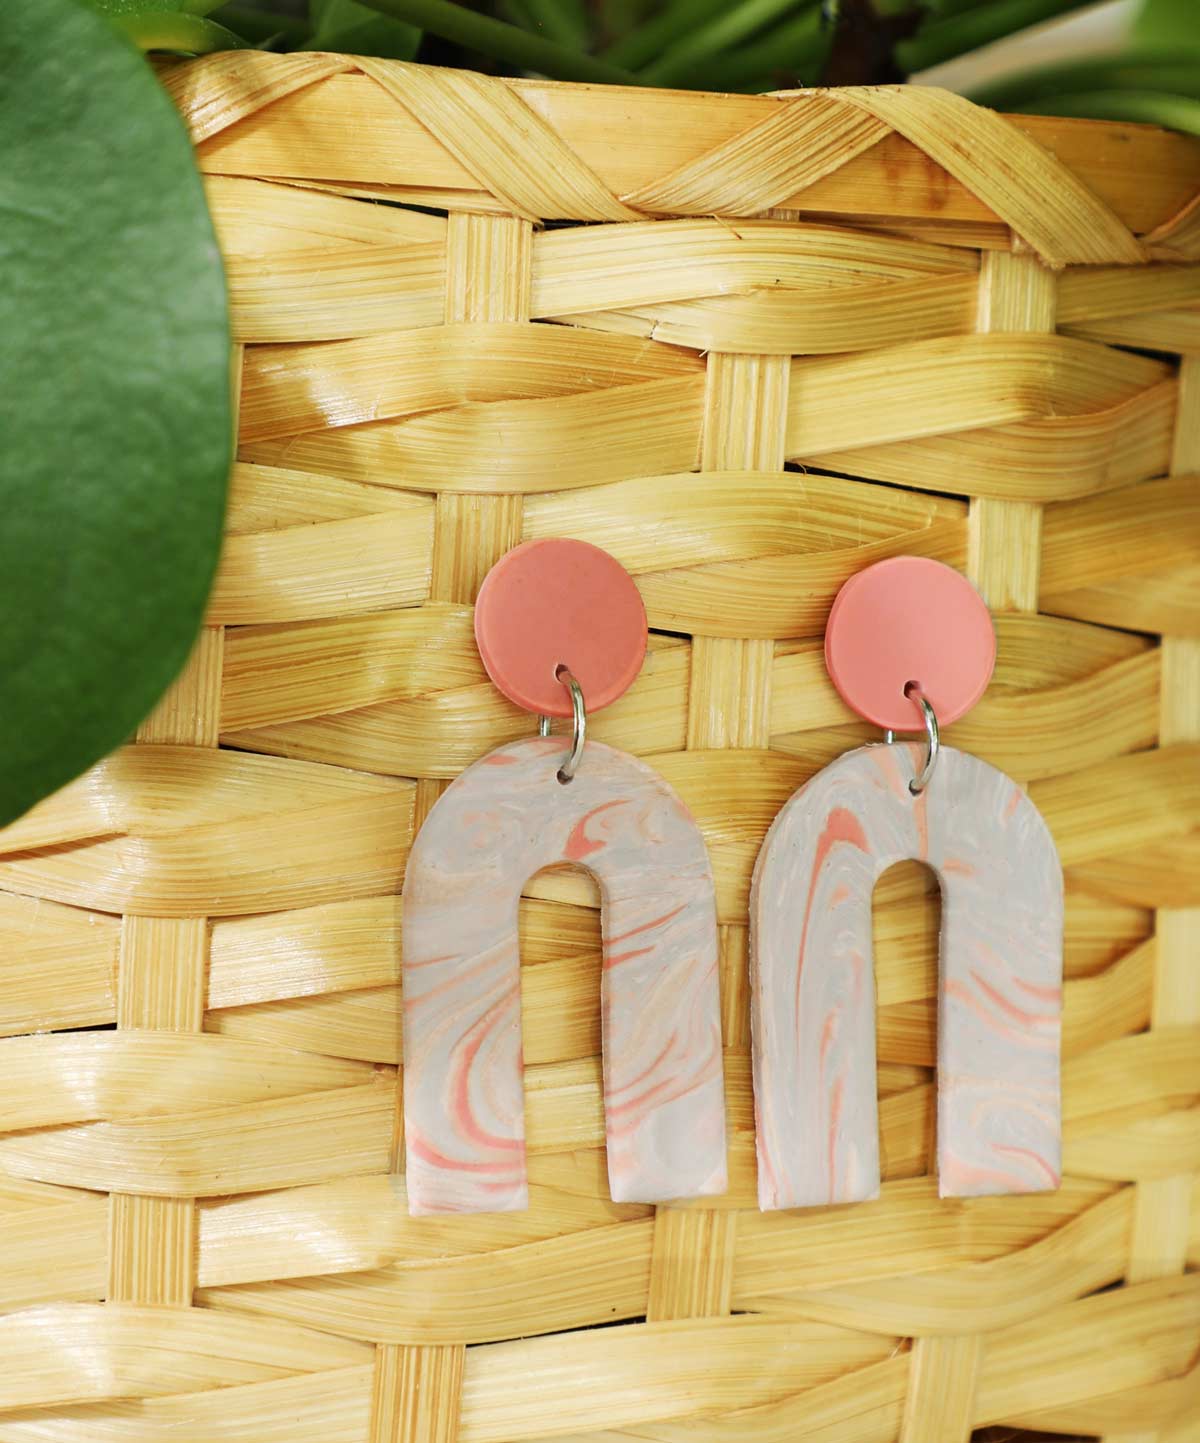
Just like that you have a beautiful pair polymer clay earrings! I have to say once you buy your supplies for this project you can make endless creations. Every few months I get excited to pull out my supplies and try out some new patterns and color combinations.
![]()