This post contains affiliate links, please read our disclosure policy.
Fall Fashion with cricut. How to layer iron-on vinyl to make it look like an appliqué with your cricut.
This post is sponsored by Cricut but all opinions are my own. This post contains affiliate links.
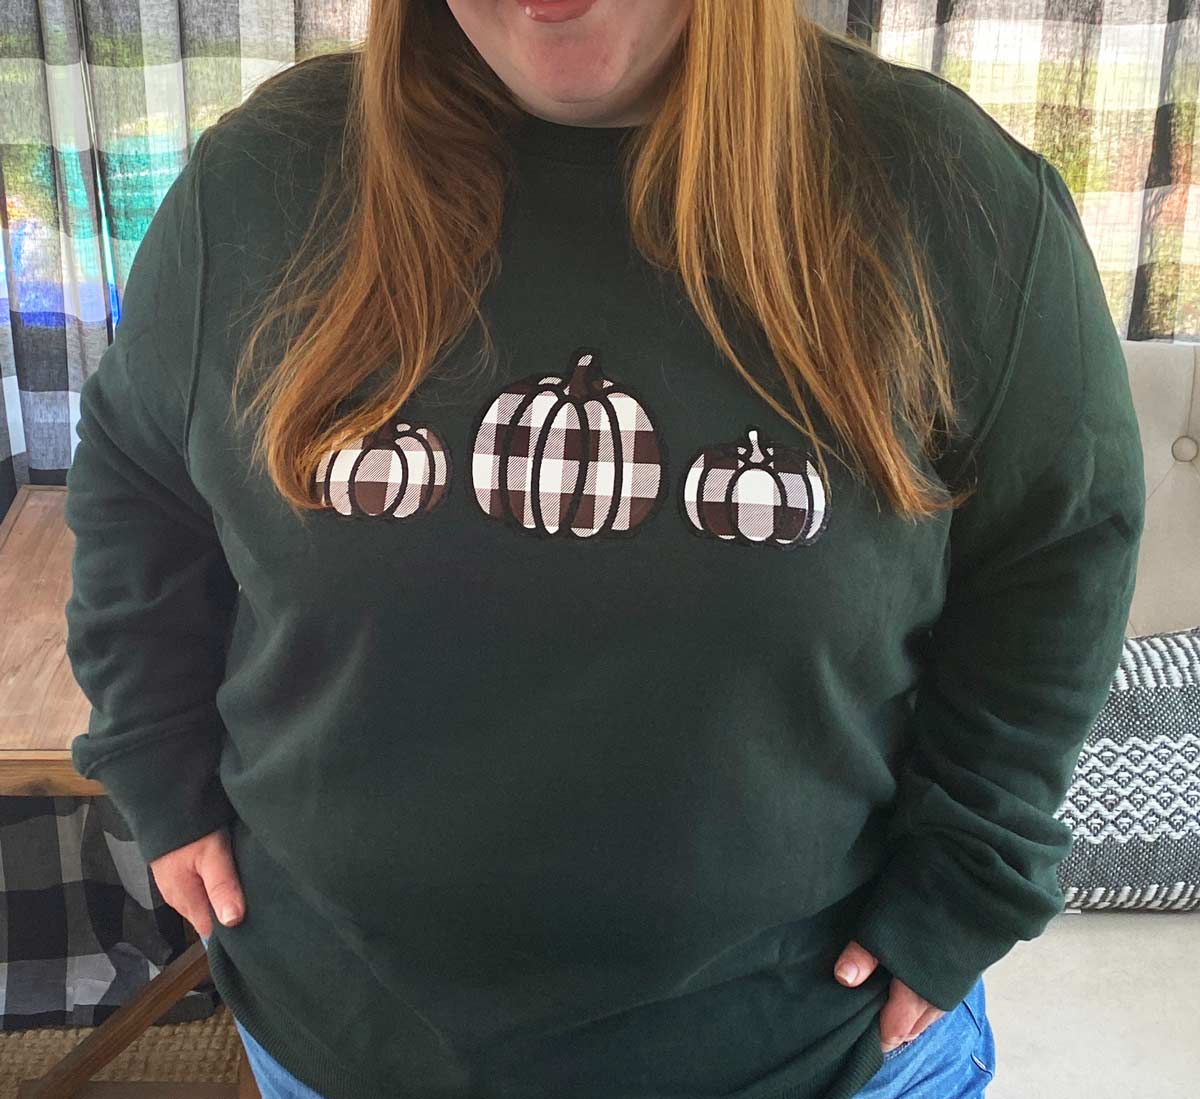
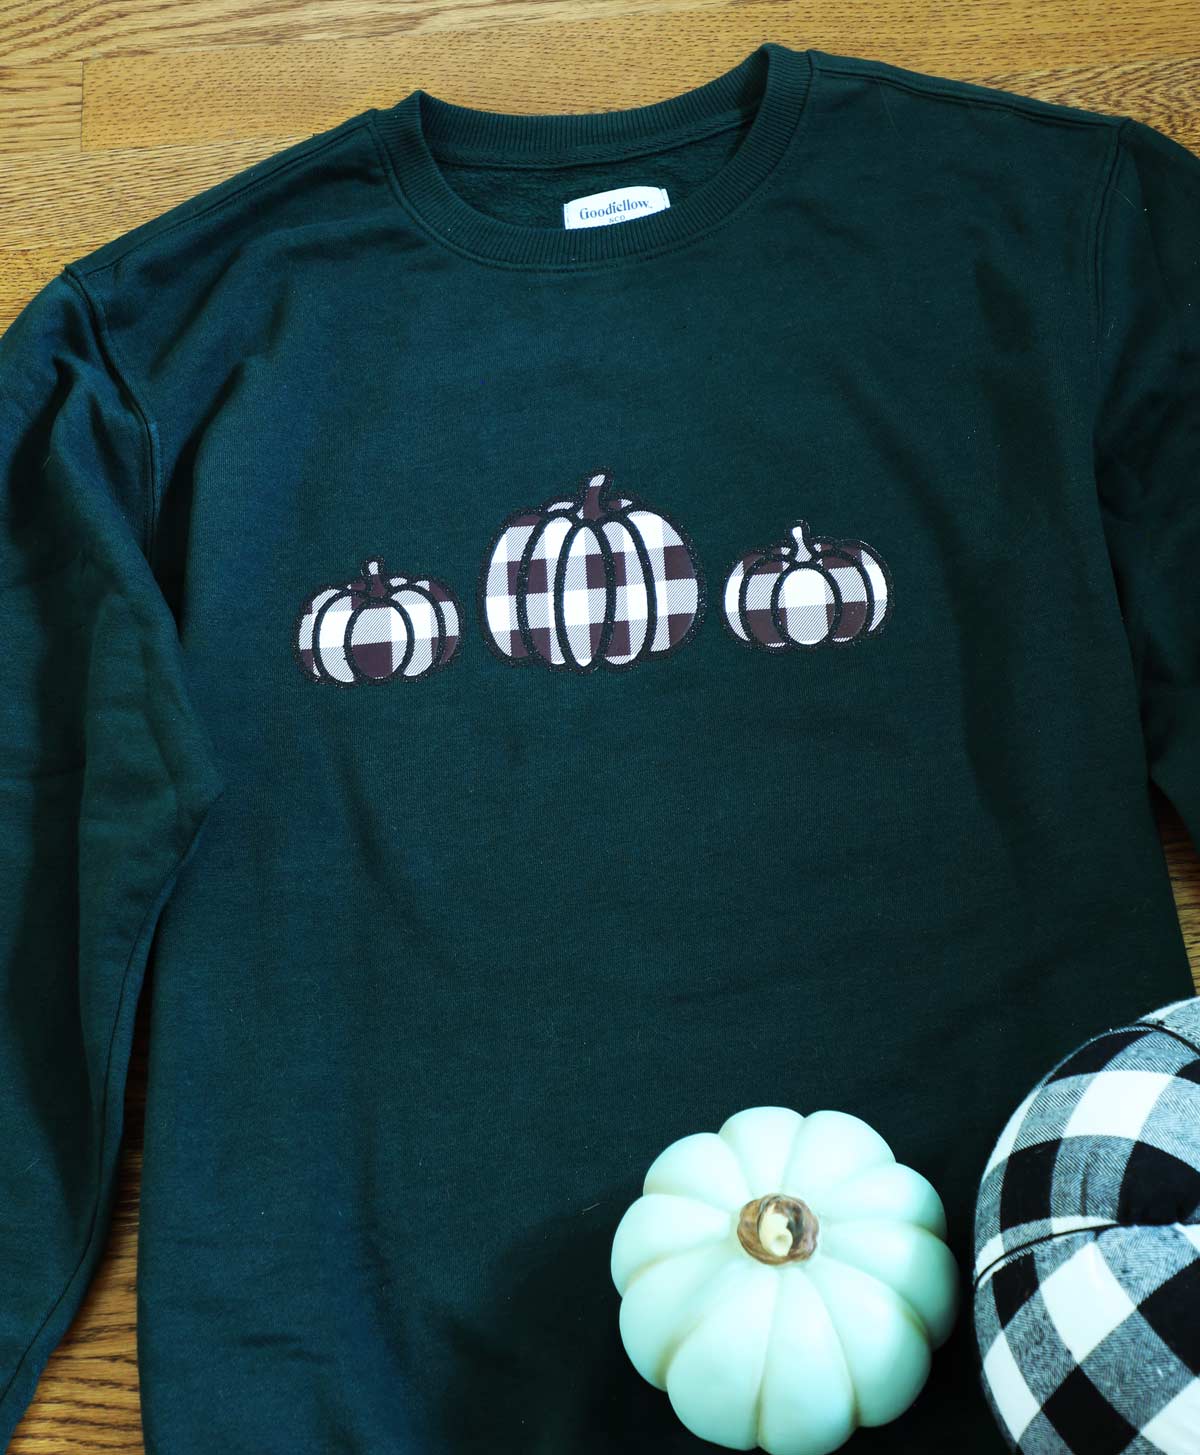
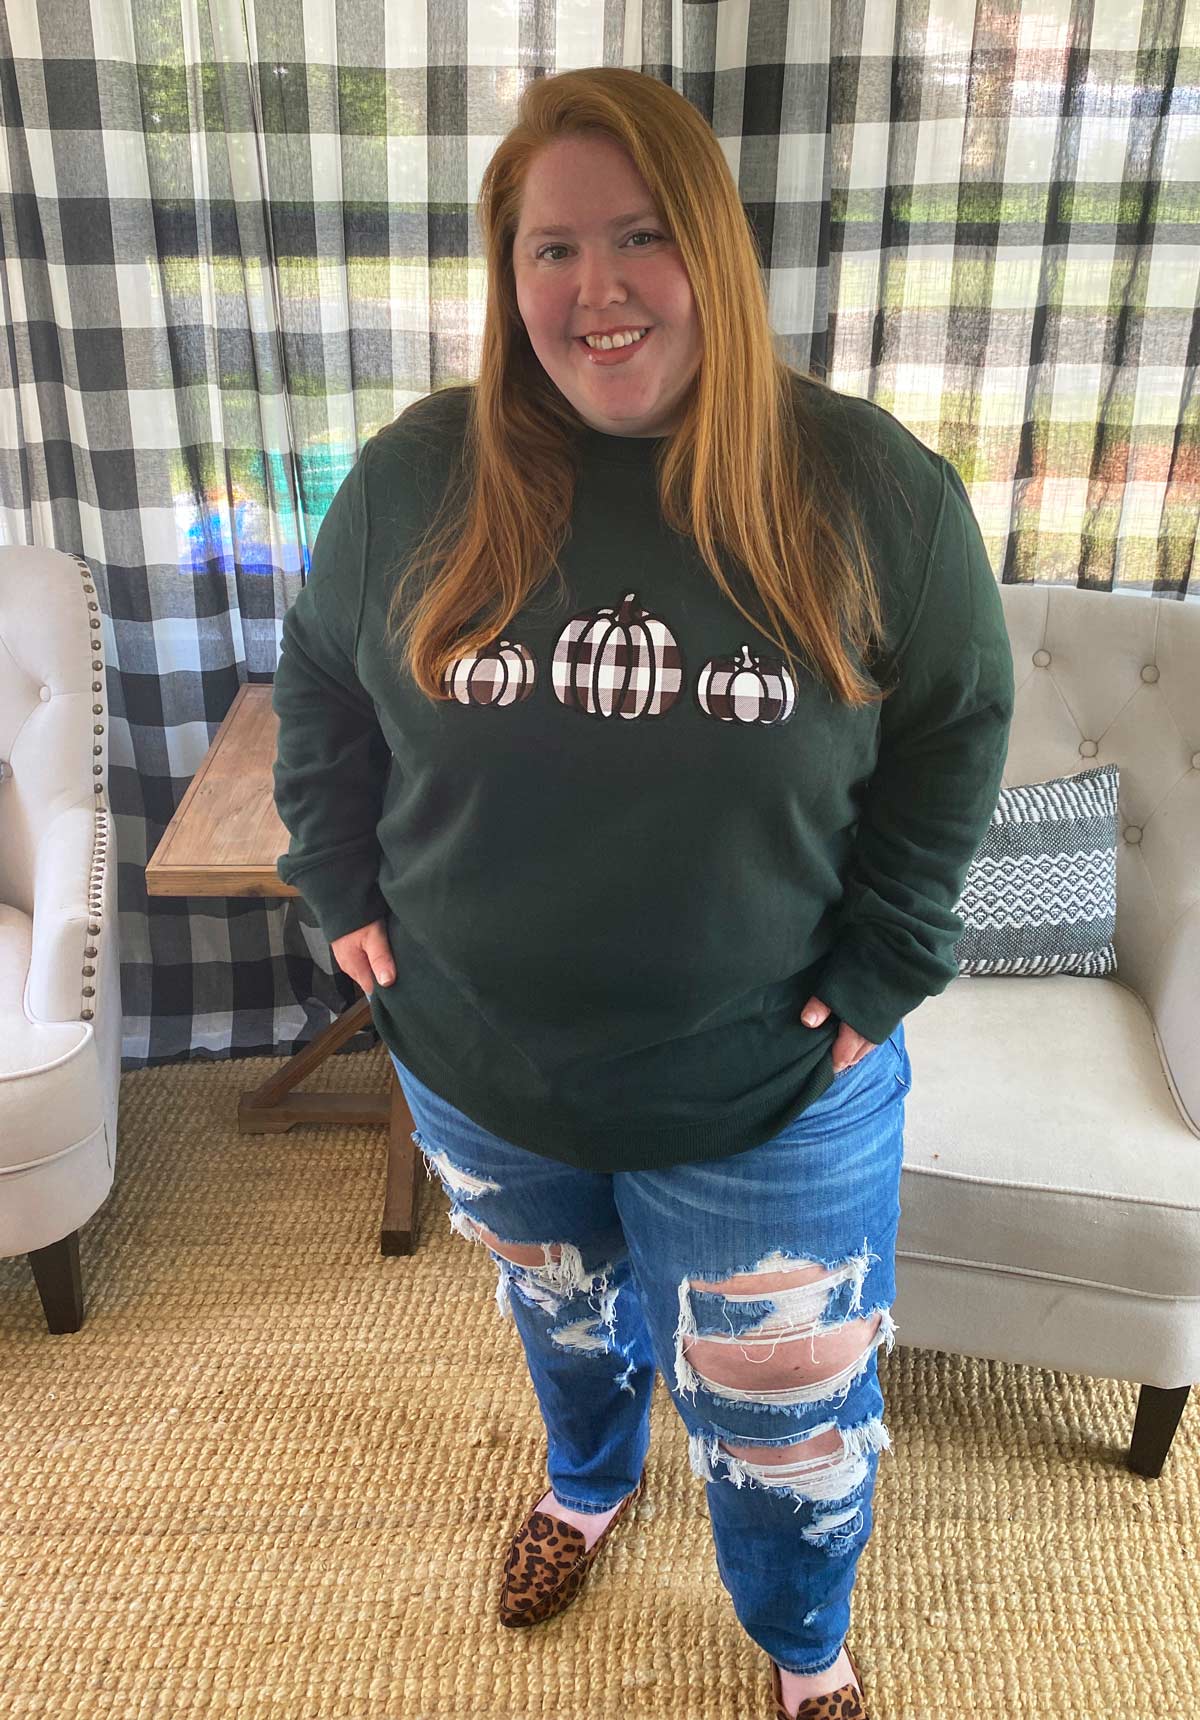
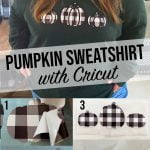
Fall is in the air! You know what that means?! Making all the Fall fashions with my Cricut. With the promise of cooler weather I decided to create a cozy Fall sweatshirt withy my Cricut. Using patterned iron-on layered with glitter iron-on. Layering these two iron-on vinyls gives the pumpkins an appearance that they are appliqués.
I have to say this sweatshirt has a bit of a 90’s vibe but modernized with my favorite buffalo check pattern.
Looking for other Cricut projects? Check out this tutorial on how to layer vinyl or this personalized baby blanket.
Want to make one? Let’s get started.
Here’s What You’ll Need
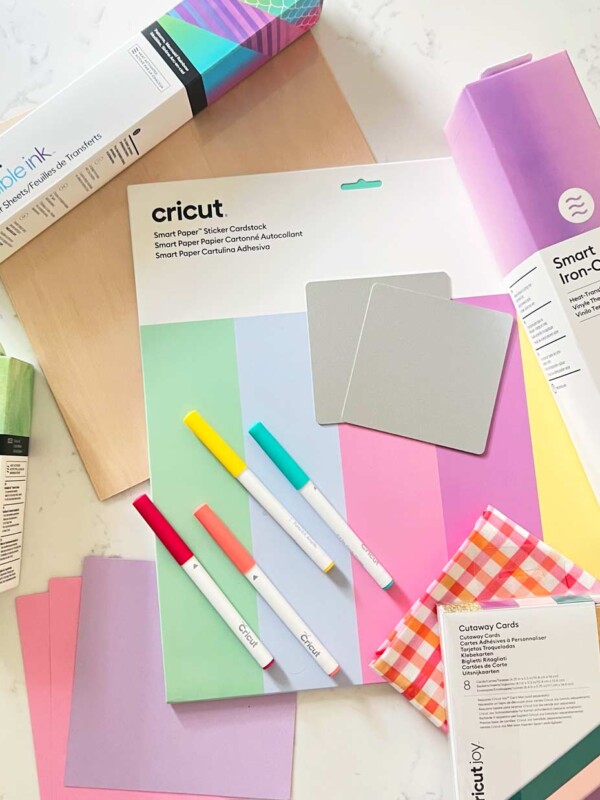
- Cricut Maker 3 or other Cricut Machines
- Smart Iron-On Glitter Vinyl
- Patterned HTV or Iron-on
- Cricut Light Grip Mat
- Cricut Easy Press or Iron
- Teflon Sheet (optional)
- Sweatshirt
- Weeding tool
- Brayer
- Pumpkin Trio File
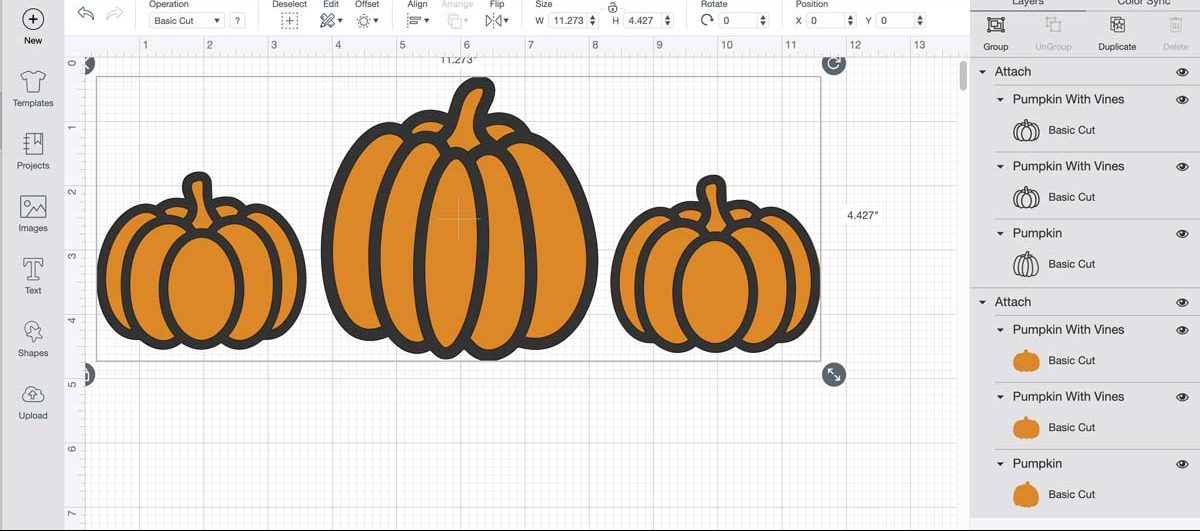
Pumpkin Design
I created this layered pumpkin design in Cricut Design Space using images from Cricut Access. You can find the file here. The orange layer which is the bottom layer is what you will use for the main color of your pumpkin. In this case I used the buffalo check HTV or iron-on. The top layer which is the outline layer I used black glitter iron-on.
To use this file you must have Cricut Access or purchase the pumpkins in Cricut Design Space.
What Is Cricut Access?
Cricut Access is a monthly or yearly subscription to the Cricut Image Library of over 100,000 non-licensed images, thousands of ready-to-make projects, and 500+ fonts. It also provides savings on products, designs, and shipping!
Cricut Maker 3
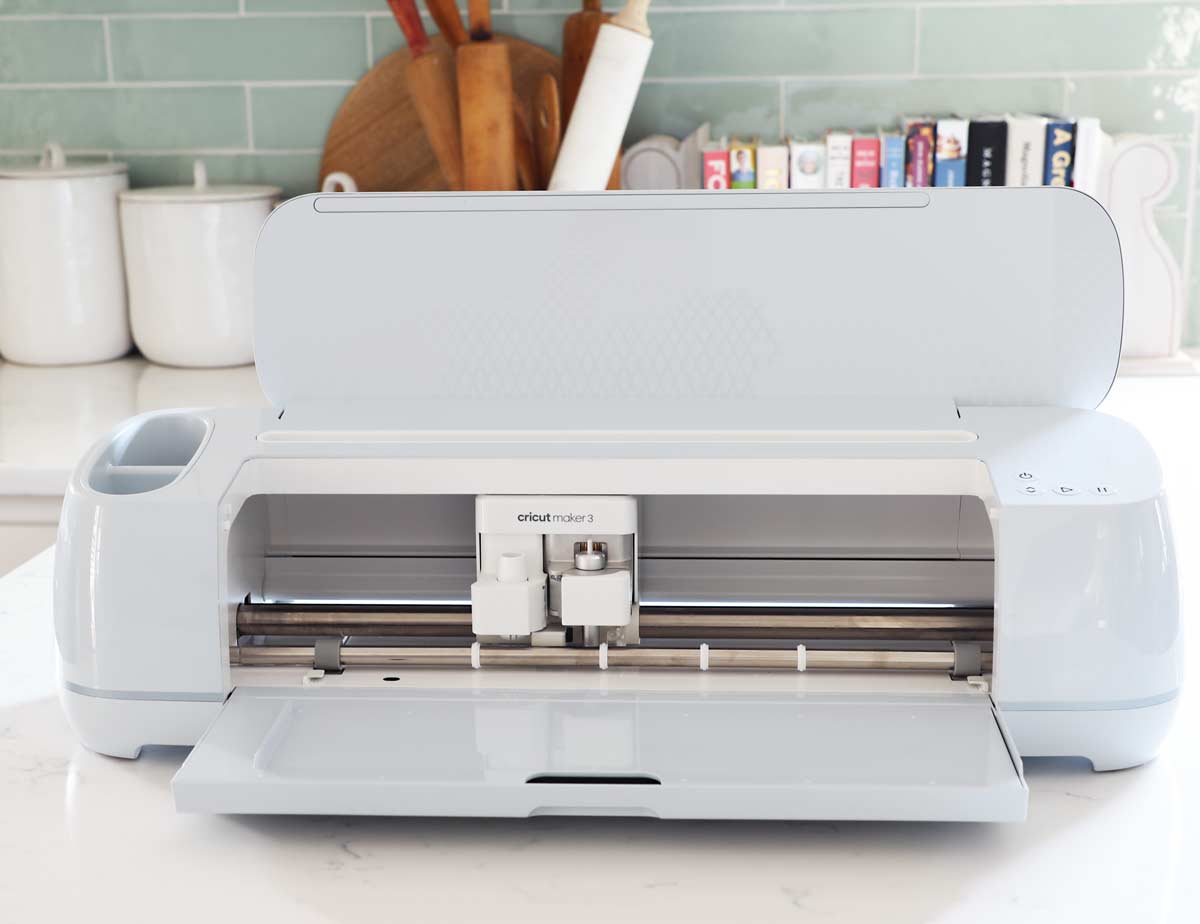
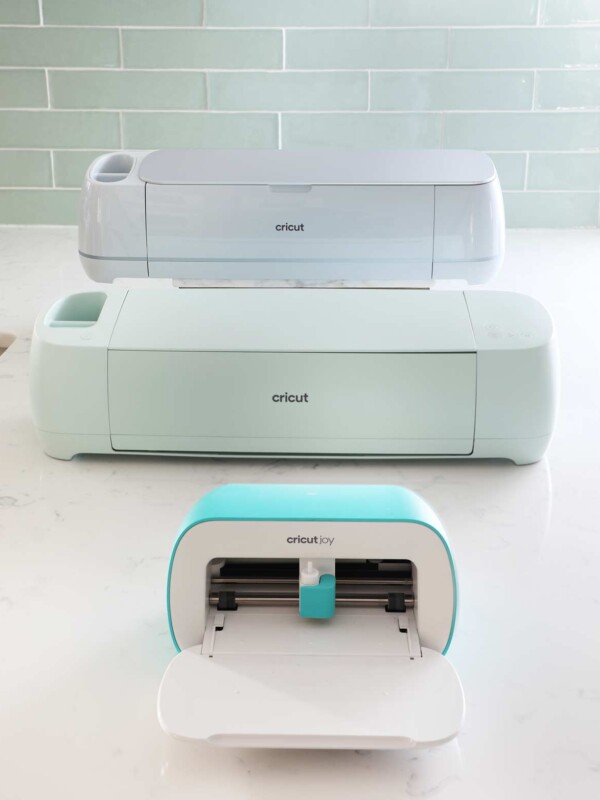
I am using my Cricut Maker 3 for this project but any of the Cricut Explore machines or either Maker work great for cutting out iron-on vinyl.
What’s new with the Maker 3? It can cut matless with smart materials and 2x times faster. It also has newly designed buttons and a new light blue color.
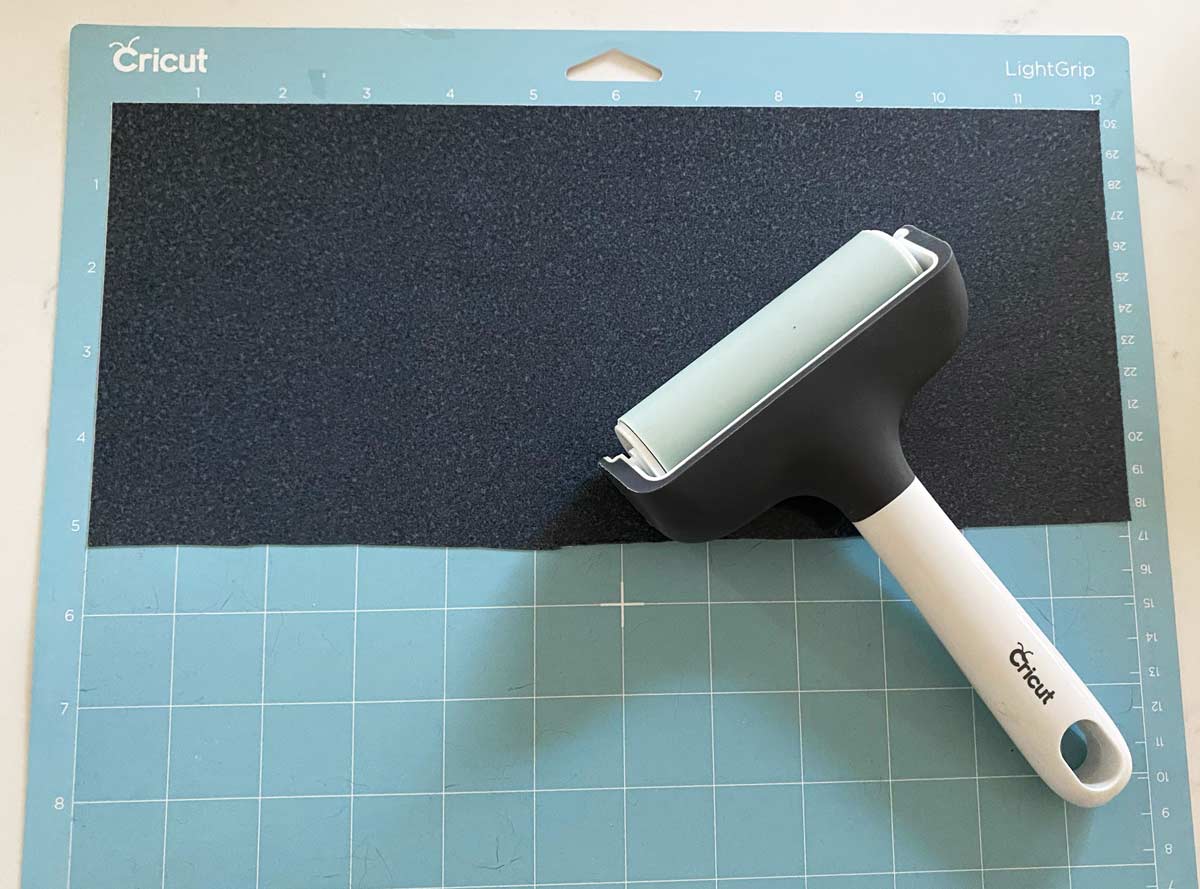
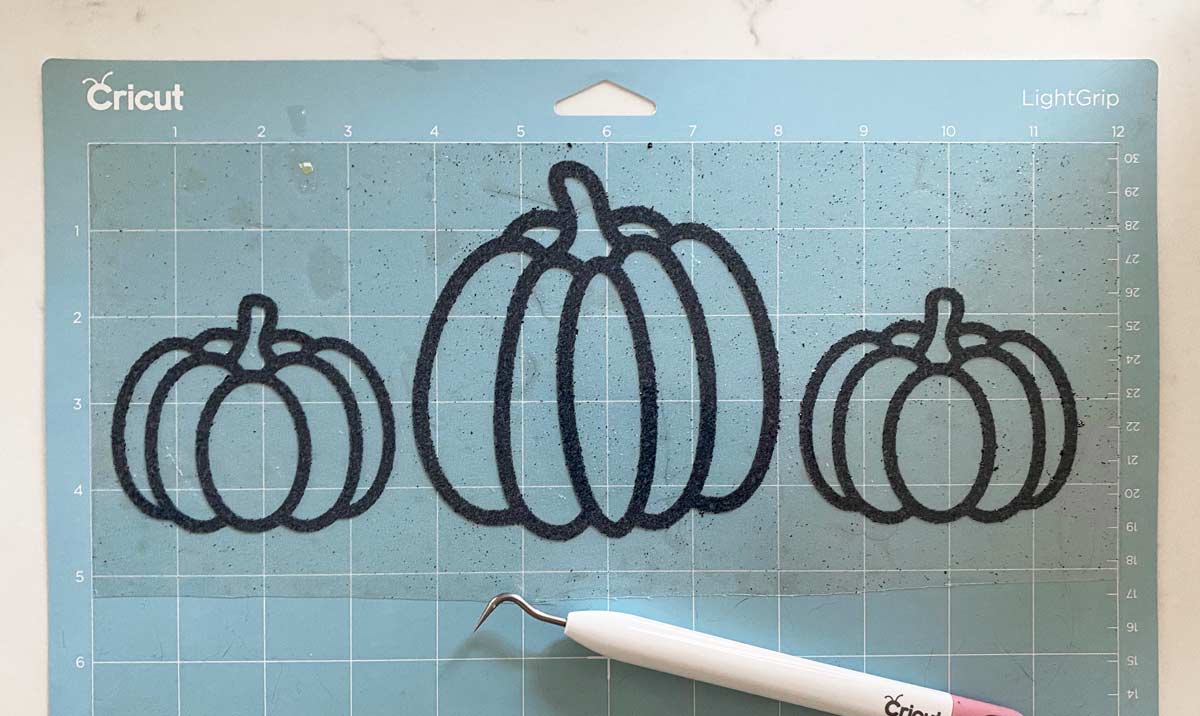
To start we are going to add our glitter iron on shiny side down to our light grip mat. I like to secure it to the mat using my brayer. Just roll the brayer over the iron-on to remove any air bubbles and help it adhere to the mat.
Tip- using a brayer will increase the life of your mat. It helps materials stick better when your mats are losing tackiness.
Select make it in design space.
Before cutting make sure to mirror your design in design space. Because we are cutting iron-on with the carrier sheet down on the mat we are cutting the back of the design.
You will also want to select the material you are cutting in design space. Pressing the blinking arrow load your mat into your Cricut. Once your Cricut is ready to cut click the play button or the blinking c.
Your machine will start cutting. Once it has stopped unload your mat with the arrow buttons.
Weeding
Now that your iron-on is cut lets weed. Weeding is to remove all the excess materials just leaving the design. I like to use the hook tool to get out all the little extra pieces.
Cutting Patterned HTV
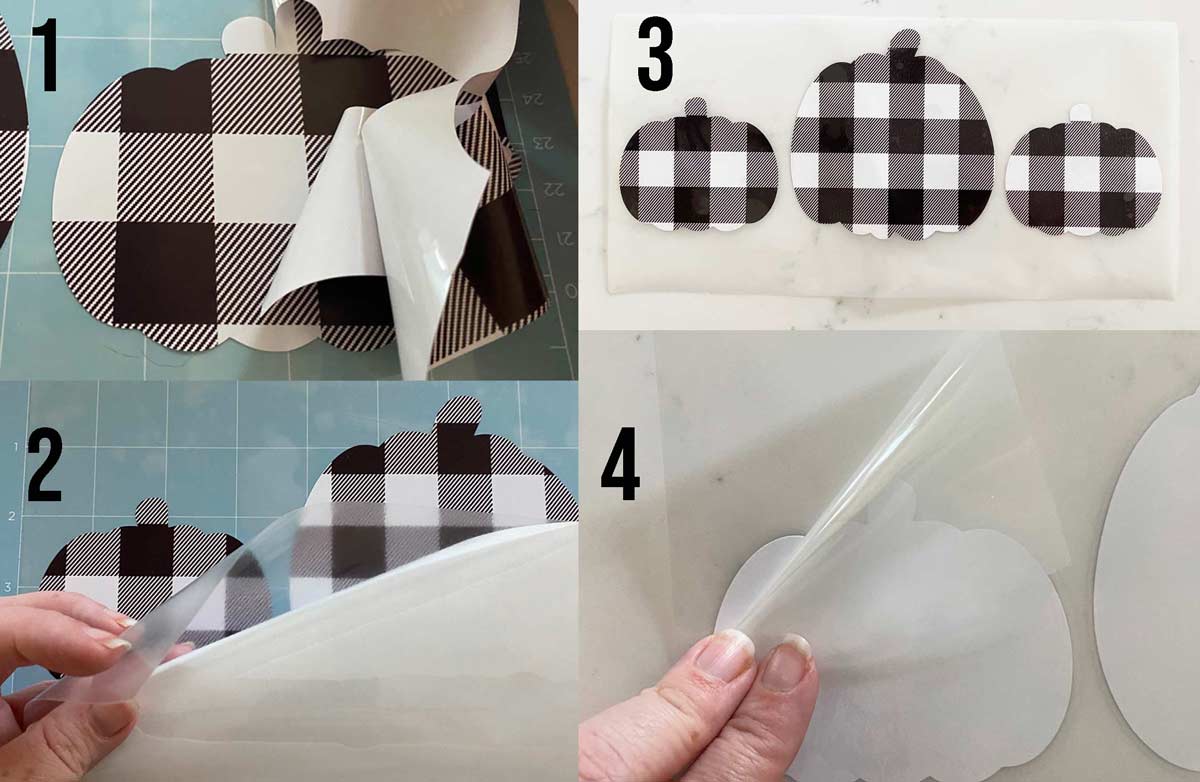
Not all patterned HTV or iron-on is the same so it’s important to read the instructions. The buffalo check HTV I am using comes with a mask or transfer carrier sheet.
- You want to cut this vinyl pattern side up with no mirroring. Then you are going to weed your design.
- Cut your plastic carrier sheet to size and remove the backing.
- Apply it just like transfer tape.
- Once you have added the carrier sheet to the front of your patterns peel off the backing and you are ready to place it on your sweatshirt to iron it on.
How to layer iron-on vinyl
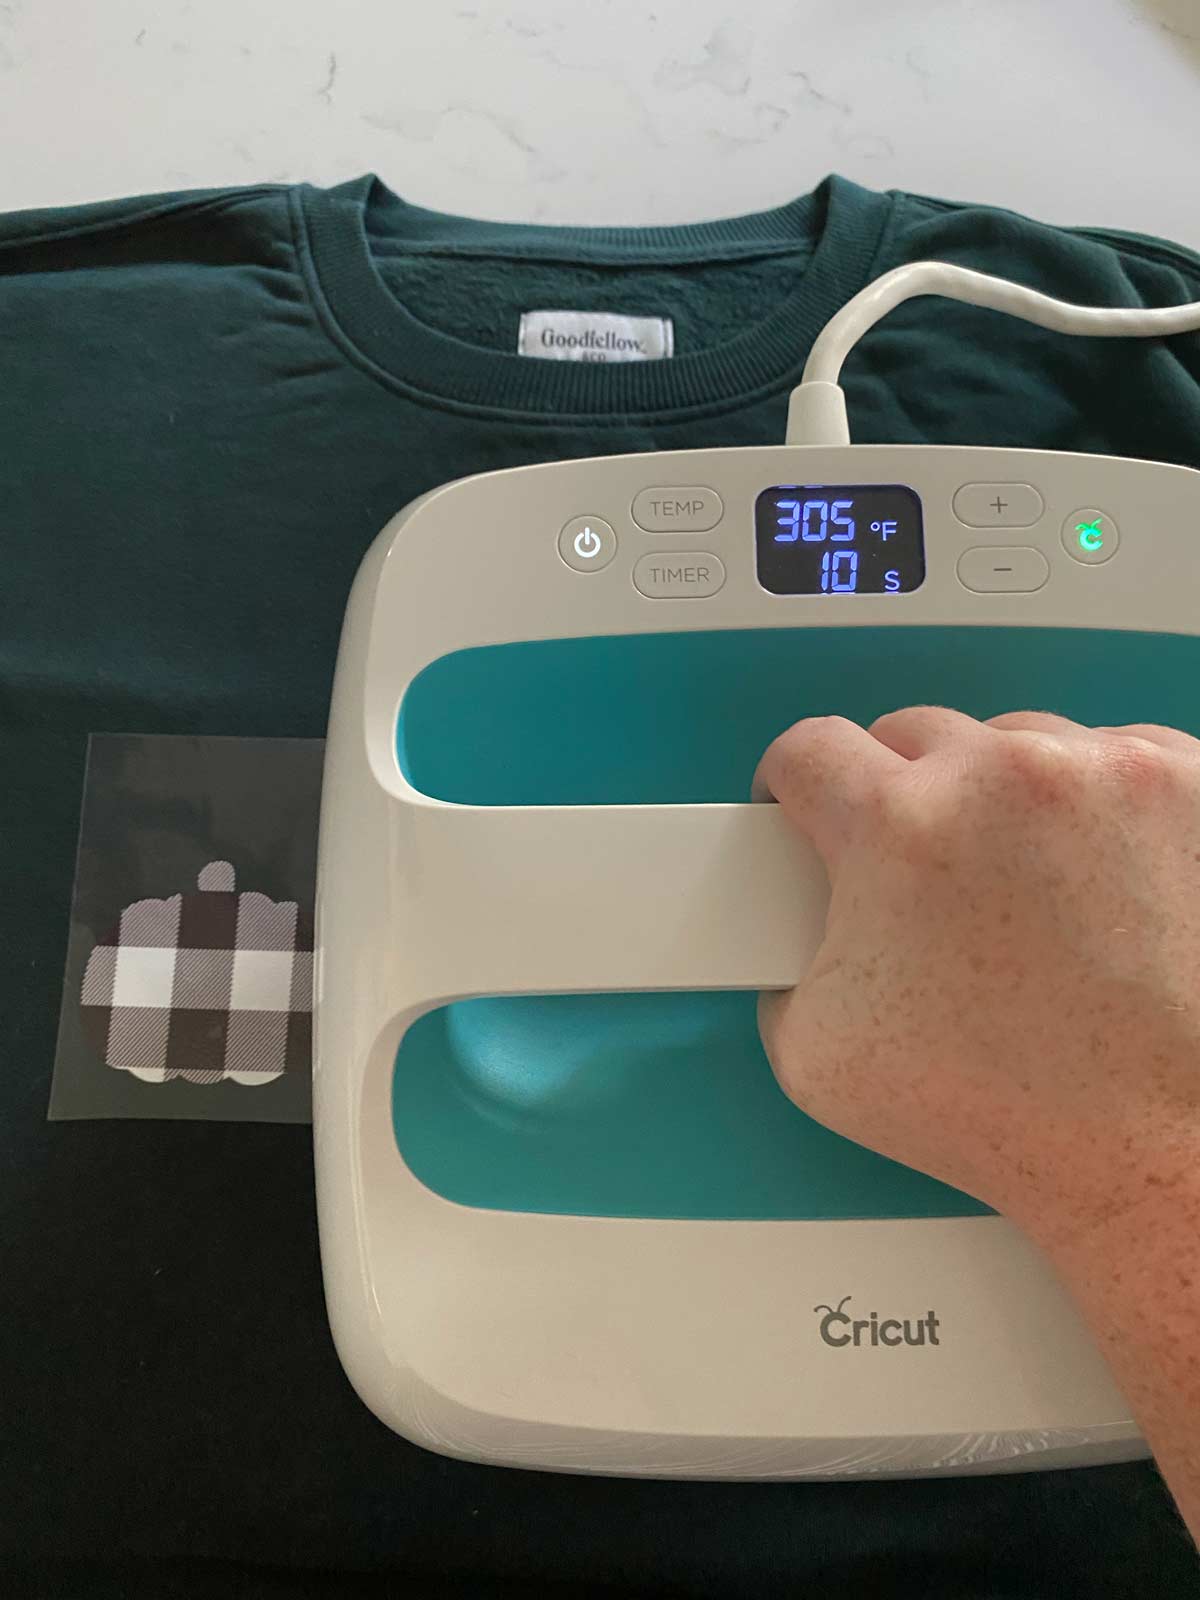
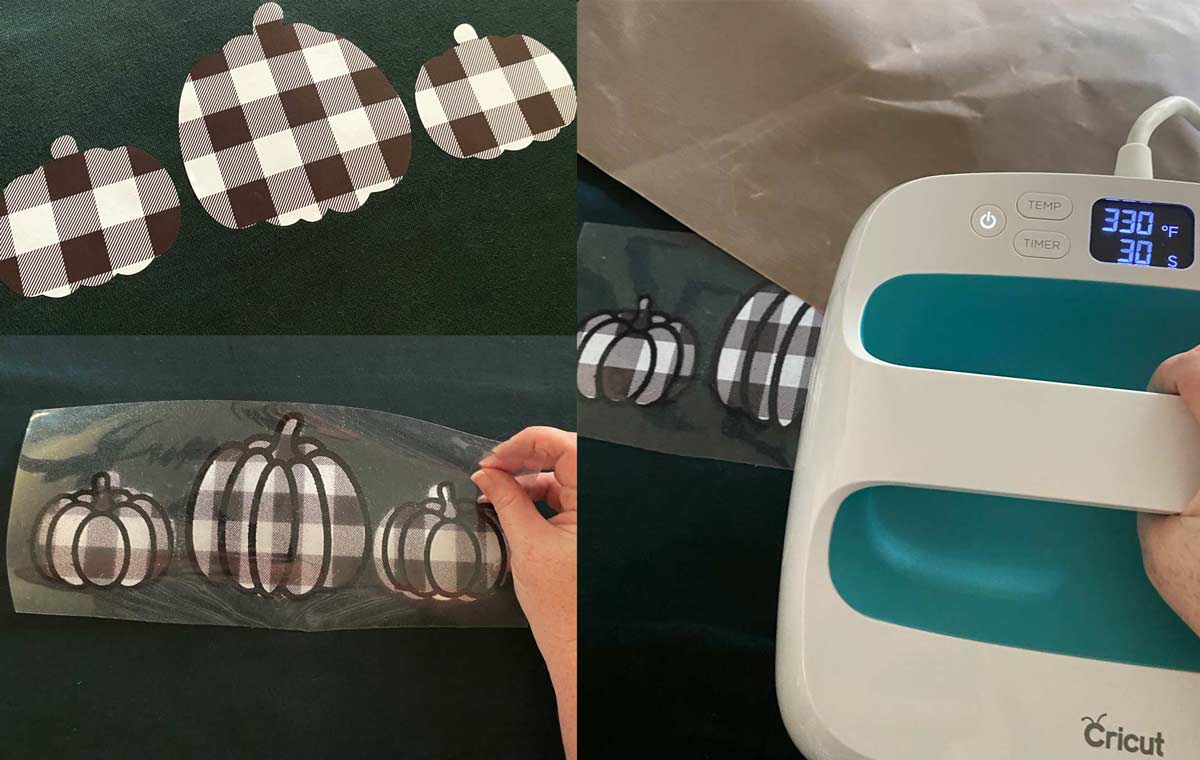
We are going to start with our first layer of iron-on vinyl or HTV. In this case it’s the patterned HTV. Preheat your shirt with your EasyPress for 5 seconds. Place your first layer into position. Now on your first layer you will just want to press it 3-5 seconds. Just long enough that it attaches to the material but not for the full press time since there is another layer.
Let it cool and carefully pull back your carrier sheet. Making sure the vinyl is sticking to the fabric.
Next you will want to line up the outline of your pumpkins with the base layer. Once that is in place cover your designs with a teflon sheet. This will help protect your base layer from some extra heat.
I checked Cricut’s heat guide to make sure I am using the right heat setting. The glitter iron-on needs to be pressed at 330 degrees for 30 seconds.
Flip it over and press the back for an additional 10-15 seconds. Once the carrier sheet has completely cooled peel it back.
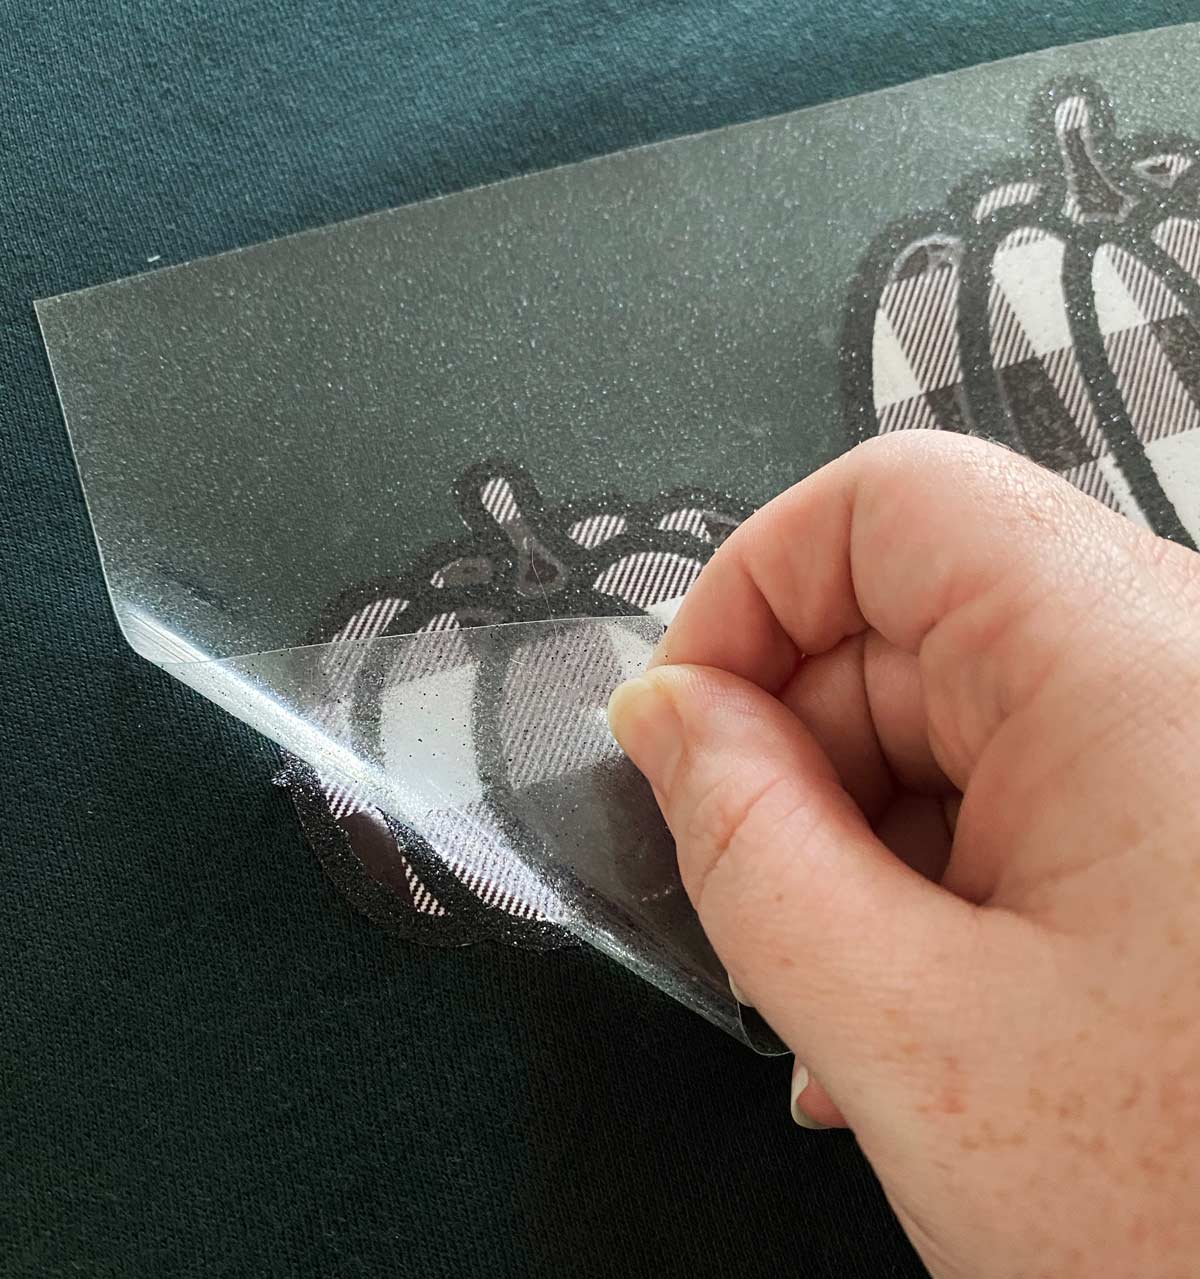
And just like that you’ve made your own Fall fashion. A nice cozy customized sweatshirt to wear all season.


Super cute!!