This post contains affiliate links, please read our disclosure policy.
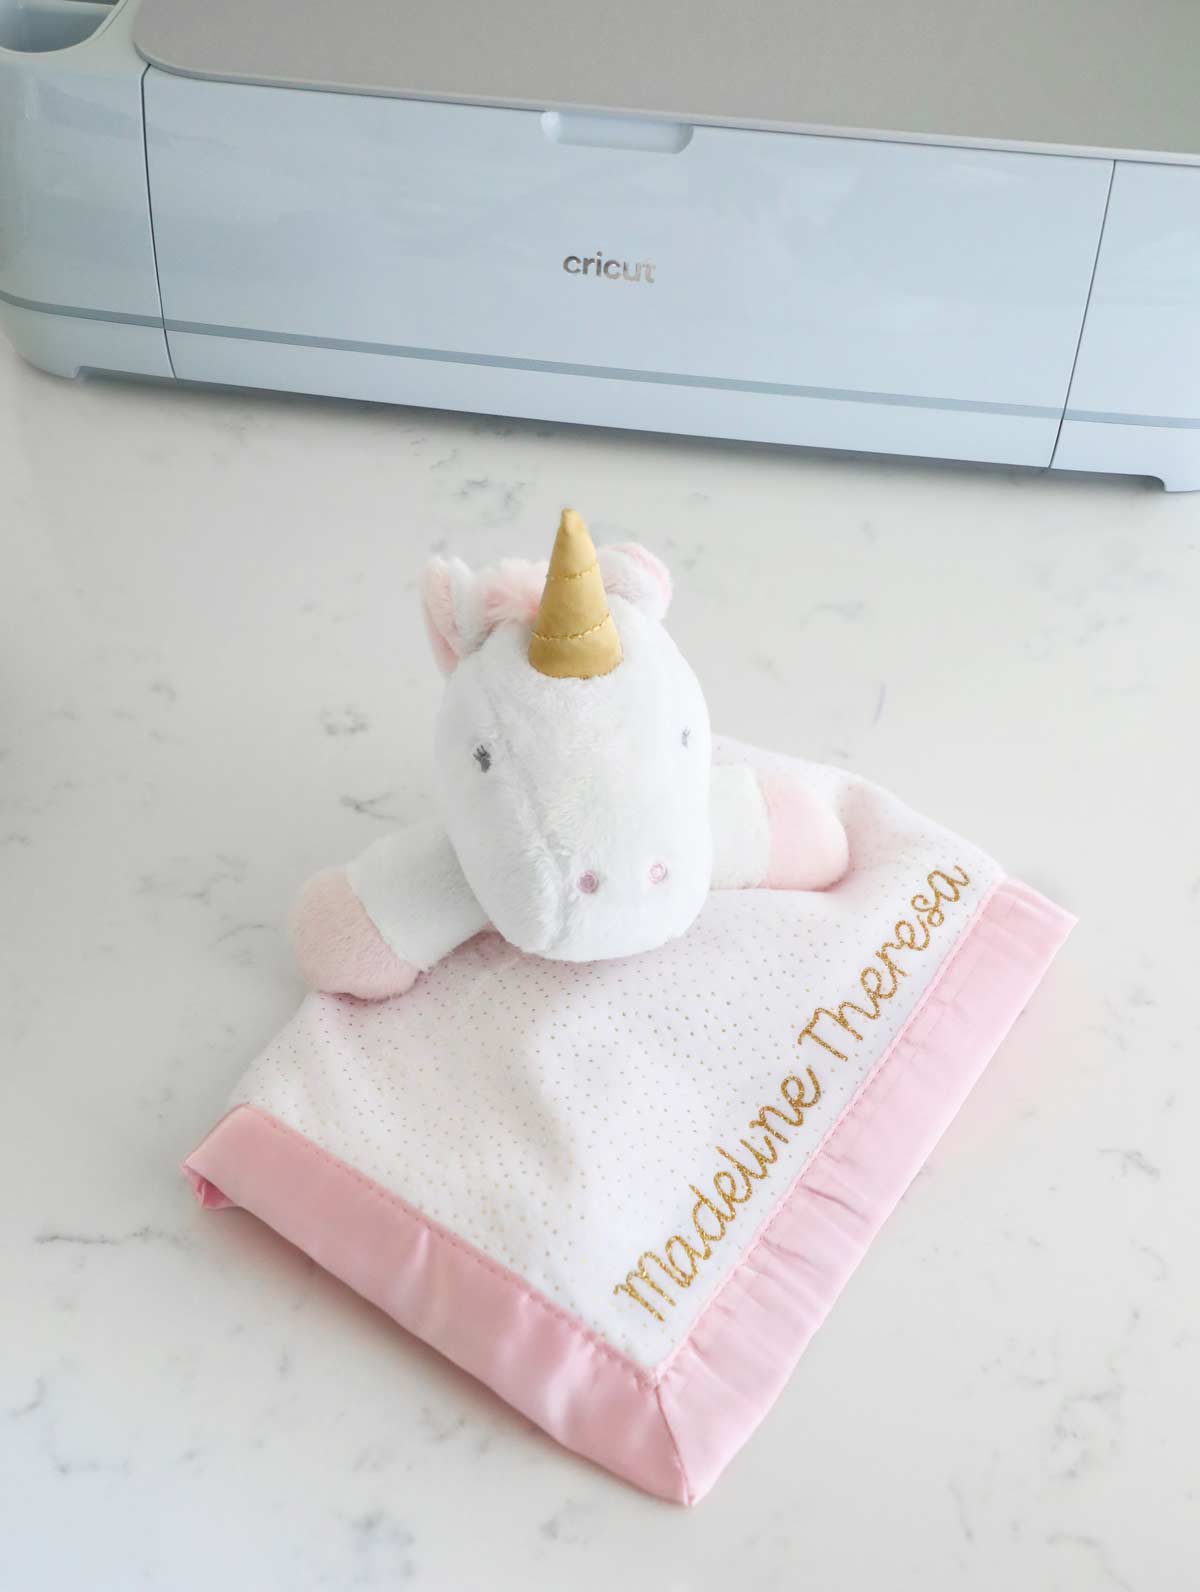
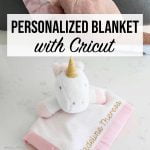
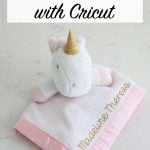
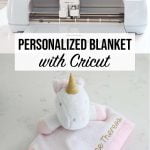
How to personalize a baby blanket with iron-on vinyl and the Cricut Maker 3. Makes a great DIY gift for a baby shower.
This post is sponsored by Cricut but all opinions are my own. This post contains affiliate links.
Recently I became and auntie for the fourth time. I love to make gifts with my Cricut so I decided to make a personalized baby blanket with my Cricut Maker 3. This is a simple project using glitter iron-on vinyl to add a name guaranteed that it will impress and look like you ordered it from a high end retailer. It makes a great baby shower gift or just a gift for a new born.
Looking for other gift ideas? Check out how I personalized these pajamas and also made decals for this kids jeep.
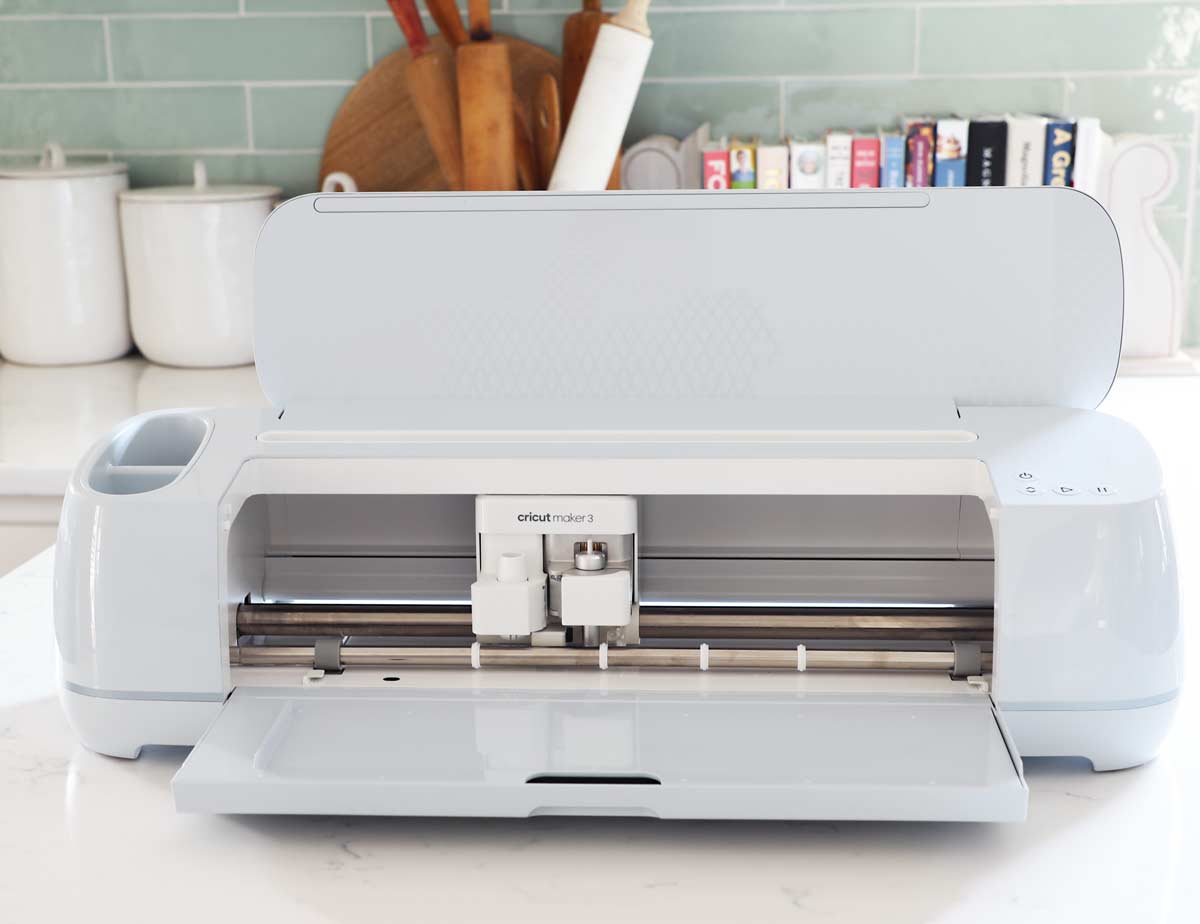
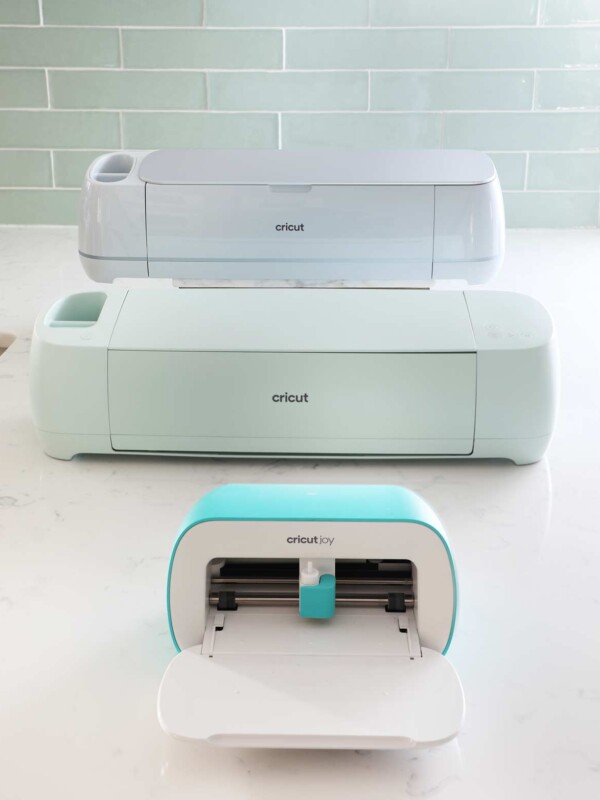
Cricut Maker 3
Cricut recently sent me the Cricut Maker 3. I was excited to get it out of the box and start crafting.
What’s new with the Maker 3? It can cut matless with smart materials and 2x times faster. It also has newly designed buttons and a new light blue color.
Here’s what you’ll need
- Cricut Maker 3 or other Cricut Machines
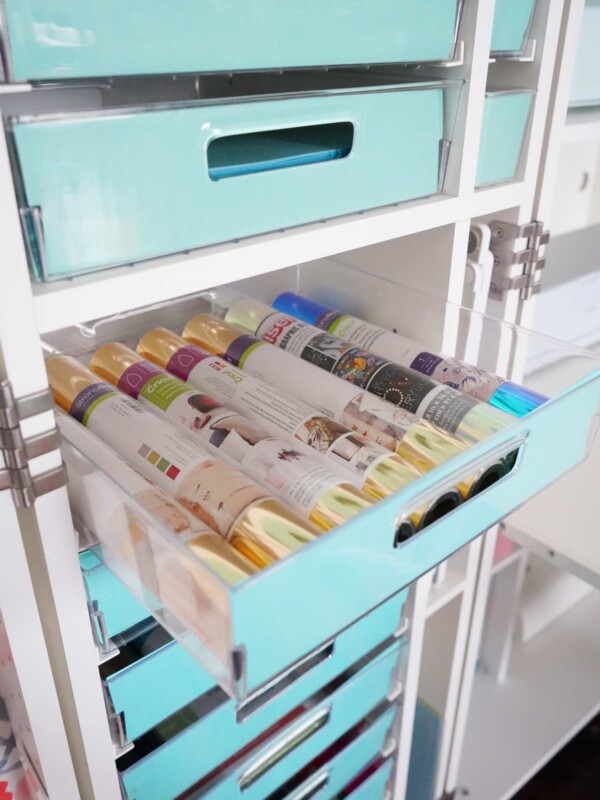
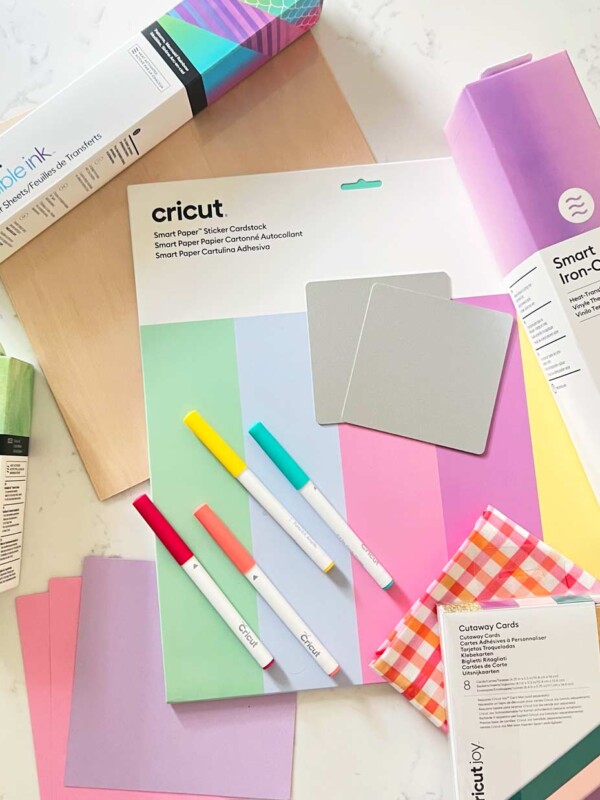
- Smart Iron-On Glitter Vinyl
- Cricut Easy Press or Iron
- Teflon Sheet (optional)
- Baby Blanket
- Weeding tool
- Cricut Roll Holder (optional)
Note if you are using a Cricut machine that doesn’t use smart vinyl you can use iron-on vinyl and a light grip mat.
Tips for buying a baby blanket to personalize
When using iron-on vinyl on a blanket or fleece you want to pick a blanket that has a low pile. I had tried doing this before on a sherpa. While it worked the iron-on sits on top of the material. Since it’s a longer pile it does not feel as secure.
Some baby blanket materials can also have plastic in them. Pick a polyester material that will hold the heat of the iron and not melt.
Cricut Design Space
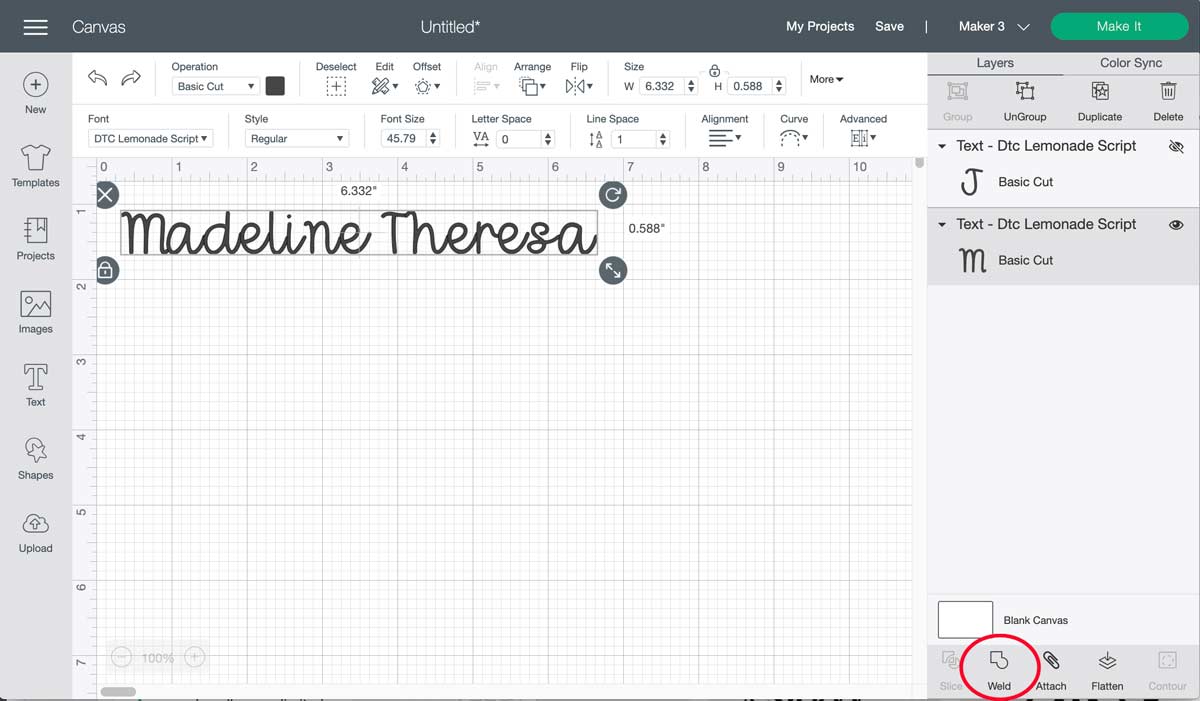
In design space I typed out “Madeline Theresa” and found the font DTC Lemonade Script. I chose this font since it could be kerned. I also loved the playfulness of this script it did not feel too formal.
Welding Script Font
Anytime you are cutting a script font once it is kerned you want to weld it. Welding make it one continuous line or cut where letters intersect. You can find the weld button on the bottom right of the layers panel.
How to use Cricut smart vinyl iron-on
This project was actually my first time using the smart materials on my Cricut Maker 3. Let me just tell you it was so easy!
What are Cricut smart materials? Smart materials are specially designed materials that can cut without a mat. This allows you to “think off the mat” making projects as long as 12 feet. Think custom decals, signs, stencils the projects are endless. Smart materials come in iron-on, vinyl and sticker paper.
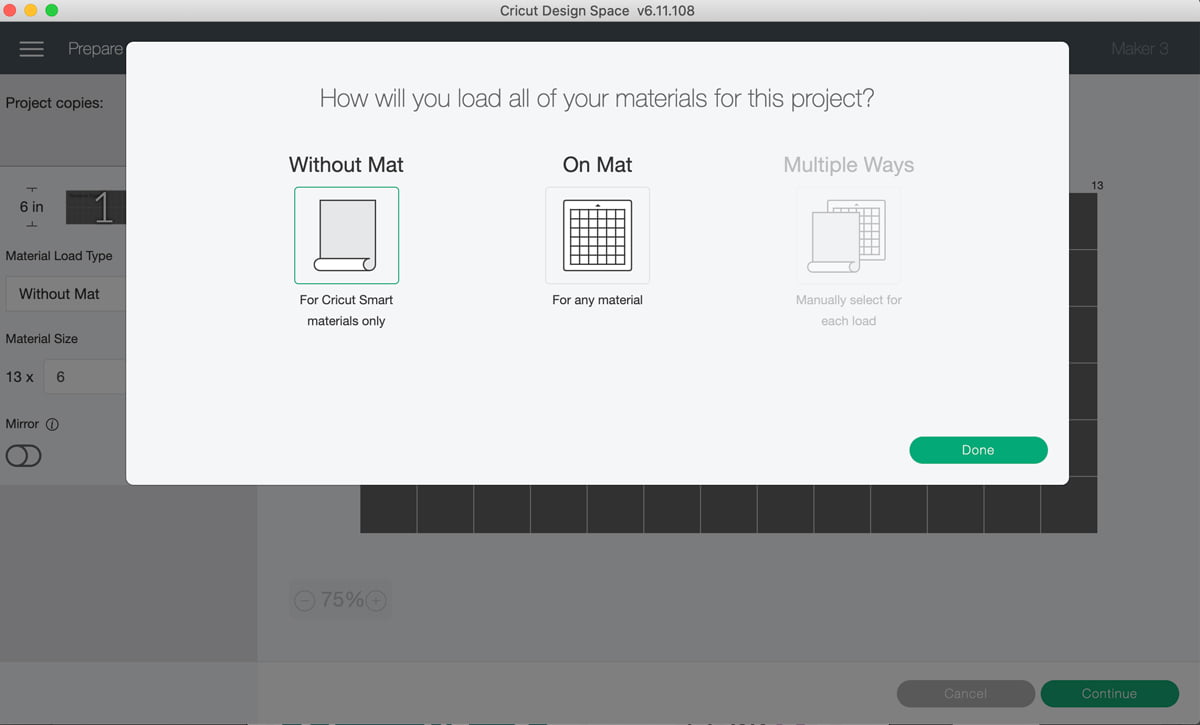
You will now notice that after you select make it in design space you will see and option to cut matless and select which material you are using.
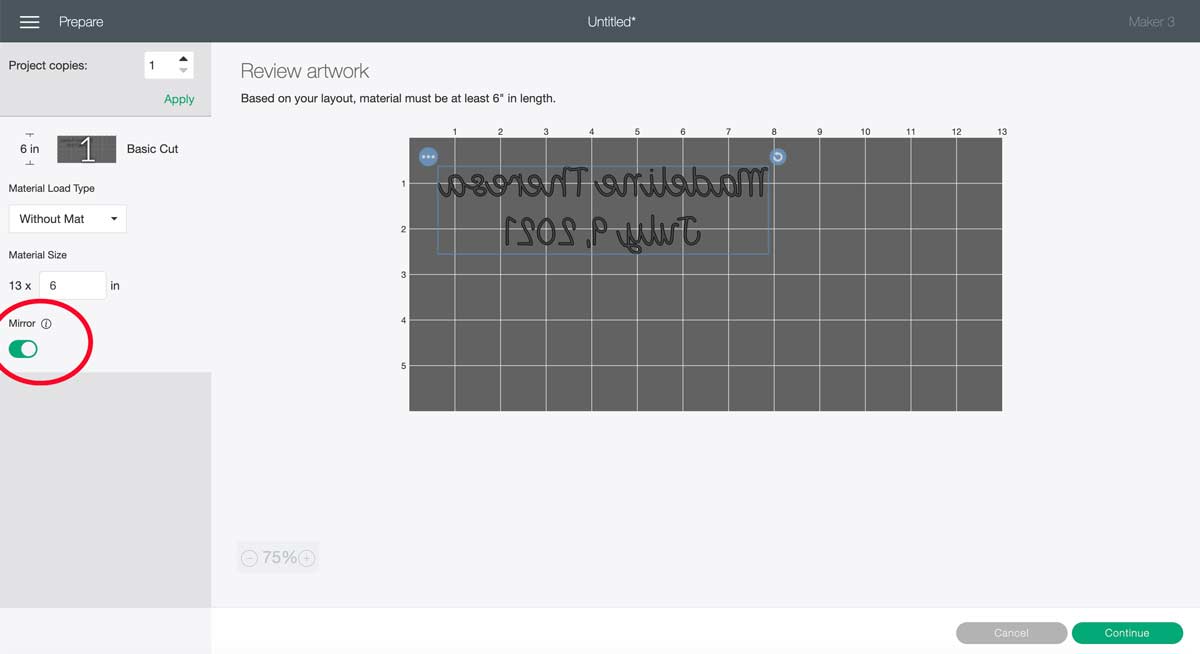
Mirror
When you are cutting iron-on vinyl you want to remember to always mirror your design. This option will come up after you select make it in design space.
Now that we have our designed mirrored we are going to select continue and your machine should connect via bluetooth or you can connect it with a USB cord. Select your material.
Loading Smart Material into Cricut Maker 3
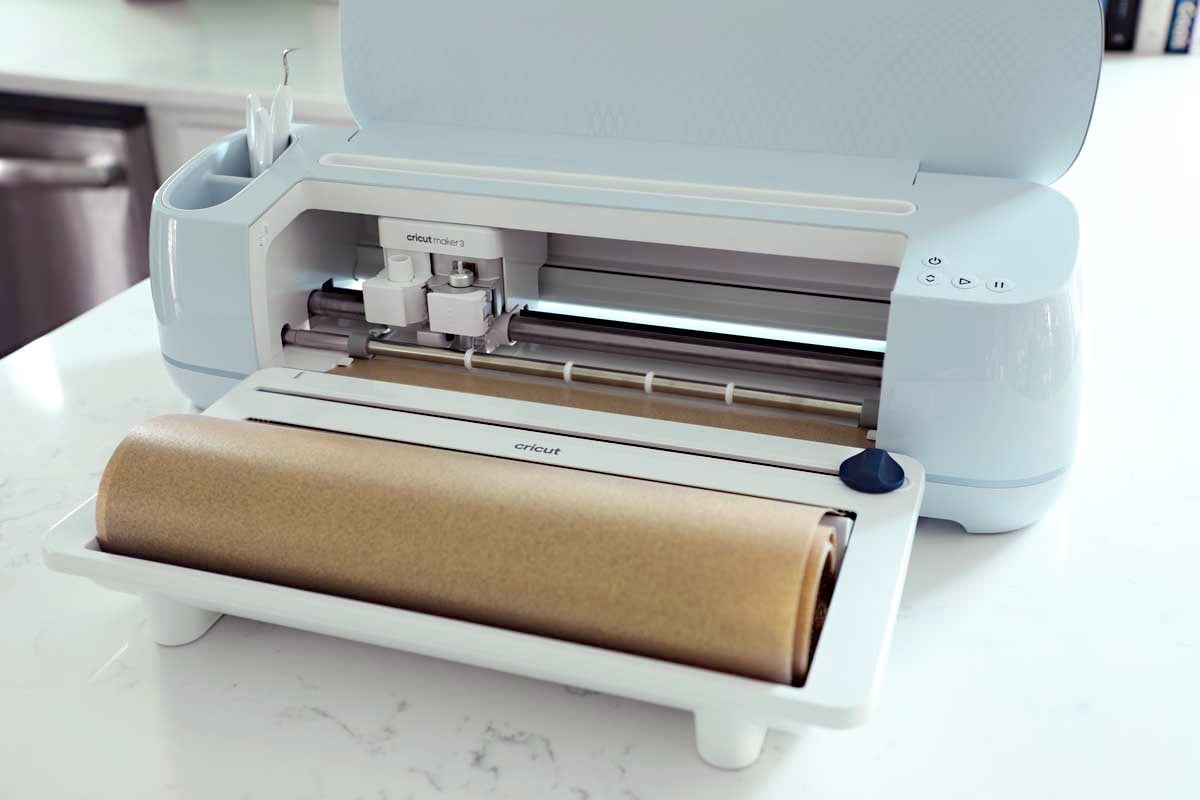
Design space will prompt you to load your smart iron-on into your Cricut. There are two guides on the tray load line up your vinyl with those guides and select the illuminated arrows to load your material. Once your material is loaded press the illuminated play button. This used to be the blinking “c” on previous machines.
Cricut Roll Holder
I decided to get you my roll holder out. It attaches to the bottom tray of the Maker 3. Since I am not using a mat you sit the vinyl roll in the holder and feed it into your machine. My favorite feature of the roll holder is the trimmer.
The roll holder is sold separately it is not needed to use the Maker 3 but it is a nice addition.
Weeding
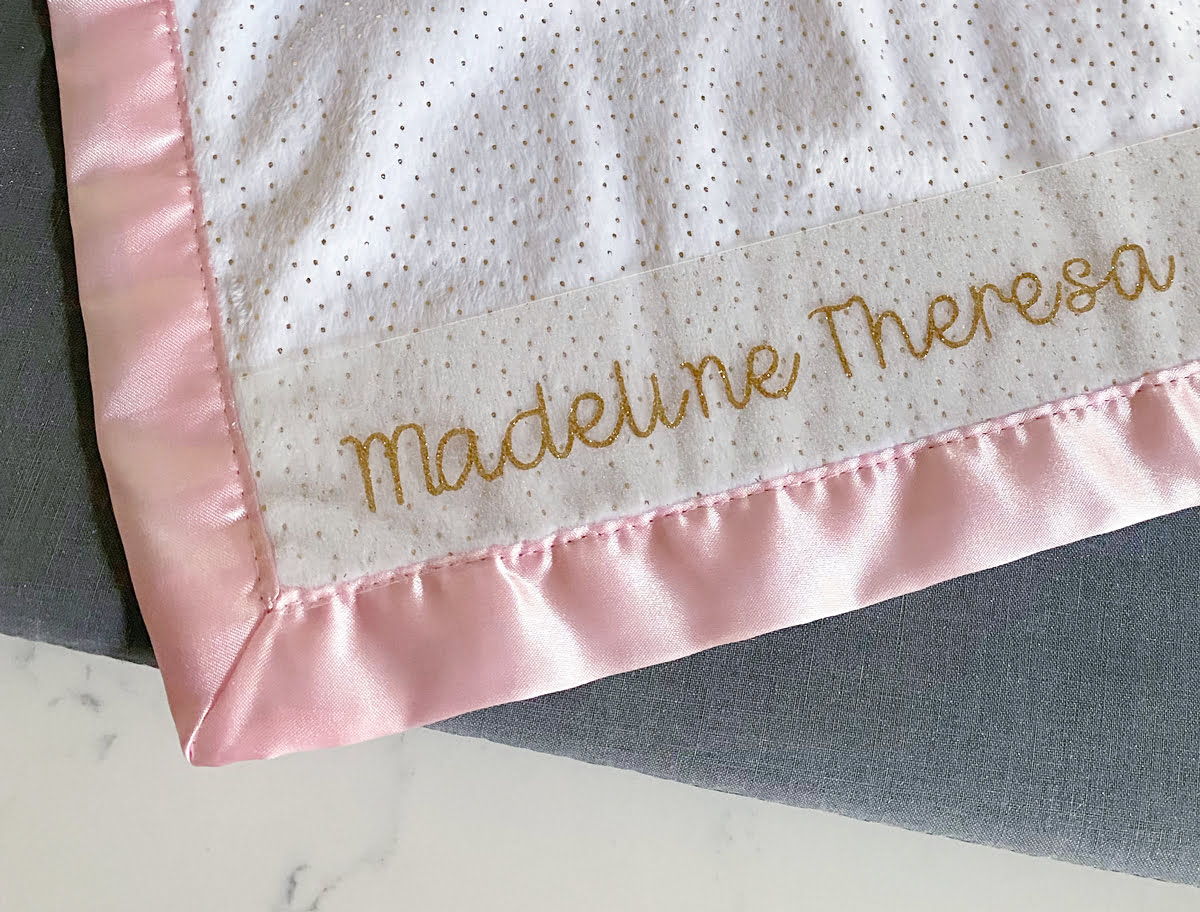
Now that your iron-on is cut lets weed. Weeding is to remove all the excess materials just leaving the design. I like to use the hook tool to get out all the little extra pieces.
Heat Settings
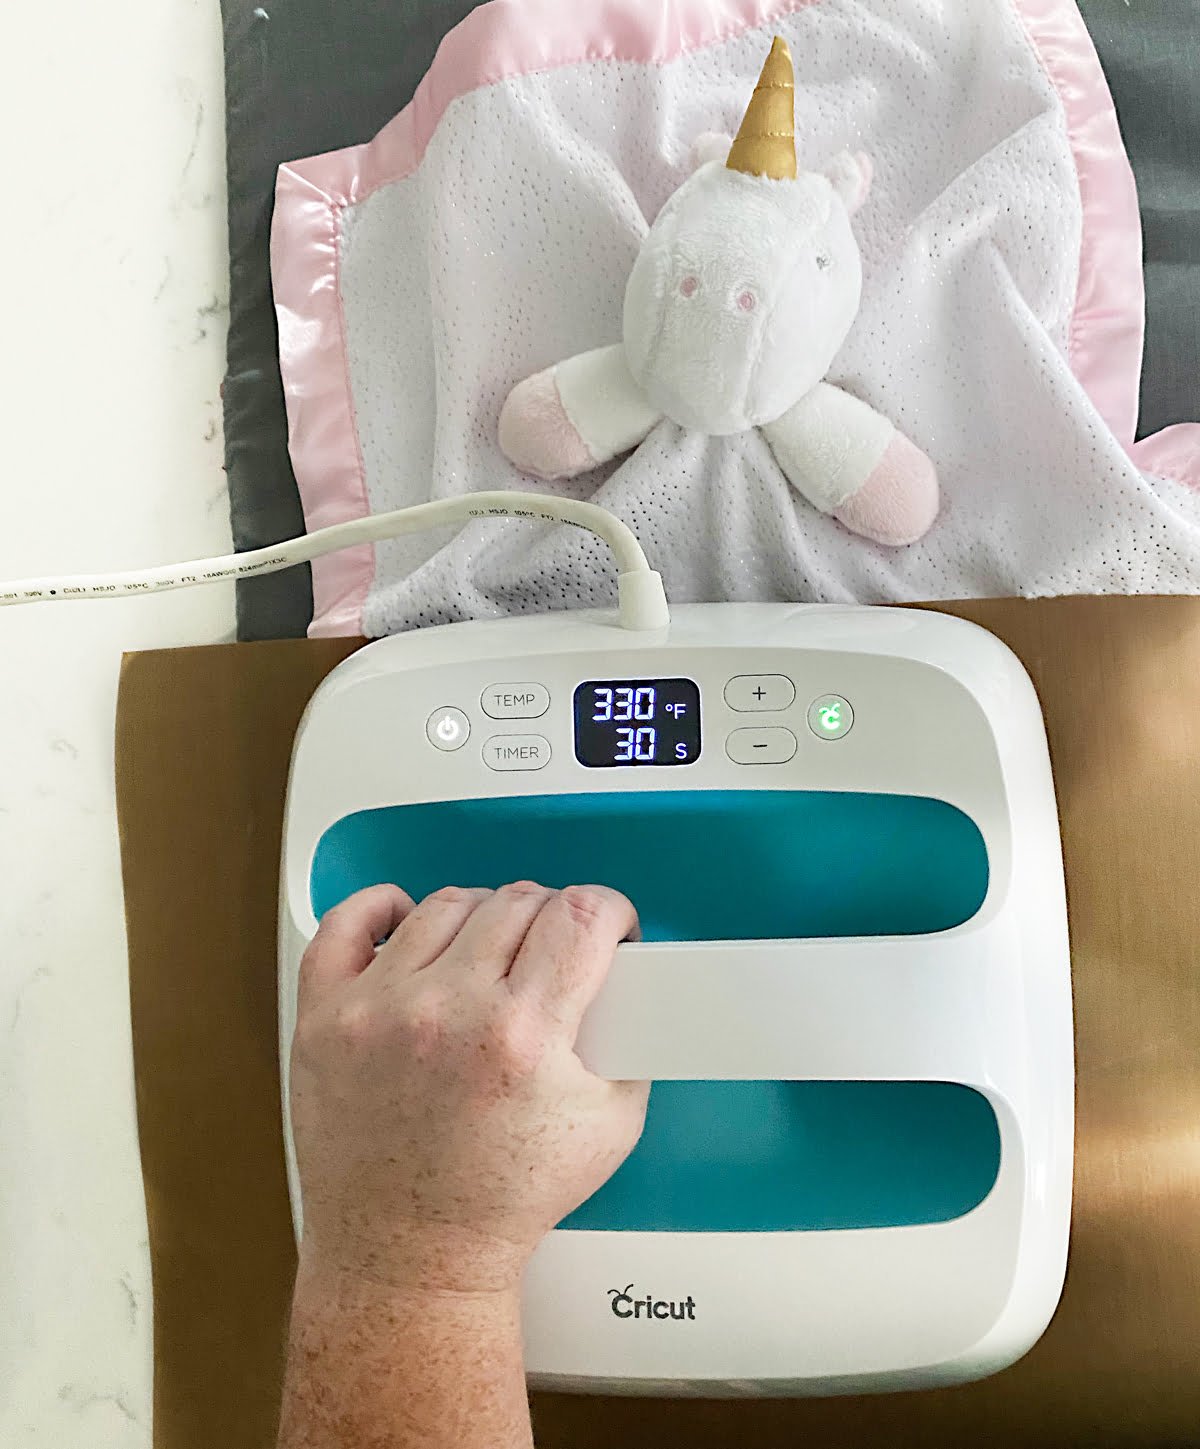
I always use Cricut’s heat guide to make sure I am using the right heat setting. For this blanket I set my EasyPress to 330 degrees for 30 seconds. I preheated the blanket for 5 seconds. Placed my iron-on vinyl in position covered with a teflon sheet and pressed for 30 seconds. Once that was done I flipped it over and pressed for another 15 seconds.
Once it was cool to the touch I pulled back the carrier sheet. It came out perfectly.
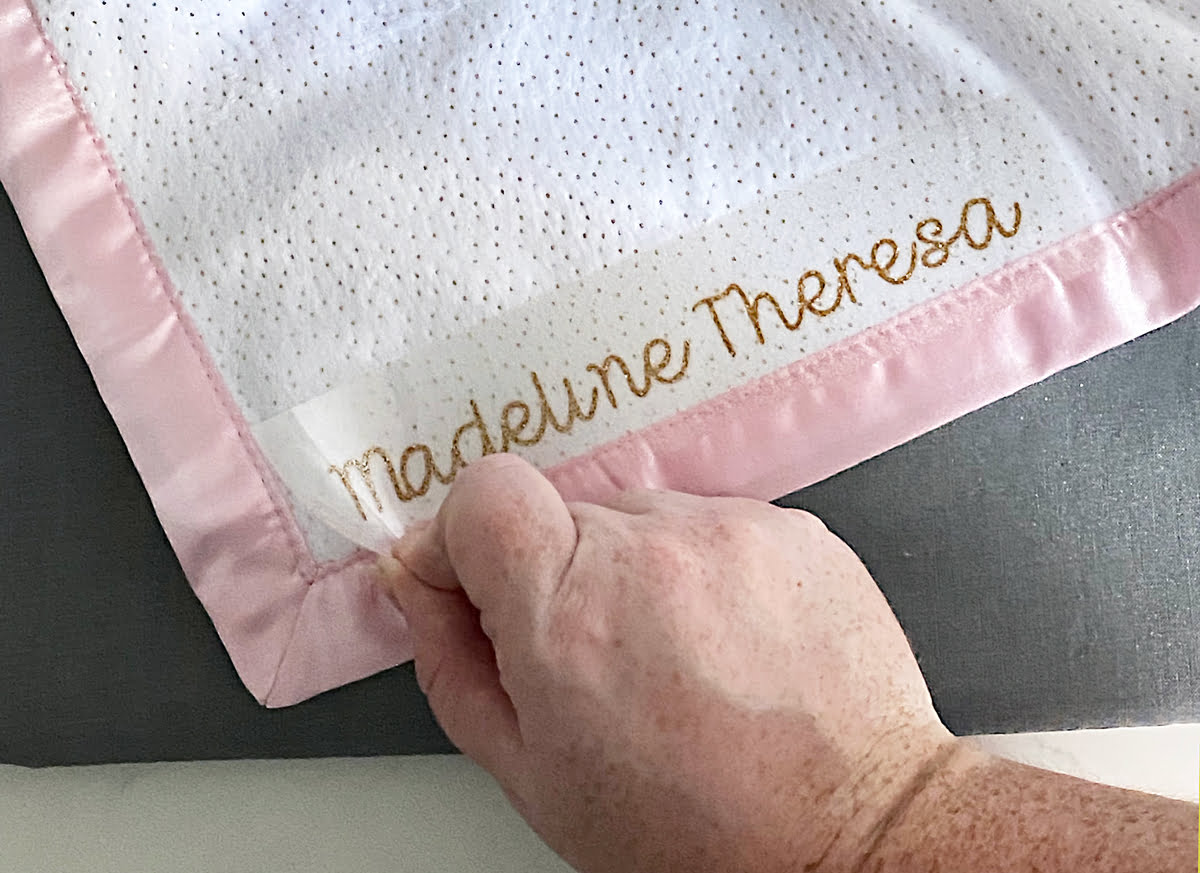
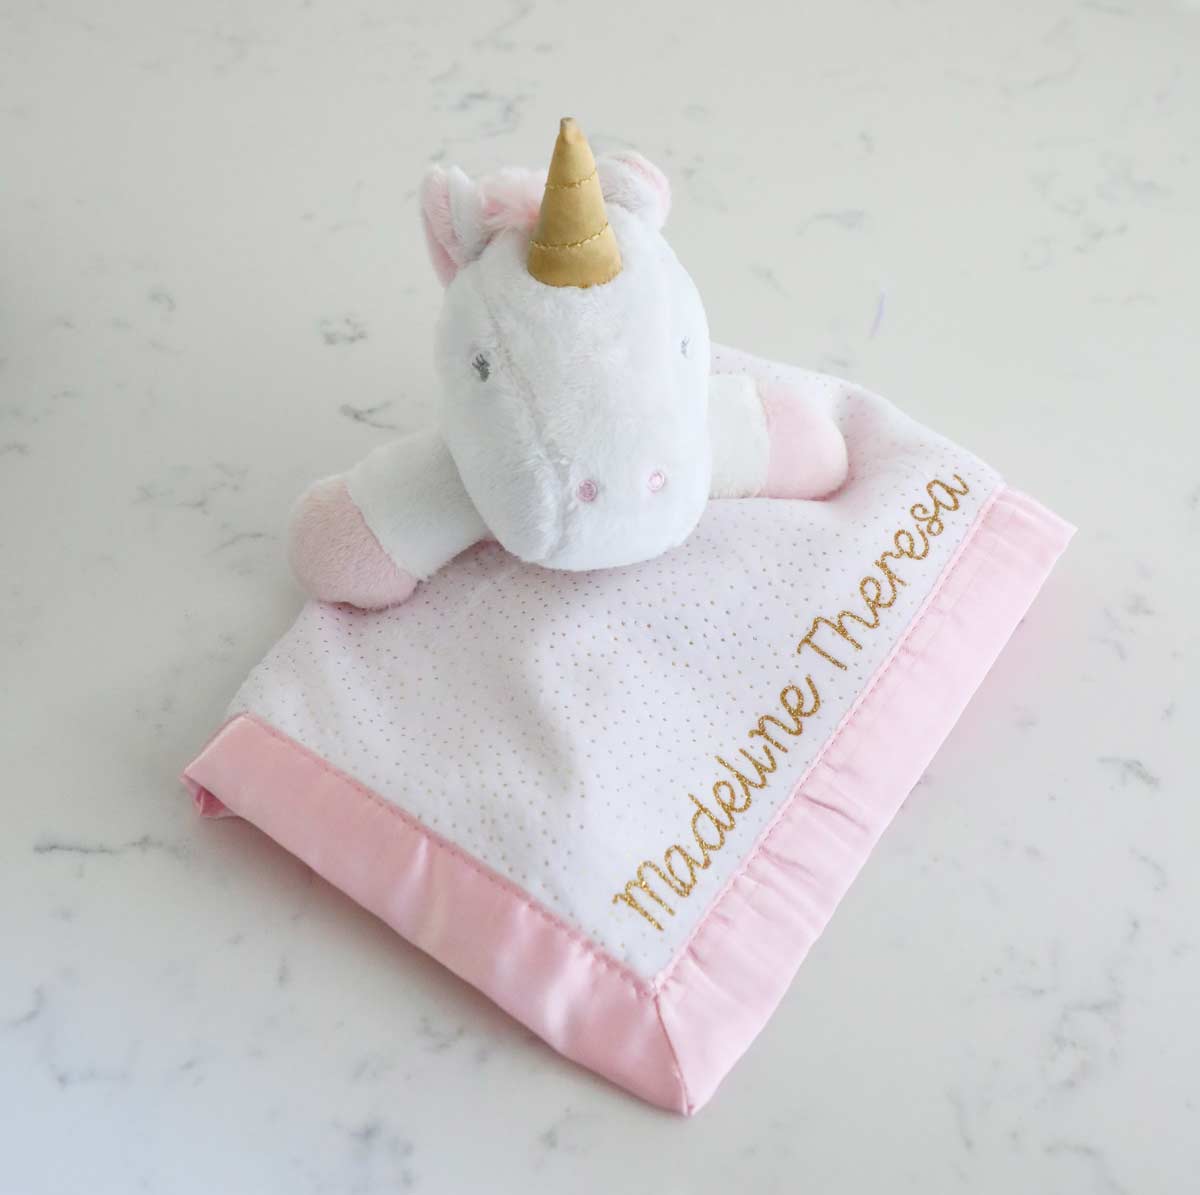
This project not only looks so professional but it only took me 15 minutes from start to finish. I know my sister is going to love it as well as my niece when she get a little older. The small personal touches don’t take a lot of time but add so much to a gift making it thoughtful and meaningful.

It’s sooooo cute! I love how easy this looks… and that roll holder looks amazing. I bet your niece will love it!