This post contains affiliate links, please read our disclosure policy.
Learn how to layer Iron-on vinyl with your Cricut or Silhouette. 
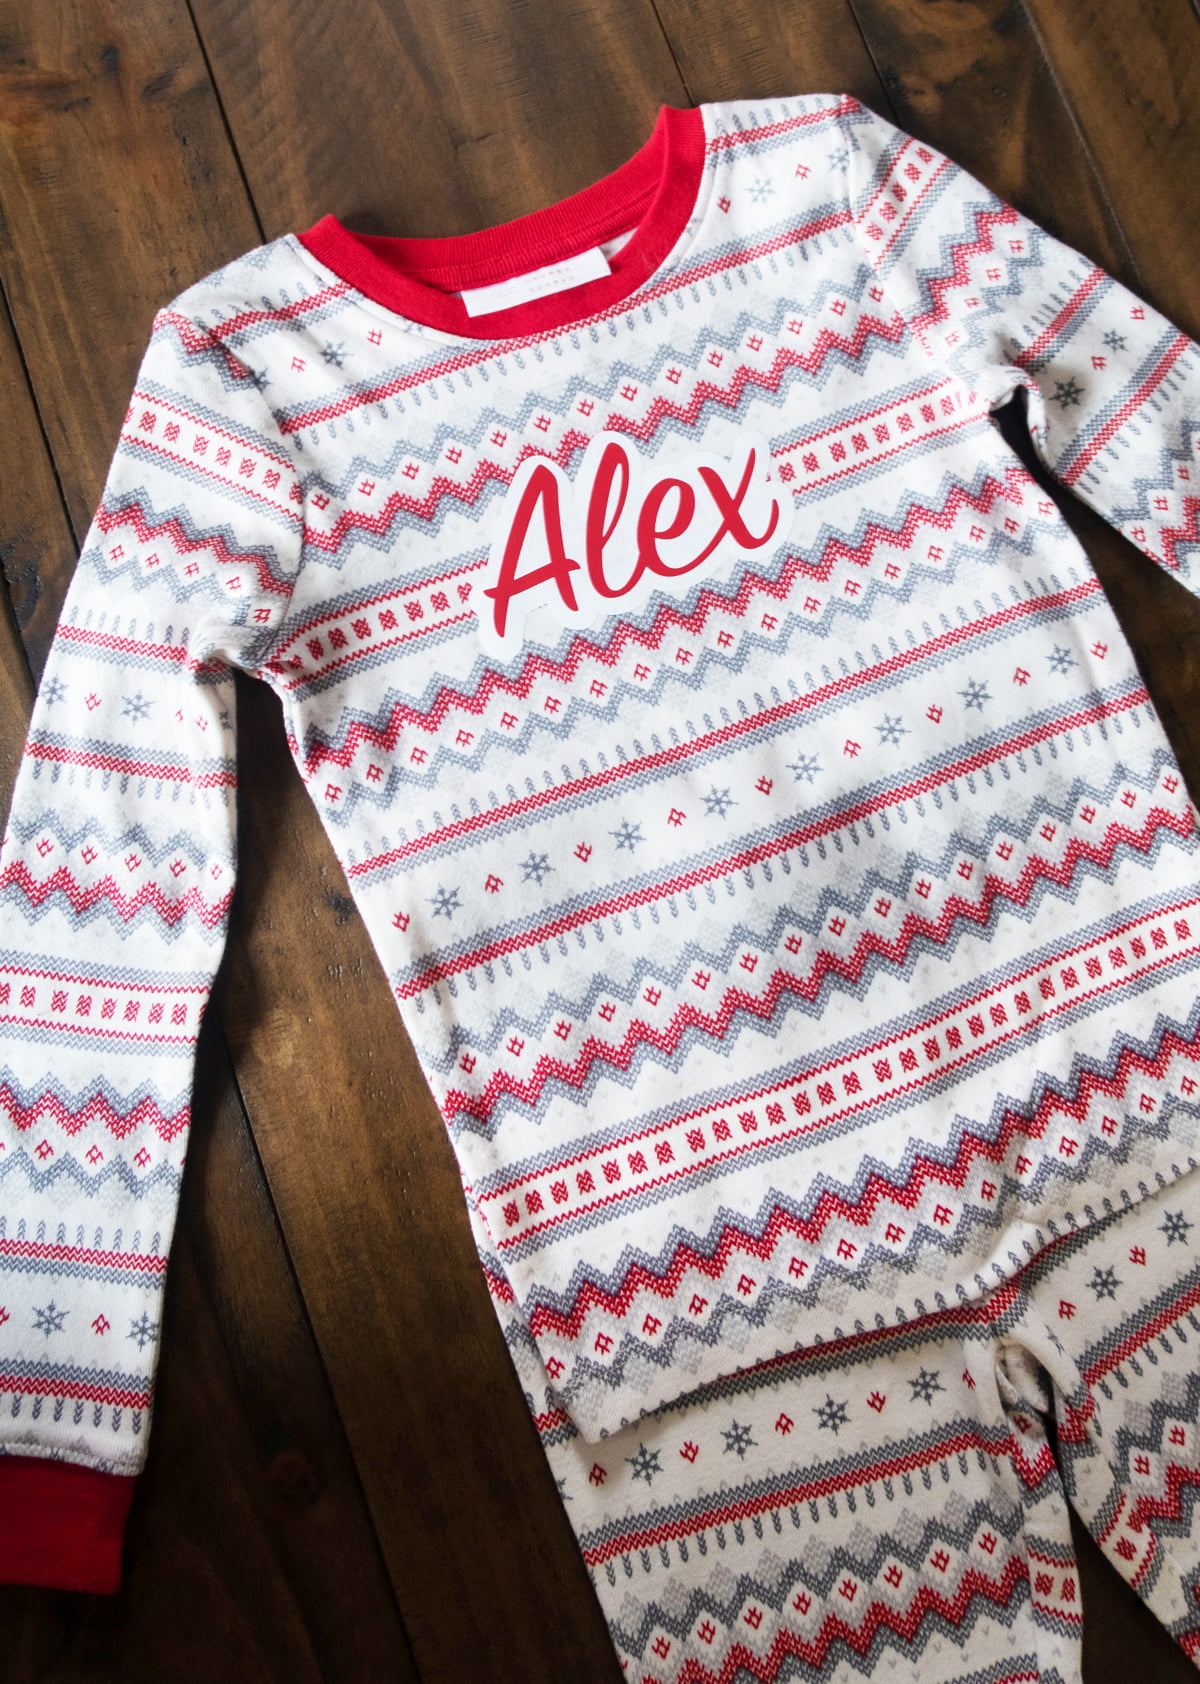
Sometimes when you are designing an iron-on transfer it just needs more than one color. Today I am going to show you how to layer iron-on vinyl successfully taking all the guess work away. Whether you have a Cricut or Silhouette this really is all the same steps.
This post contains affiliate links.
What You’ll Need
- Iron-On Vinyl
- Cricut Maker
- Cricut Light Grip Mat
- EasyPress or Heat Press
- Hook Tool
- Pajamas or which ever blank your putting it on.
Does your material have a zipper? Check out how to apply iron-on vinyl over a zipper here.
The directions below show a technique on pajama material. If you are using something different check out the temperature and time settings on this heat guide. Follow the steps below and adjust time and heat to your materials.
How To Layer Iron-On Vinyl
- Before cutting, be sure to mirror your design. This ensures your image layers are properly oriented once on the pajamas

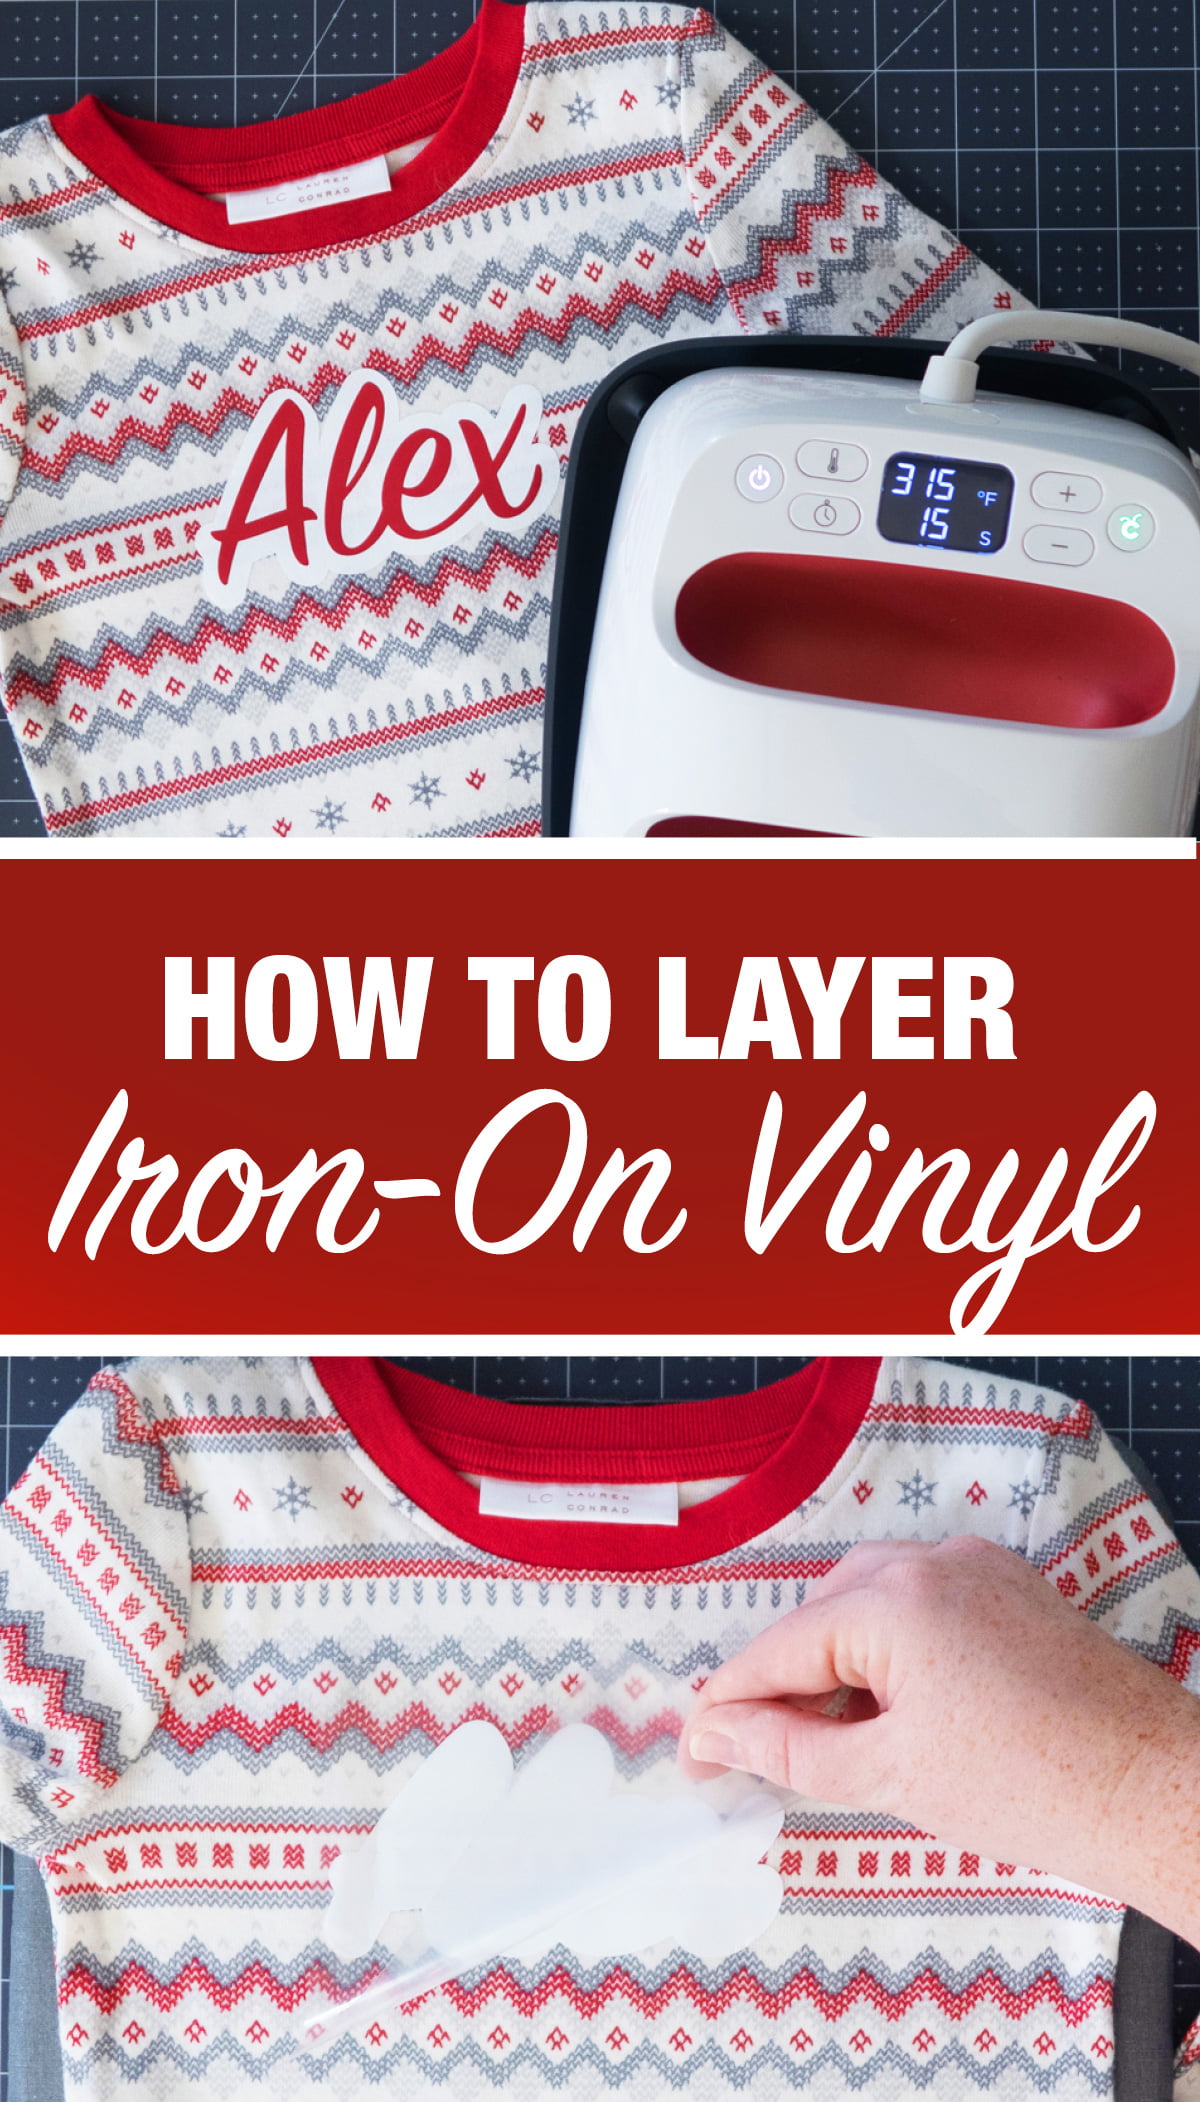
- Set your EasyPress to 315 degrees and using a different set of pajamas? Reference Cricut’s heat guide here.
- Preheat your material for 5 seconds.
- Place the bottom layer of your design onto the pjs, then cover with Cricut EasyPress and apply firm pressure, with two hands, for 1-3 seconds.

- Remove the plastic liner from the applied layer when it has cooled enough to be warm, not hot, to the touch.
- The iron-on will not be completely set at this time, but as you apply more heat with each additional layer, the adhesive for all layers will properly set.
- Top Layer: when adding the top layer of your image, apply firm pressure with the Cricut EasyPress for 15 seconds.
- Flip your pajamas over and apply heat and firm pressure for 10-15 seconds.
