This post contains affiliate links, please read our disclosure policy.
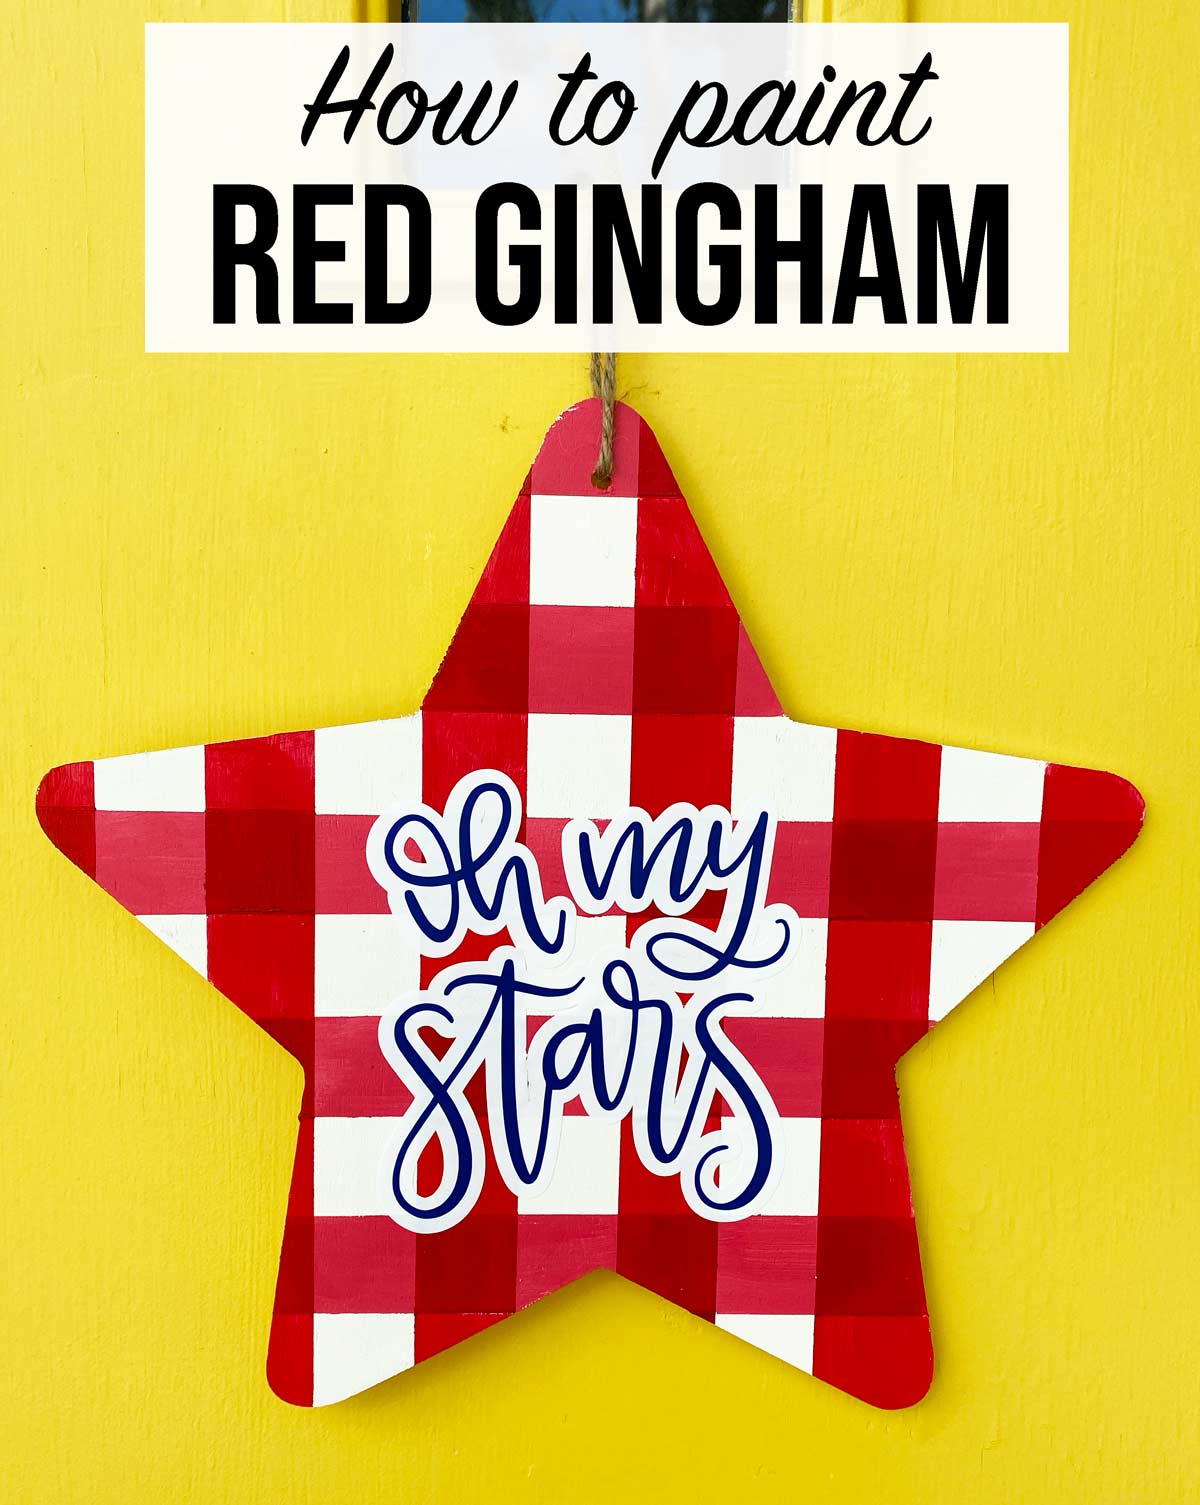
An easy tutorial on how to paint gingham or buffalo check plaid with painters tape.

Gingham or buffalo check plaid is everywhere and it has been my favorite for years. Today I want to show you how to paint gingham using painters tape. I have done this method a few times over the years and have it down to a science so I thought I needed to share this tutorial.
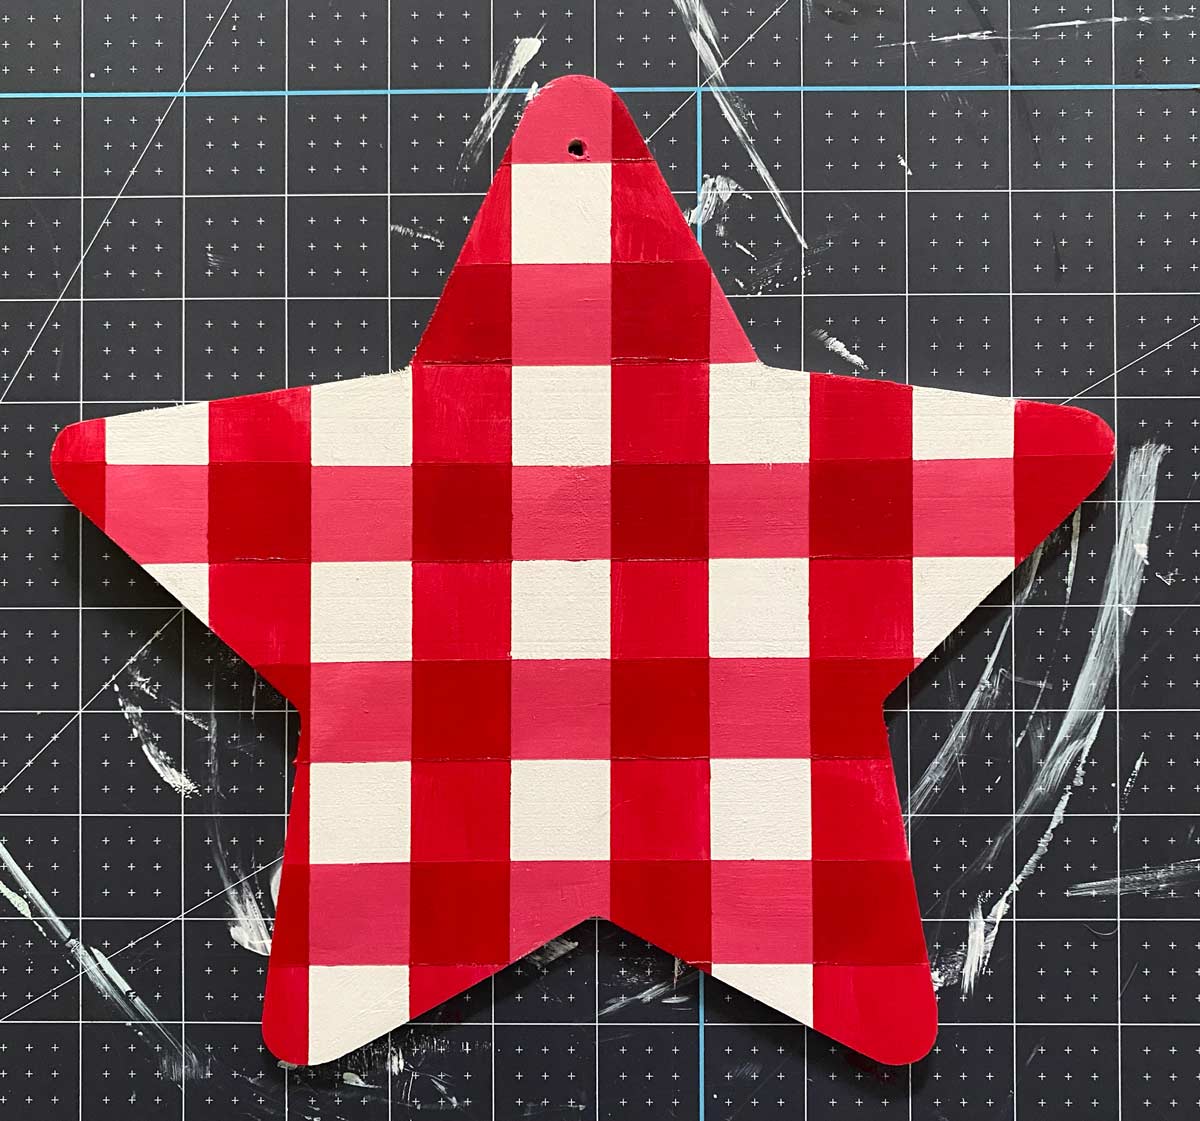
I am working on a door sign for July 4th. I picked up this wooden star at Dollar Tree and new it would be perfect not only for my front door but to also paint it red gingham.
Red Gingham or buffalo check plaid always reminds me of summer. It’s that iconic picnic pattern. I thought if I created a red and white background and added blue lettering to this star it would be a cute patriotic craft.
Now I used painters tape to make my plaid pattern but you can also use your Cricut and make a vinyl stencil. Read about that here. Want to make a buffalo check mason jar? Check out how to here.
Check out more buffalo check door hangings for Fall, Valentine’s Day, St. Patricks Day, Easter and a multi colored Easter egg.
This post contains affiliate links.
Table of Contents
Here’s What You’ll Need
- Frog Tape (I used .94in)
- White Chalk Paint
- White and Red Acrylic Paint
- Paint Brushes
- Wooden Star (Dollar Tree)
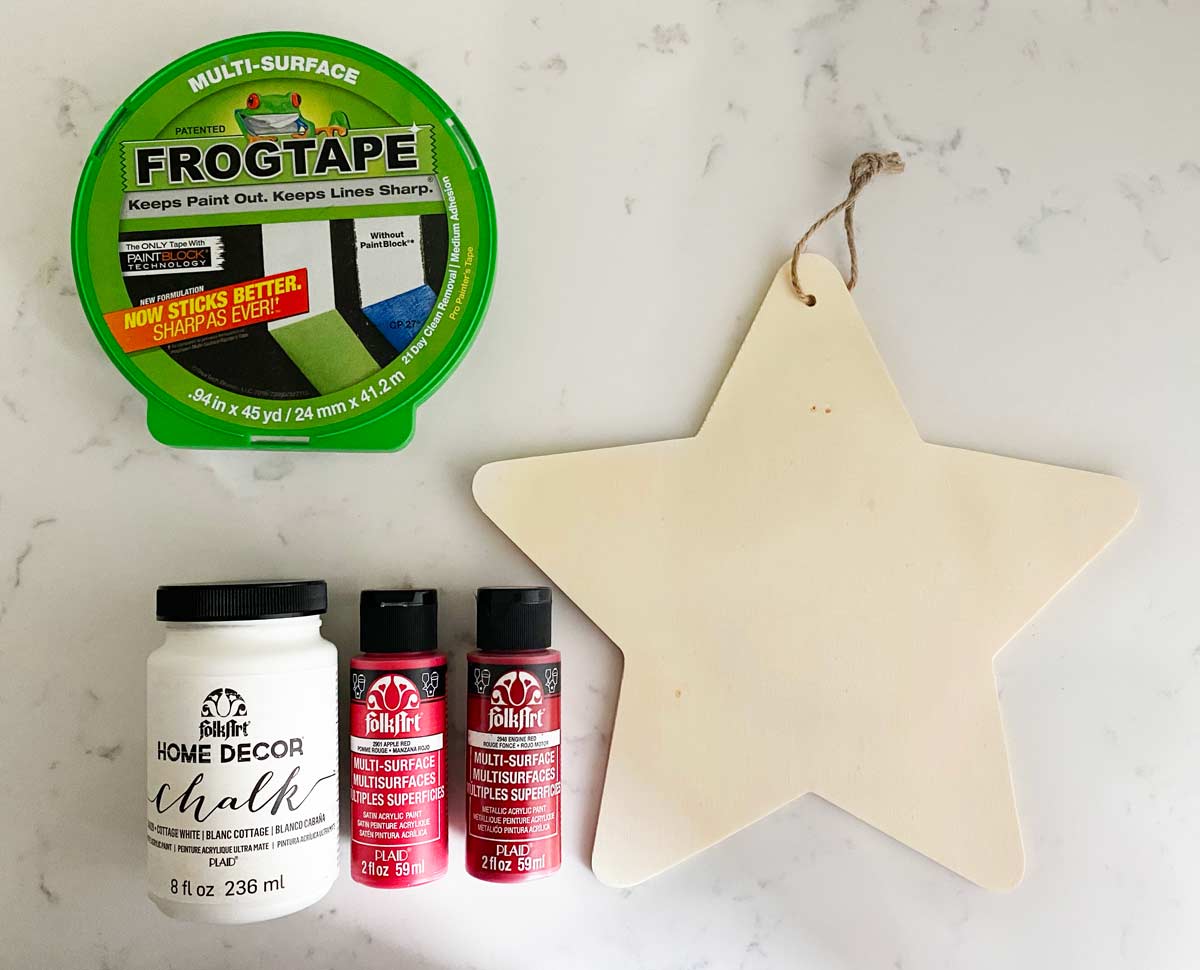
Let’s paint some plaid. All you really need is some painters tape, paint brushes and paint. Now I will tell you the best tape to use is Frog tape. The paint blocking technology is just superior for crisp lines.
Mix Paint Colors
Now you are going to need 3 colors to make this red and white buffalo check. A light red, medium red and dark red. Now you can do this by purchasing all the colors or mixing your own with white and red acyrlic paint.
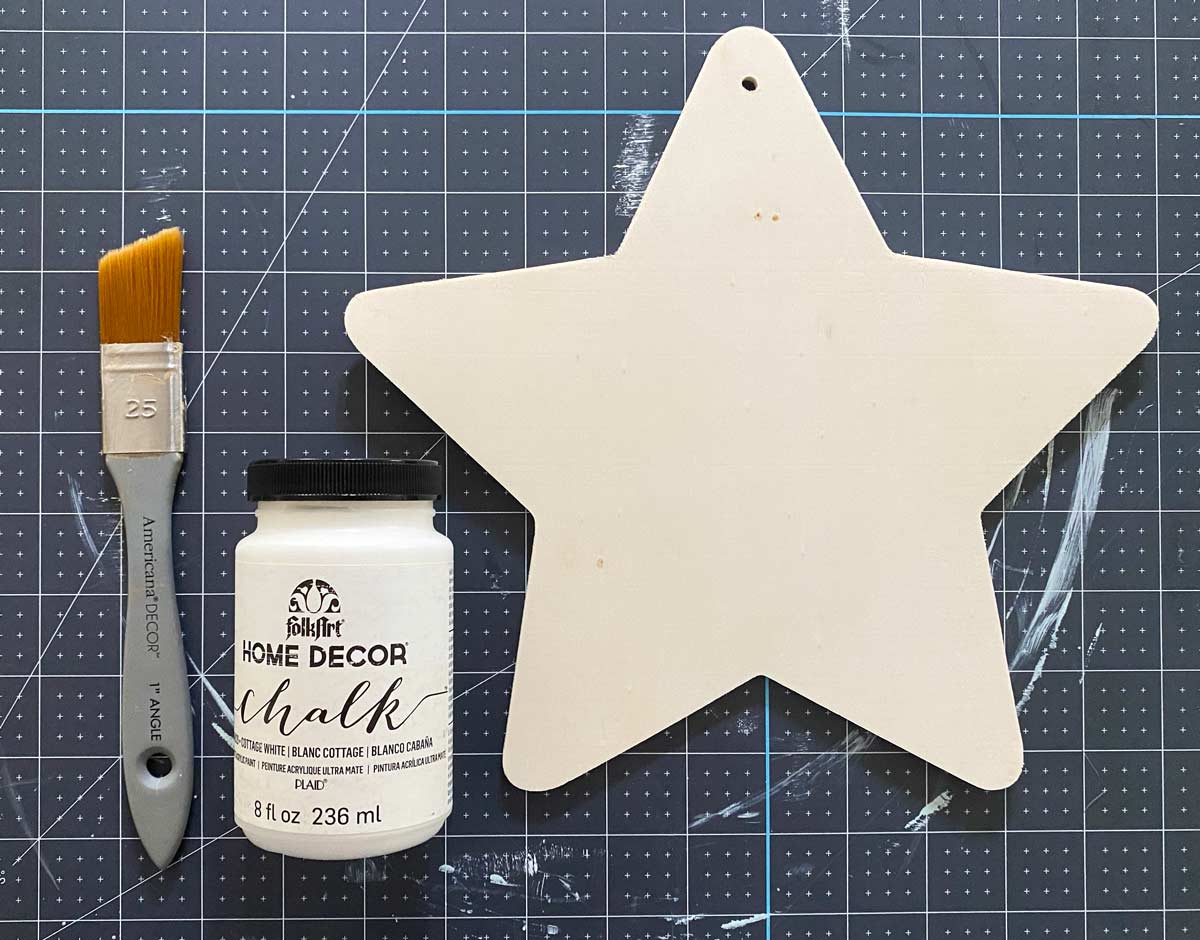
Base Color
We are going to start by painting the base of your sign white with chalk paint. Now if you are making a red and black buffalo check you would paint the base red.
TIP: Make sure to use chalk paint for your base layer and let it dry completely. If you use a different paint and have trouble with the tape peeling off paint it’s usually because you did not use a chalk paint base.
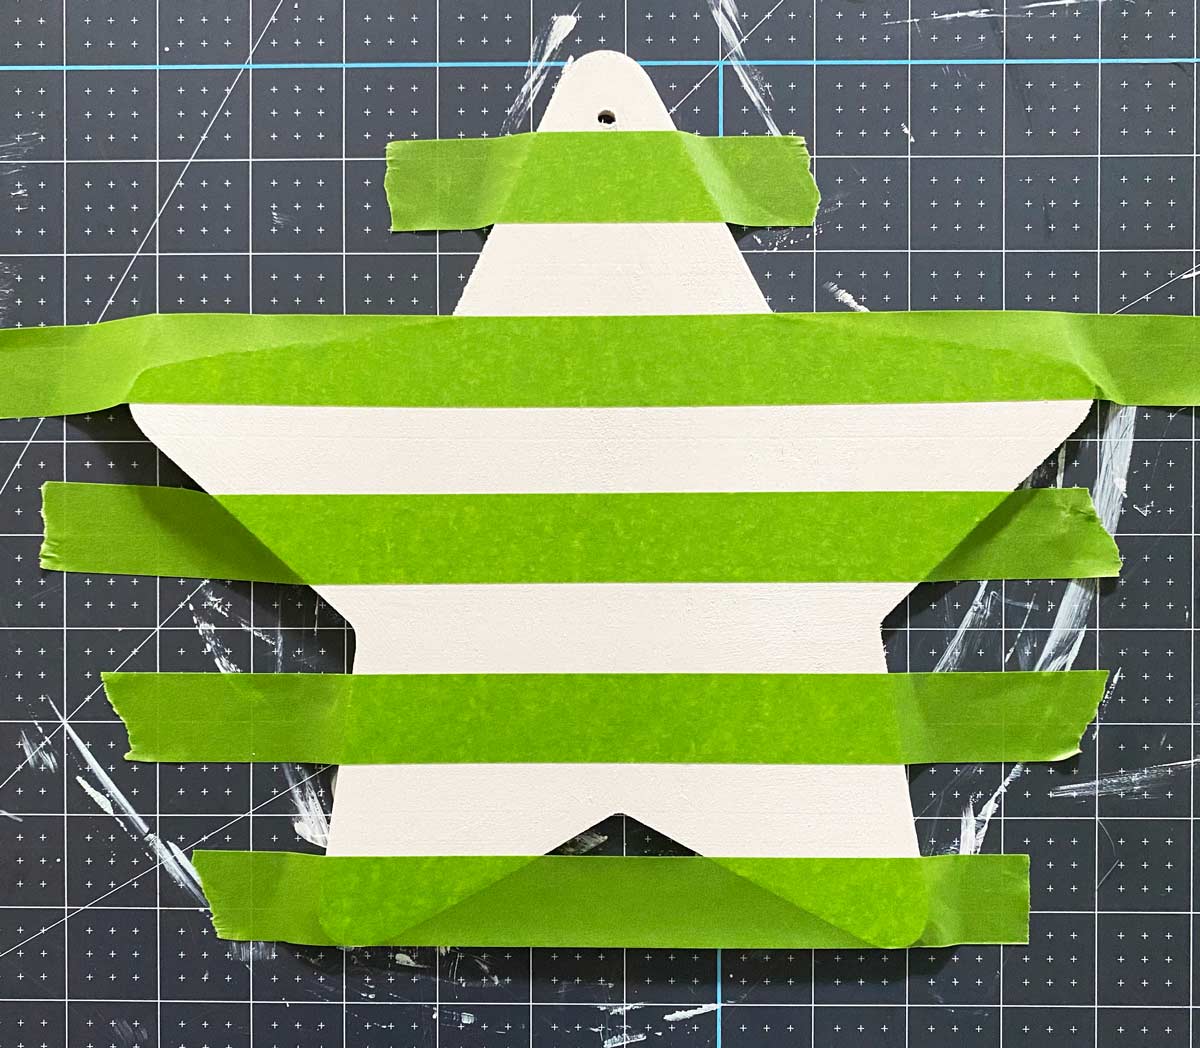
Tape Off Horizontal Stripes
Starting at the bottom of your sign tape horizontal stripes. Pressing them down smoothly on the wood to create a seal. Use a piece of tape as a spacer in between stripes. This is more efficient than measuring and marking spaces with a pencil.
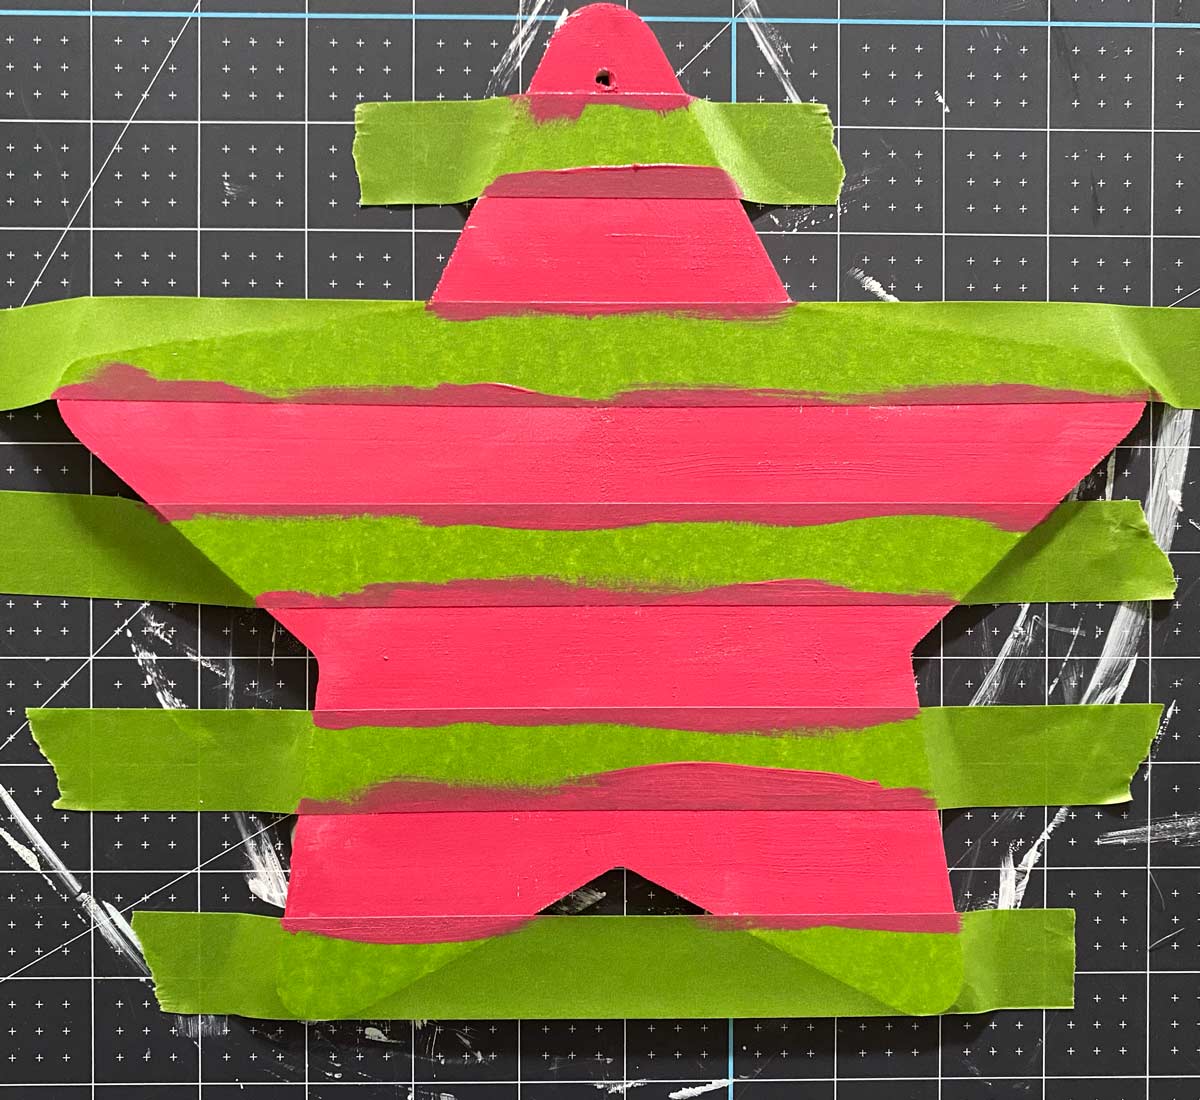
Paint Horizontal Stripes
Using your lightest red paint the horizontal stripes. Be sure not to over saturate your paint brush. A few light coats can help with bleeding. Check out this technique for painting crisp lines.
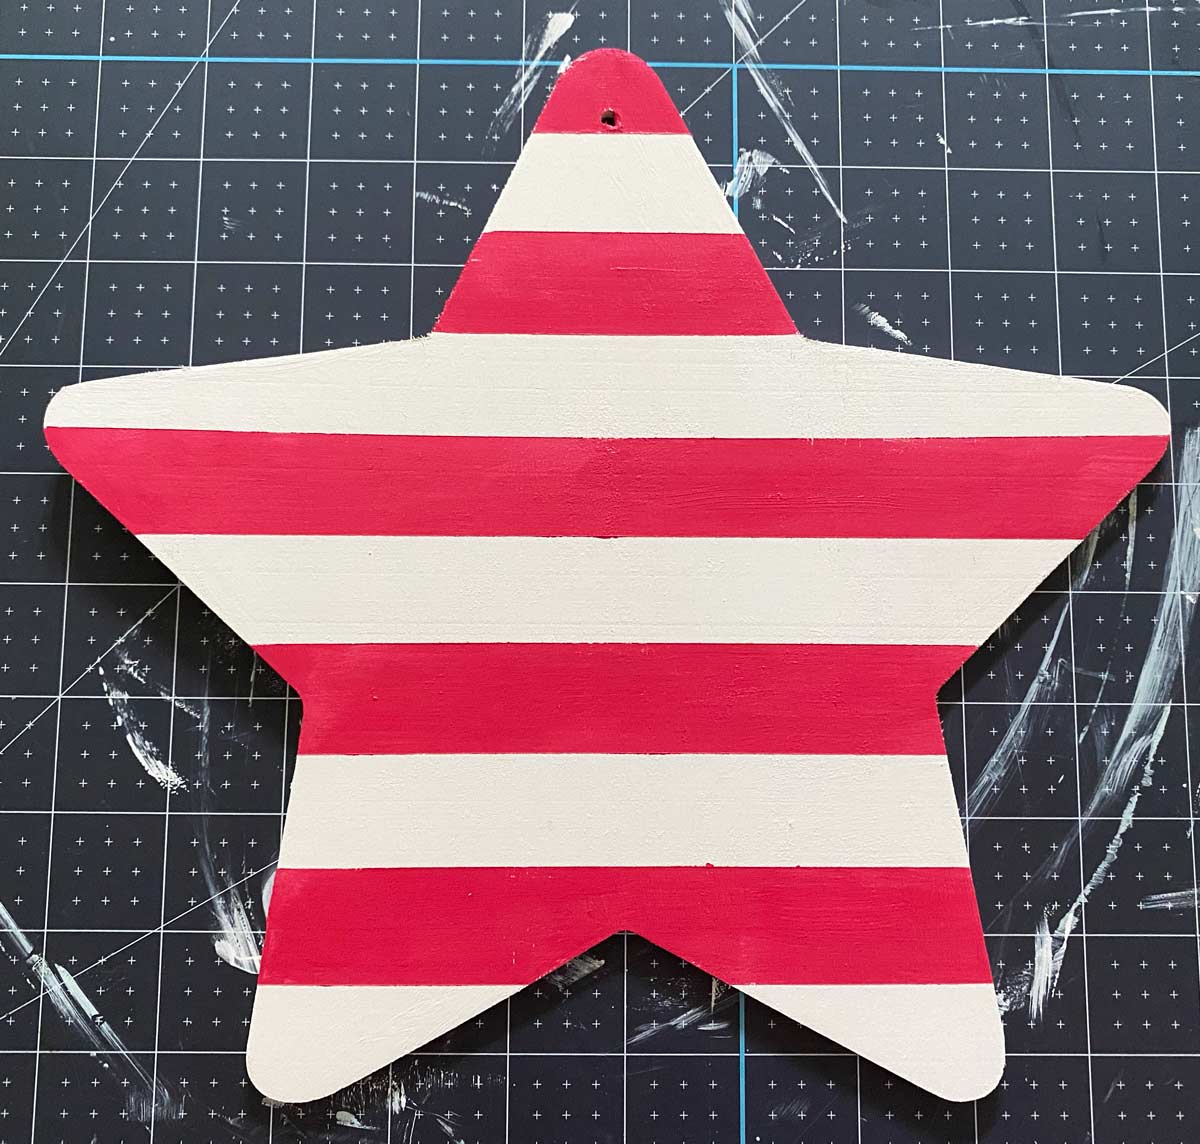
Remove Tape
Remove painters tape while it’s still a bit wet.
Tape Off Vertical Stripes
Starting at the far right side use your space tape flush against the side. Then start to tape your vertical stripes.
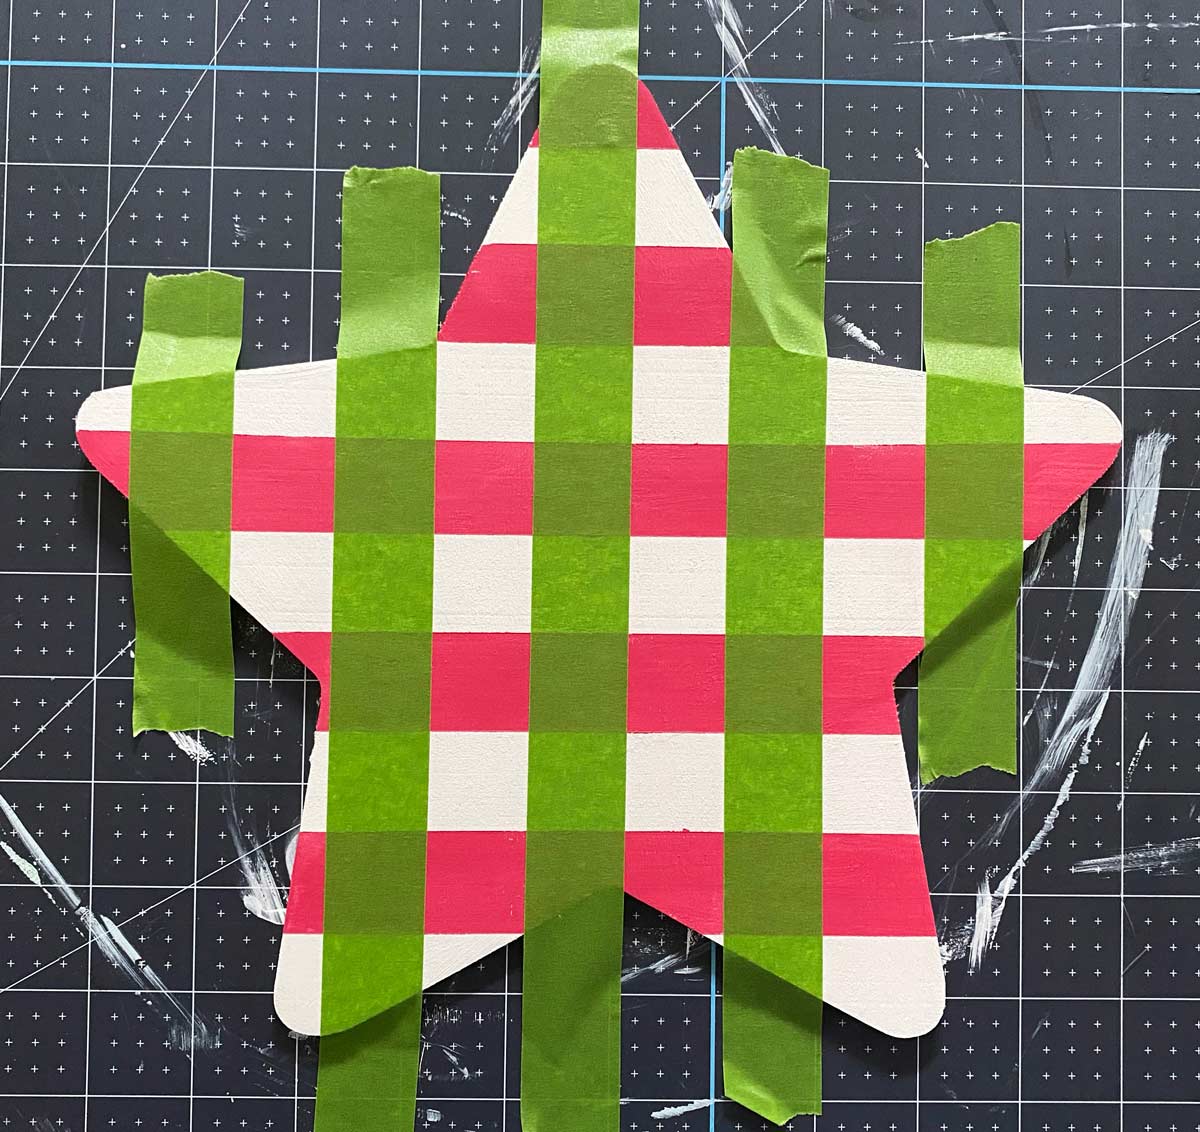
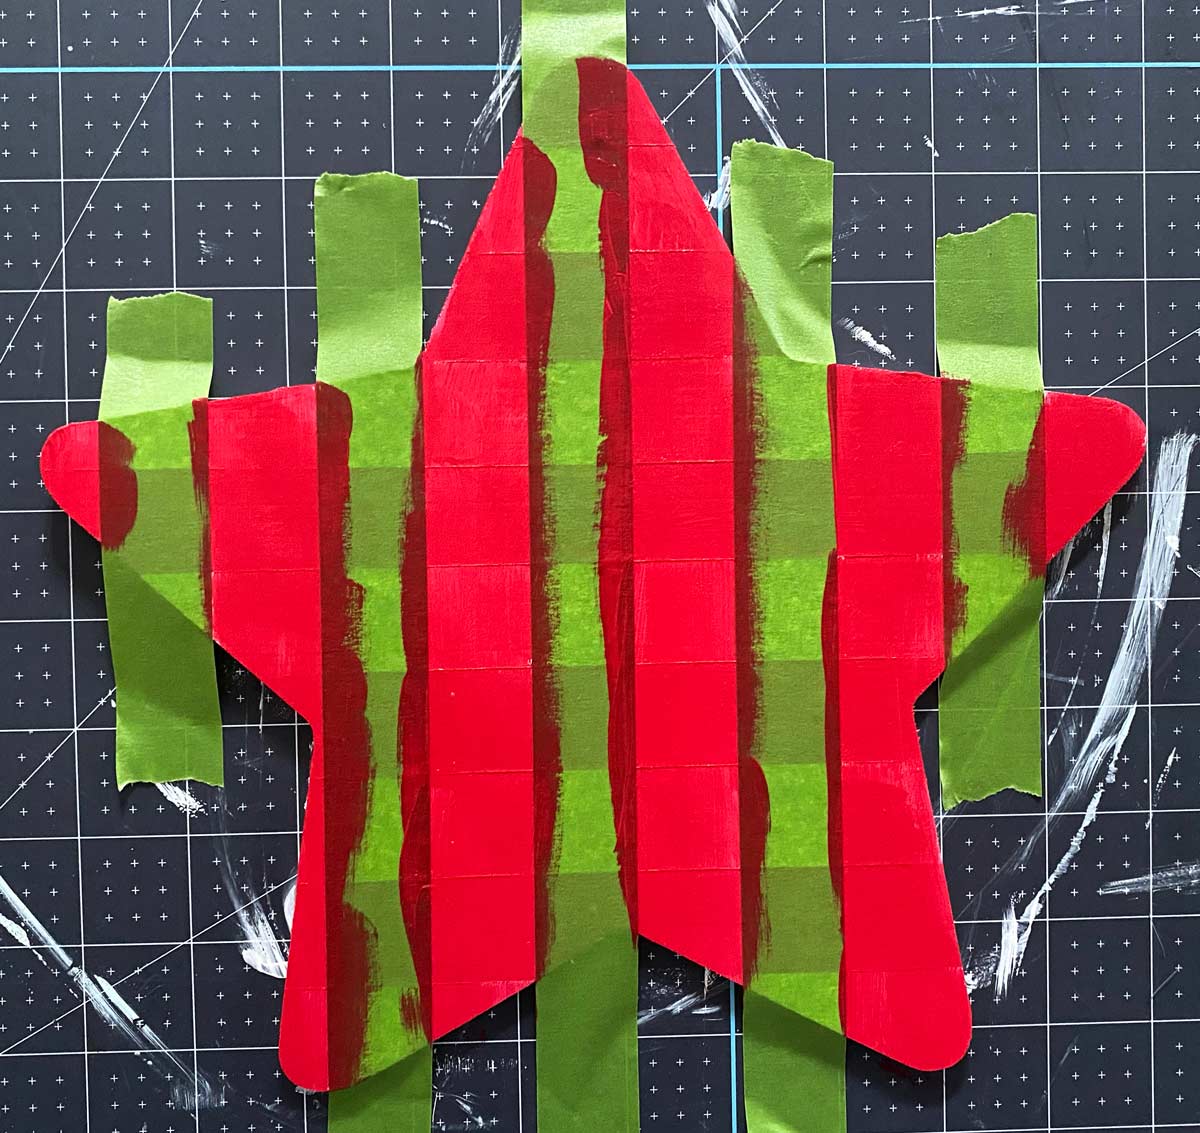
Paint Vertical Stripes
Using the medium red start to paint your vertical stripes. DO NOT remove the painters tape. Let paint dry completely.
Tape Horizontal Stripes
Starting at the bottom of the sign start to tape your horizontal stripes.
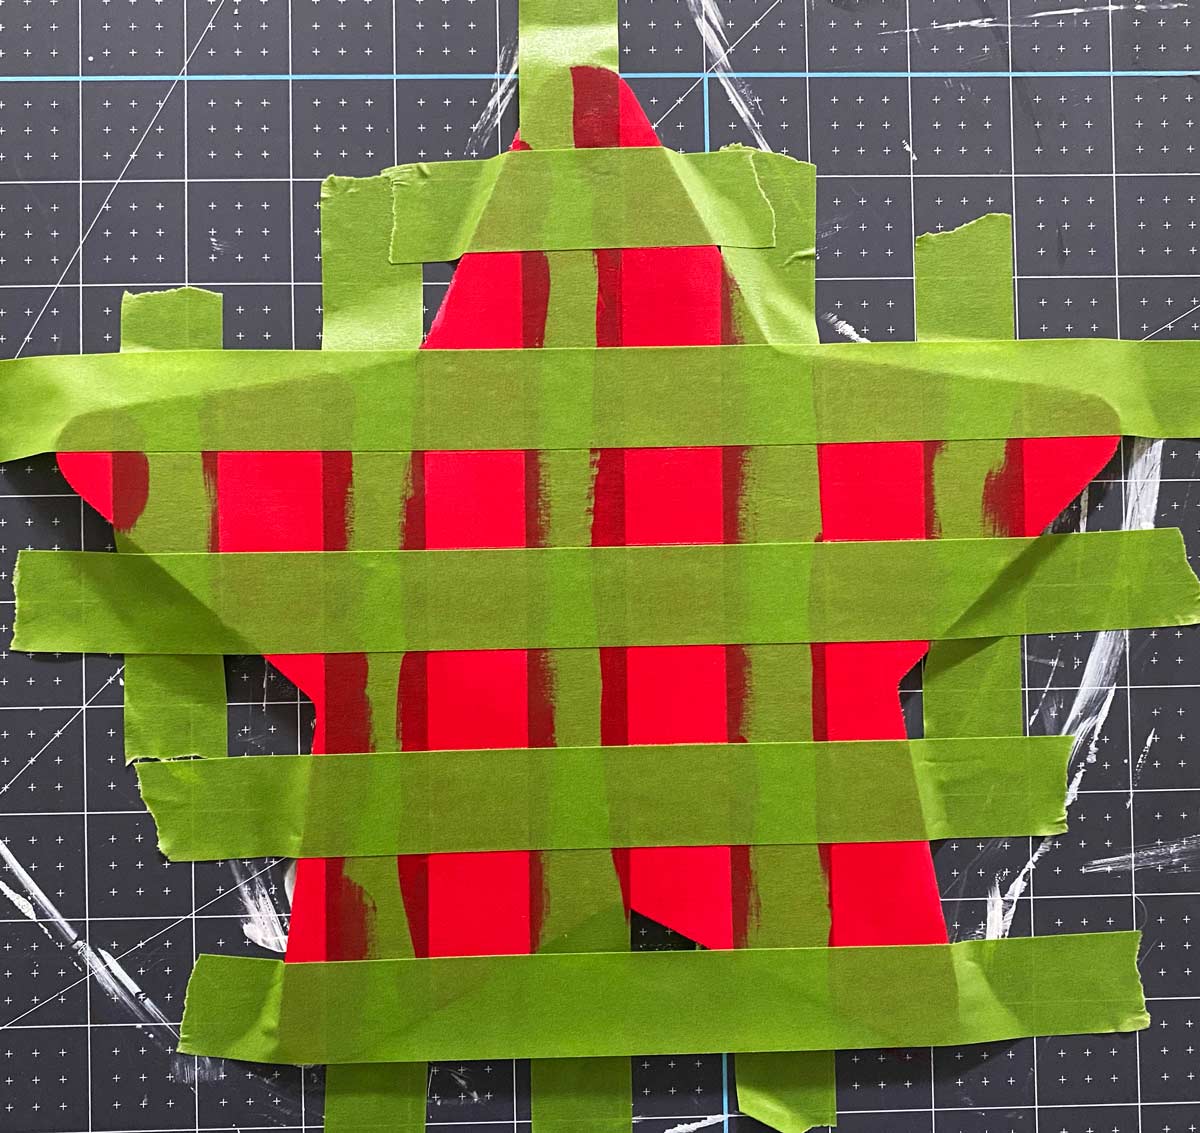
Paint The Check
With a thin amount of magenta paint on your brush start painting the open squares on your sign. Apply two thin coats of the dark red paint.
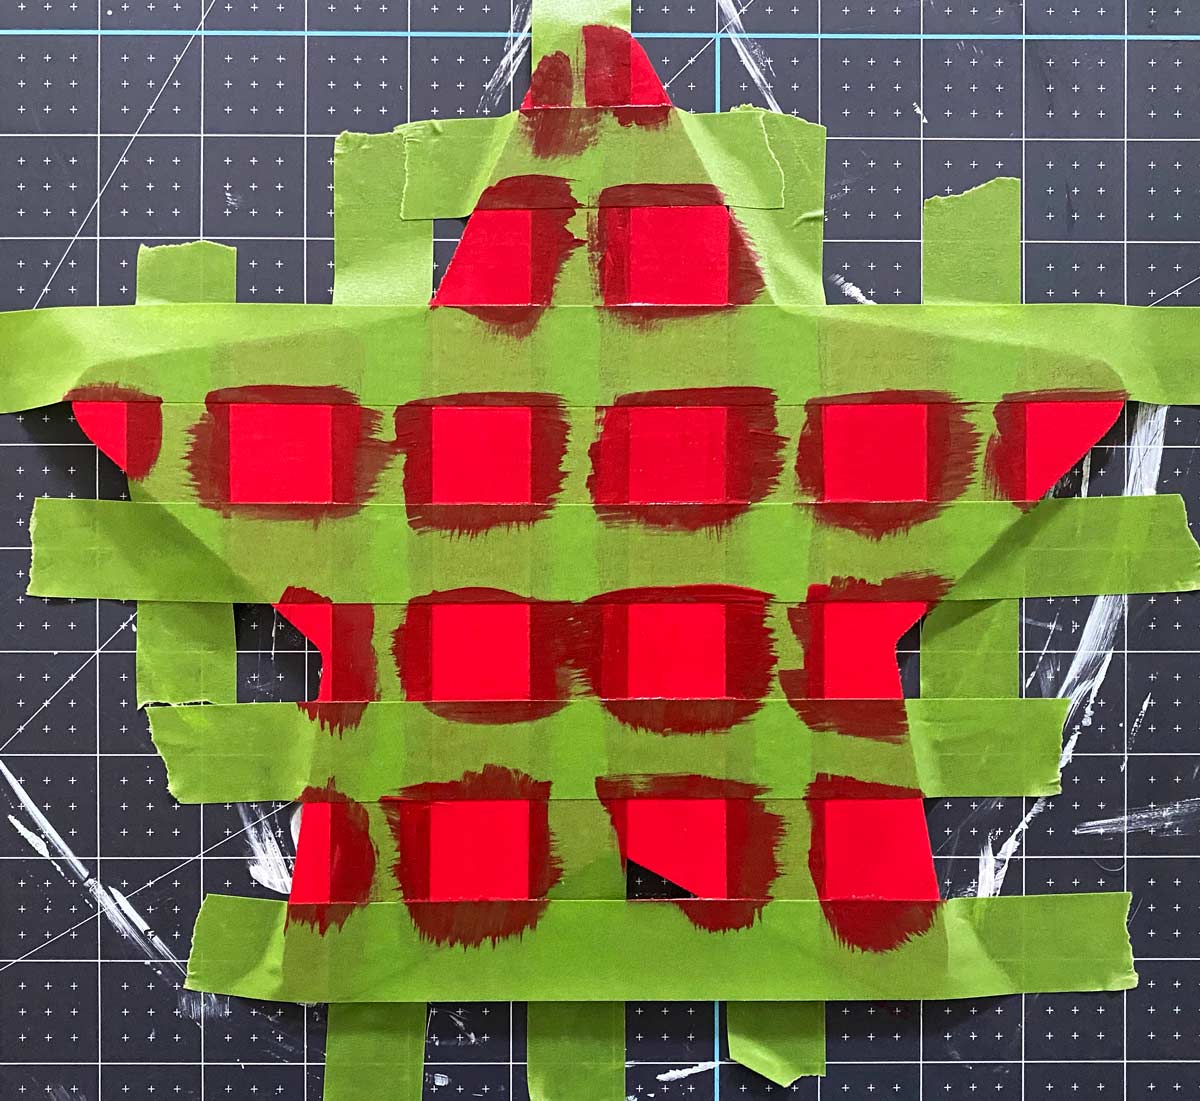
Now here is to see if we did it correctly. Peel back all of your painters tape. And just like that you have created your own gingham sign. Did any paint bleed through? Don’t worry once it’s fully dry just use some extra paint to touch it up with a small detail brush.
Add Some Lettering
Have a Cricut? Add vinyl lettering or use your Cricut Maker to cut out vinyl, basswood or chipboard lettering.
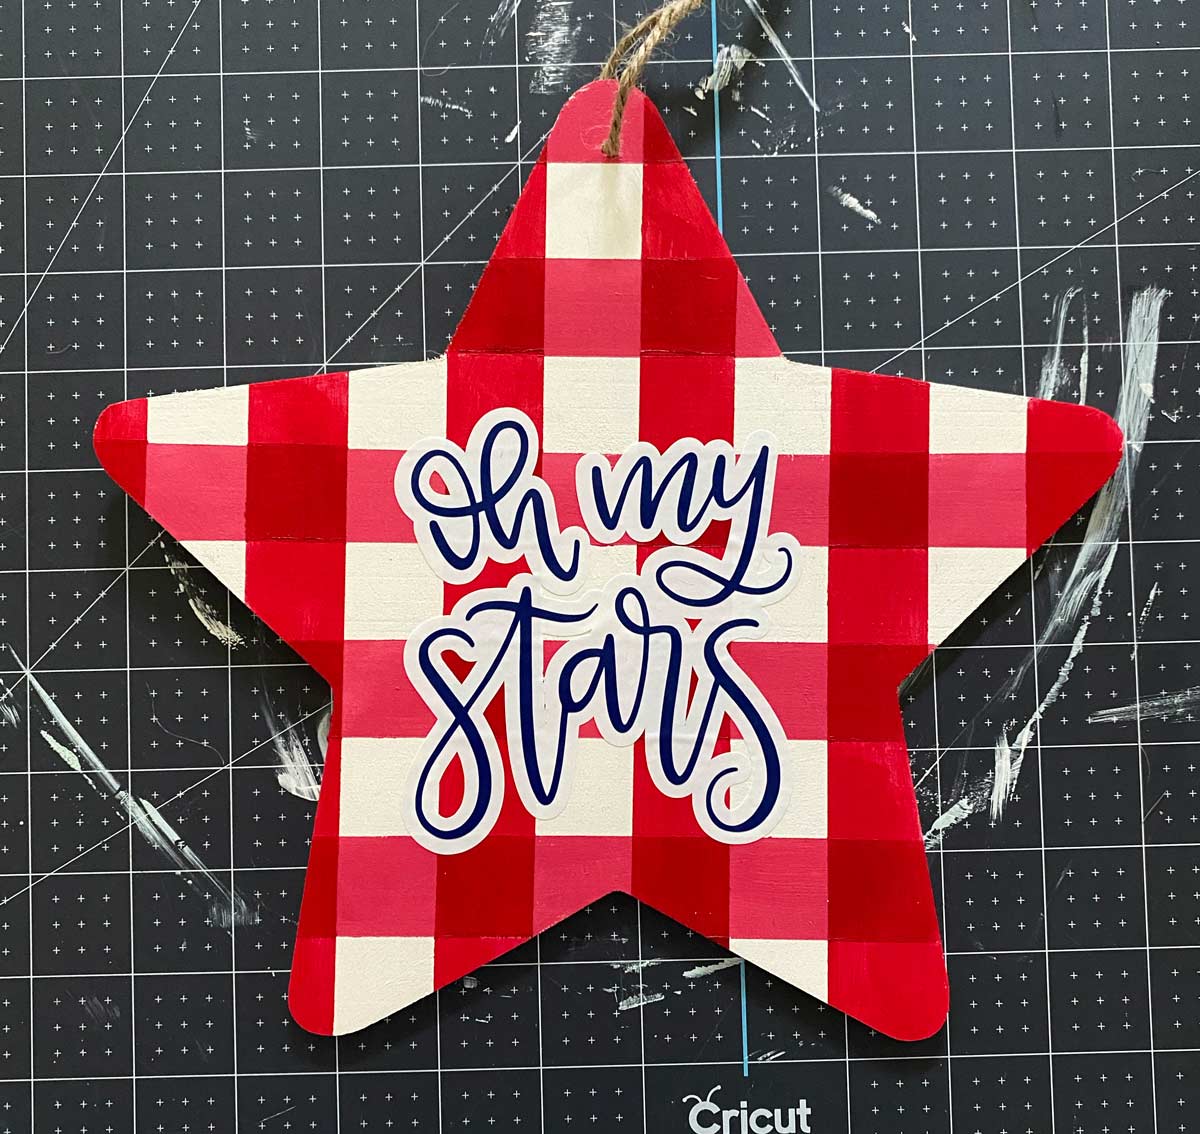
I chose this Oh my stars lettering. It’s part of my monthly SVG membership. I created an offset to the lettering with the Cricut offset tool. Haven’t used the offset tool yet? Learn how to use it here.
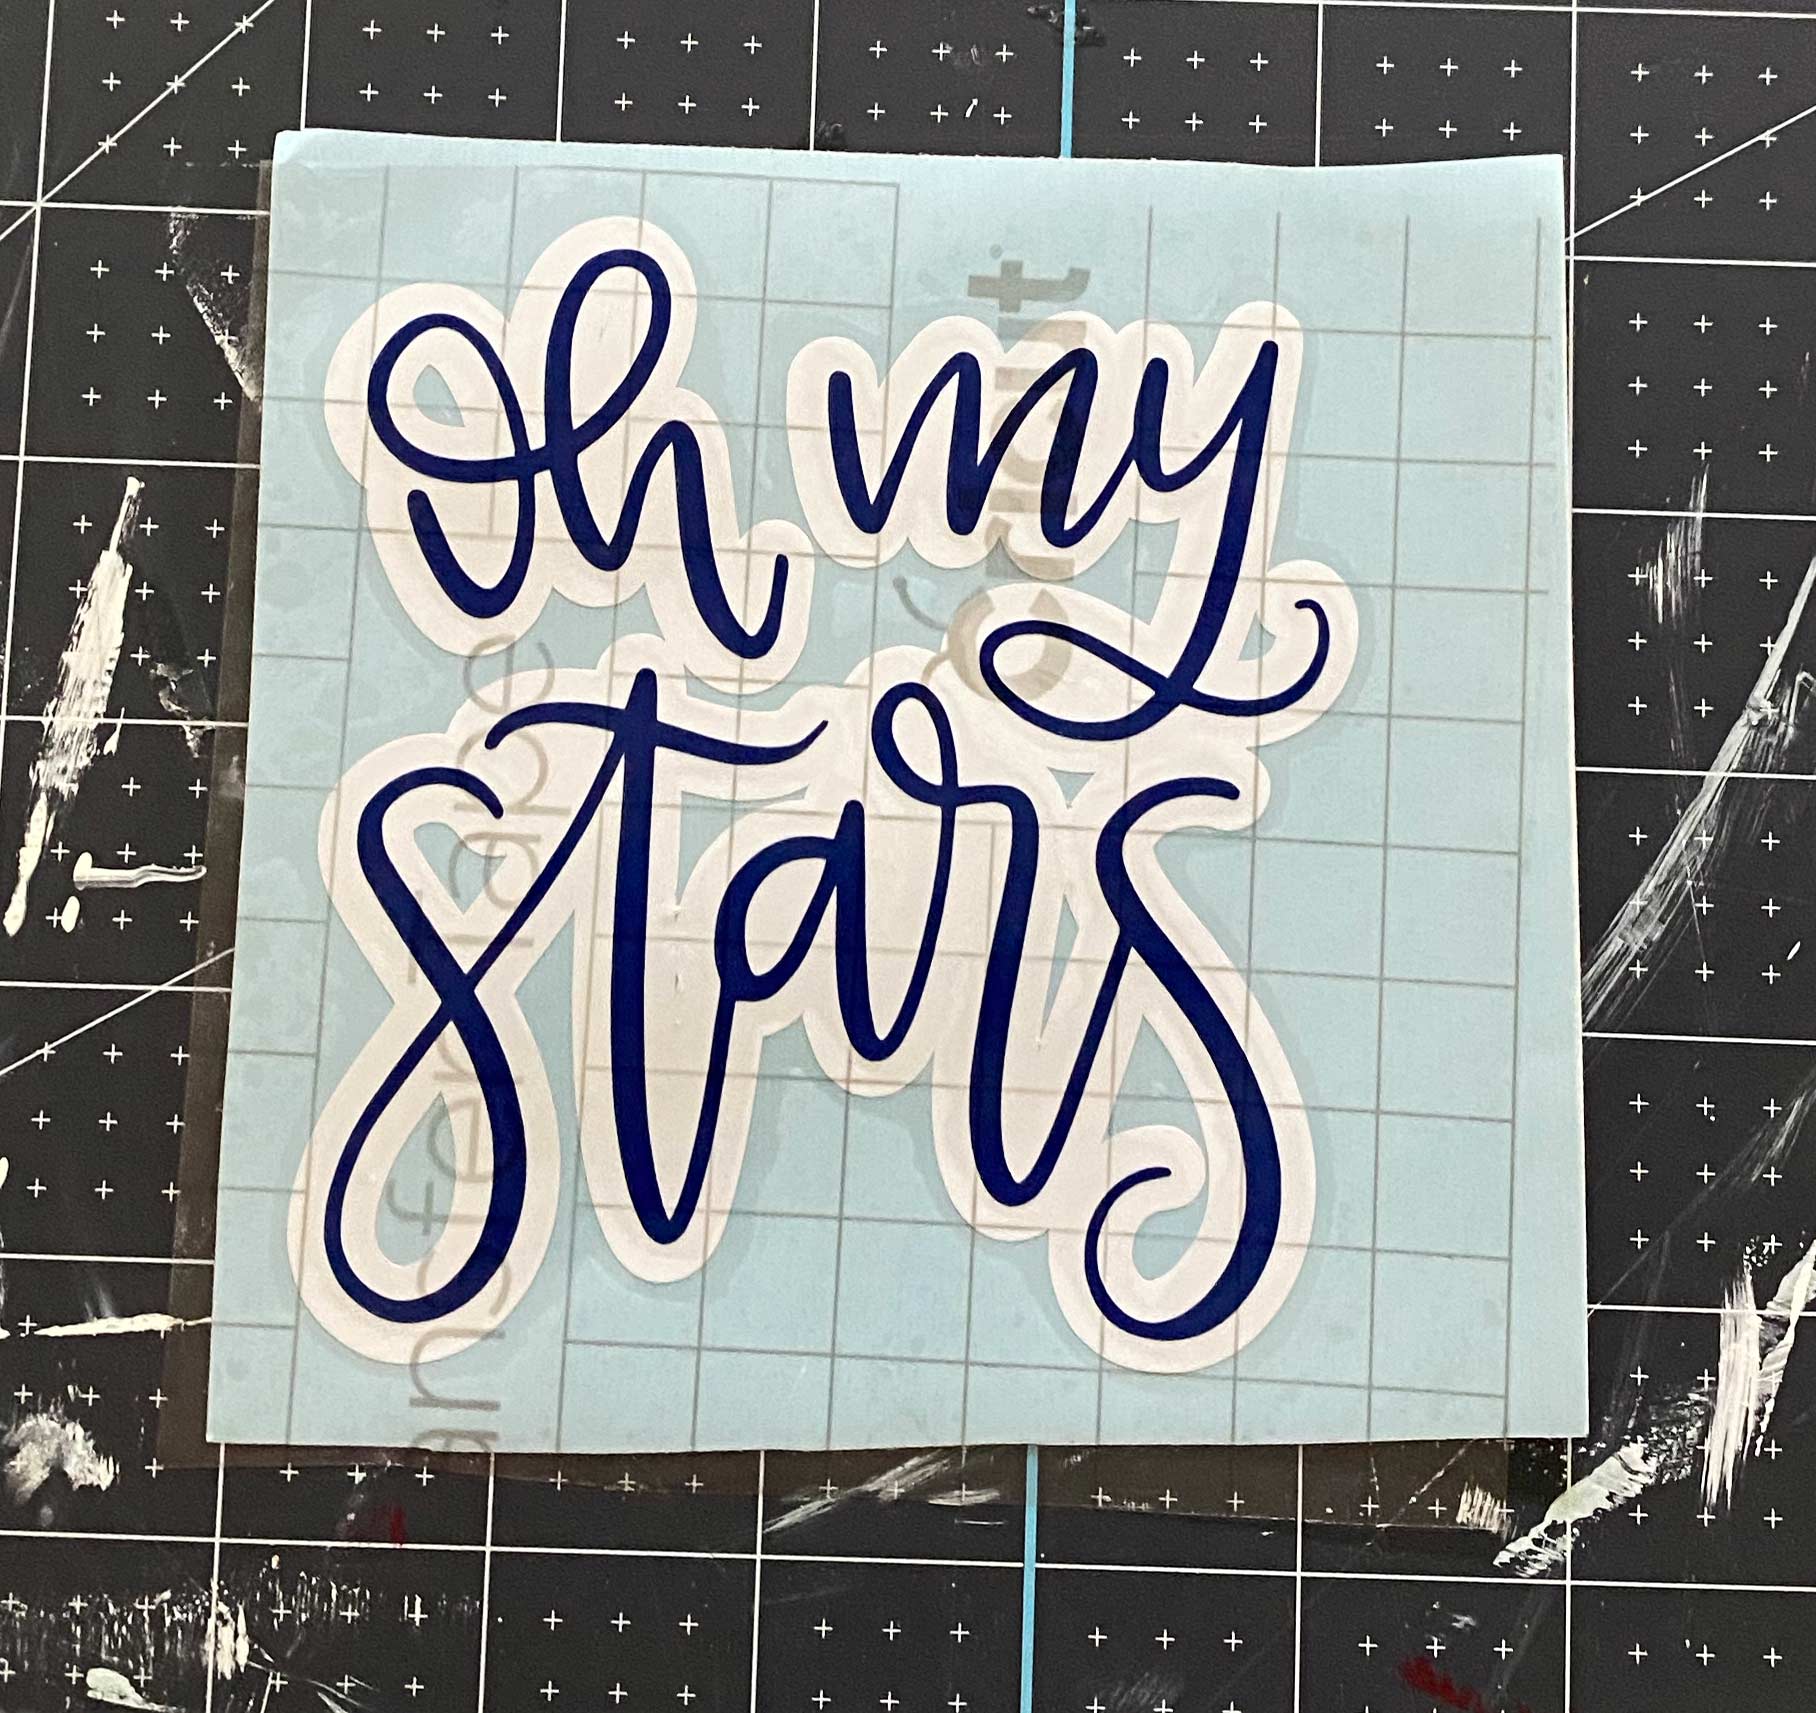
I layered the white offset with a navy blue vinyl. I absolutely love how it came out. It’s patriotic and perfect for July 4th.