This post contains affiliate links, please read our disclosure policy.
How to decorate a flocked Christmas tree with plaid ribbon. 
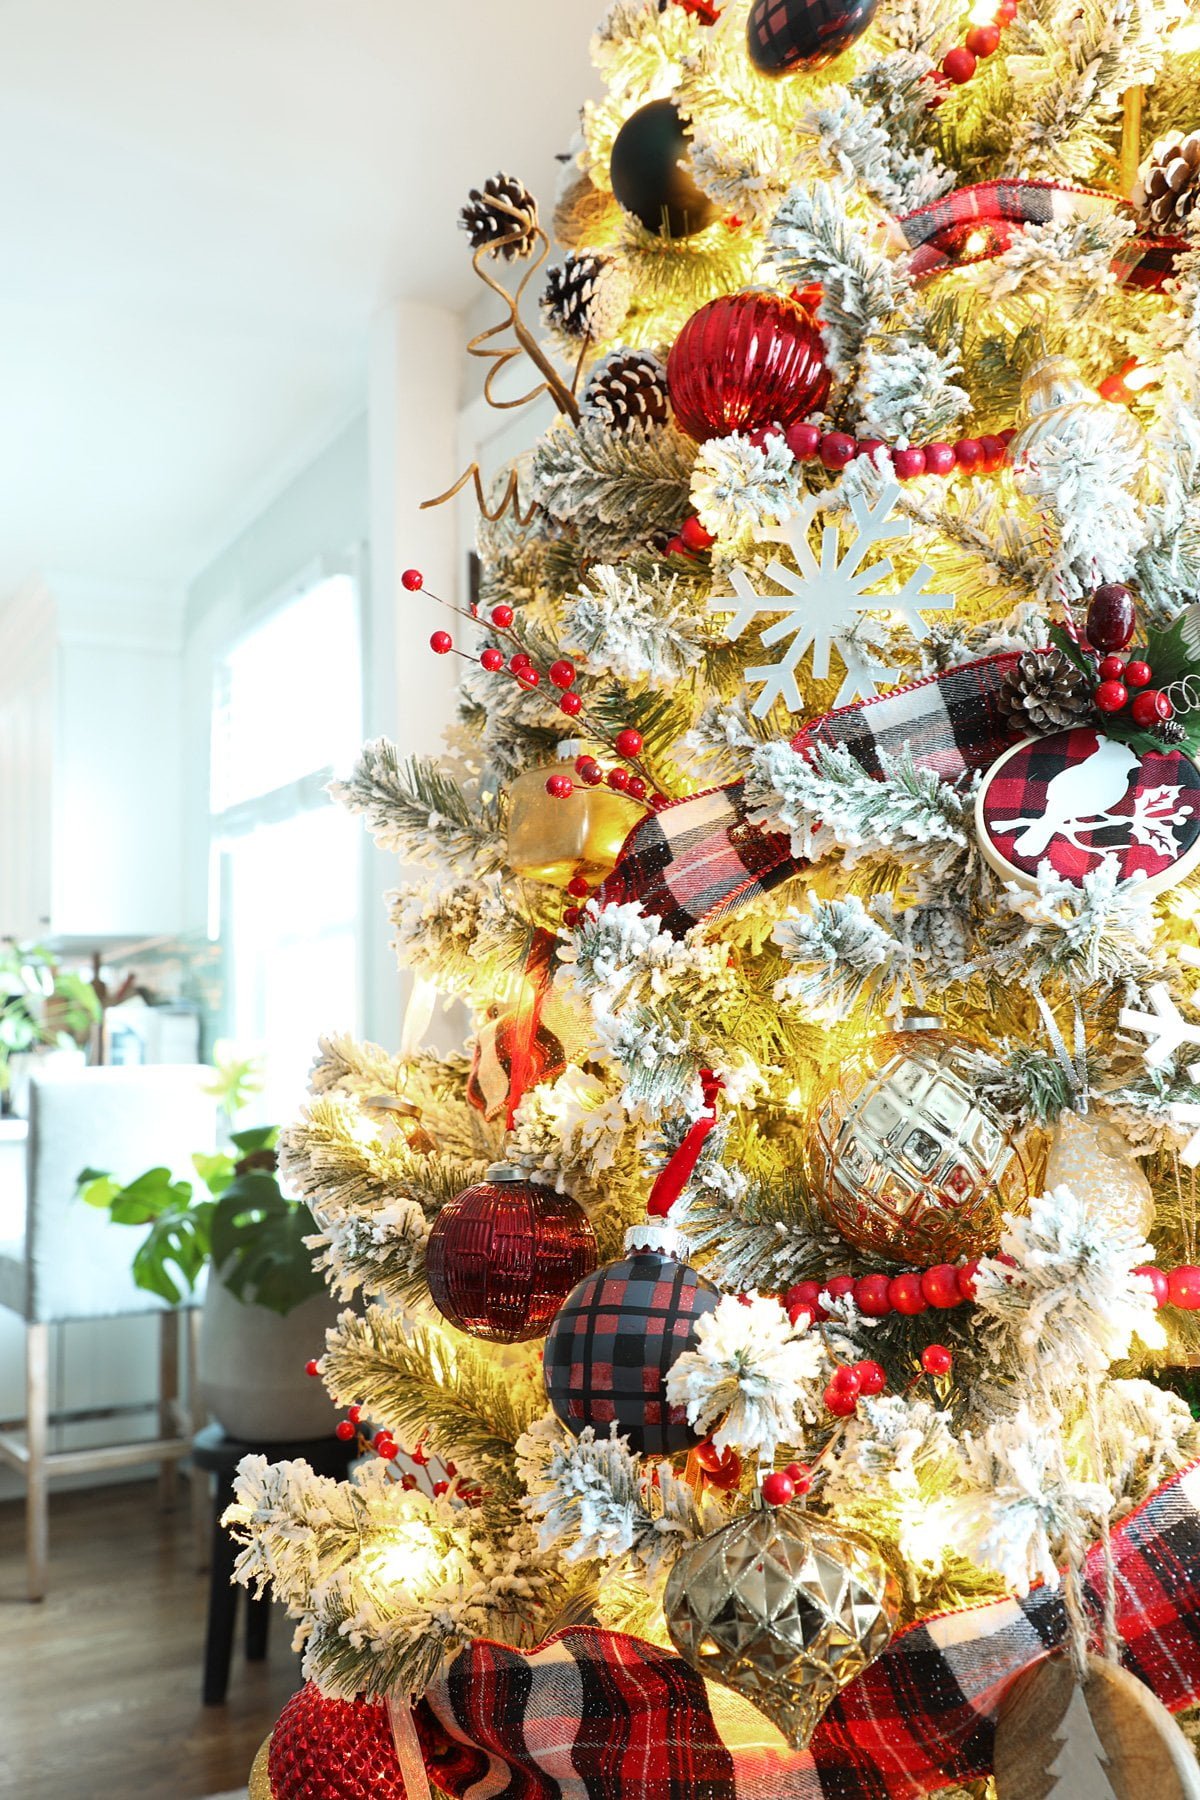
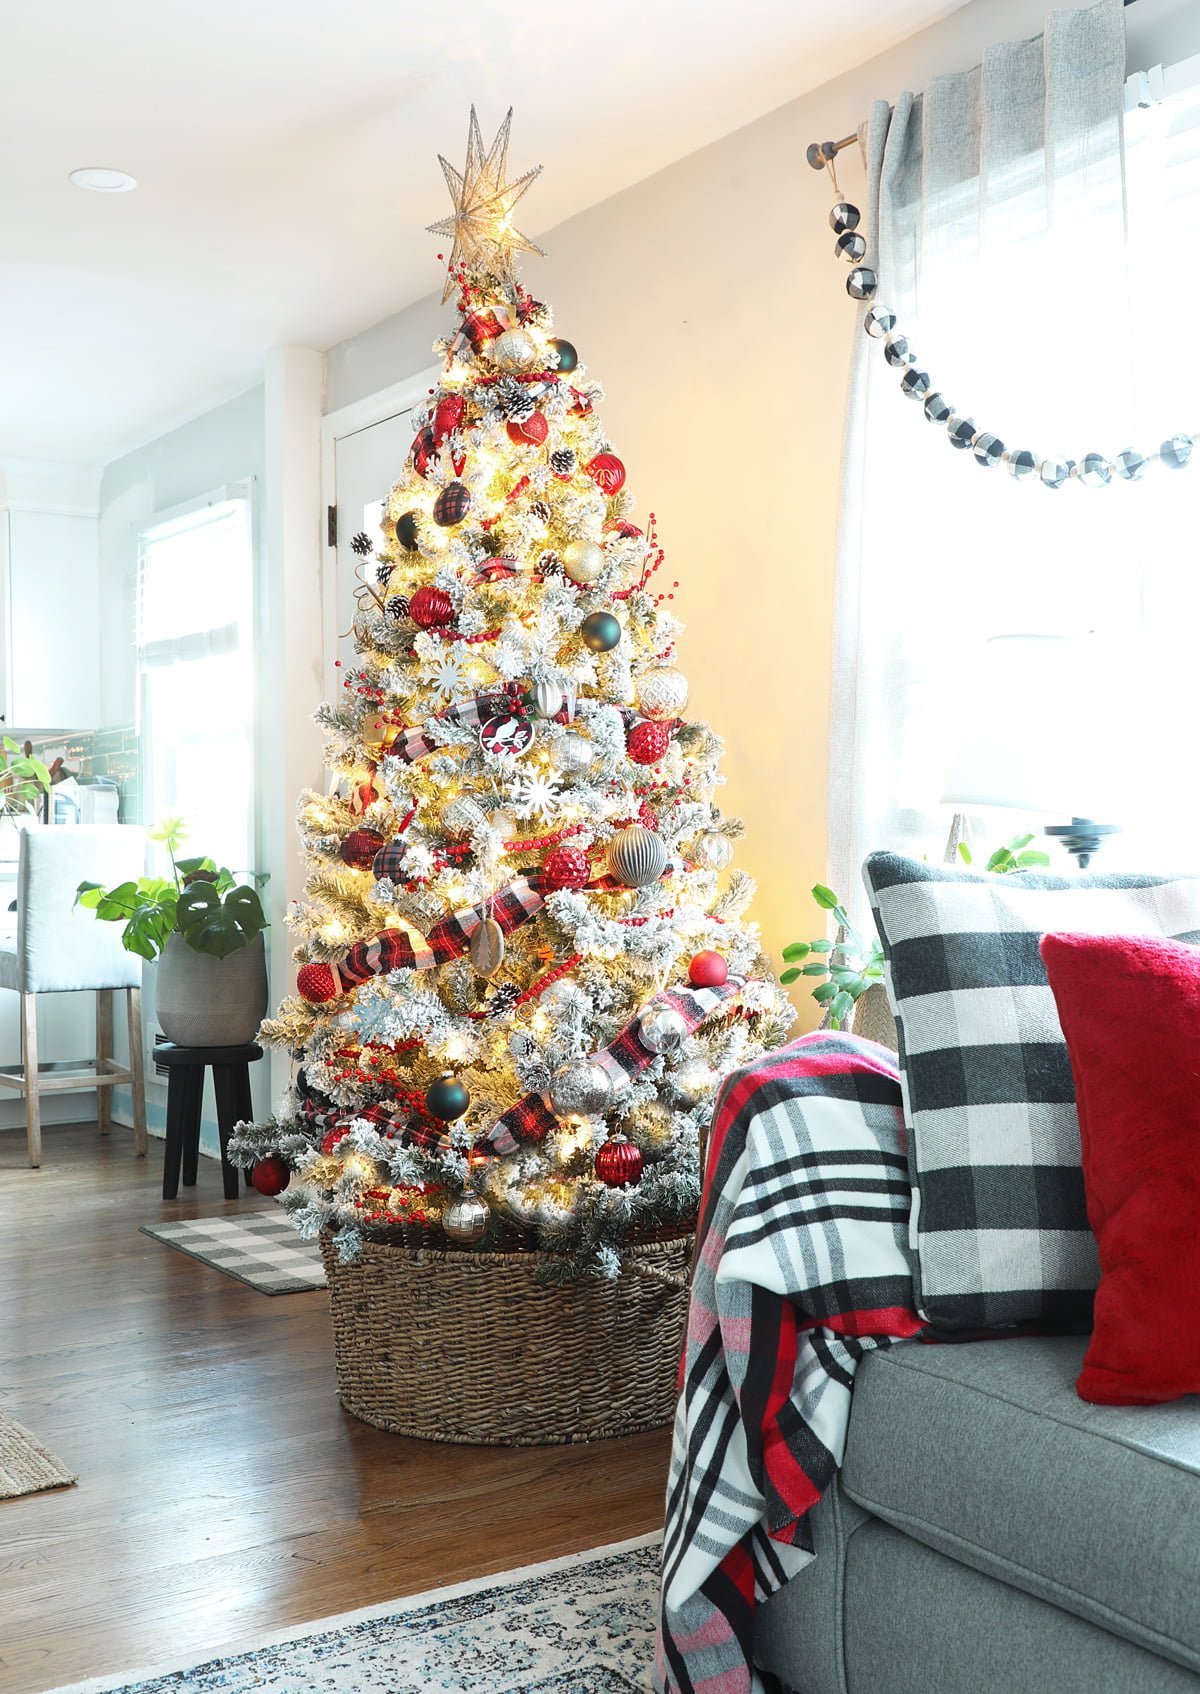
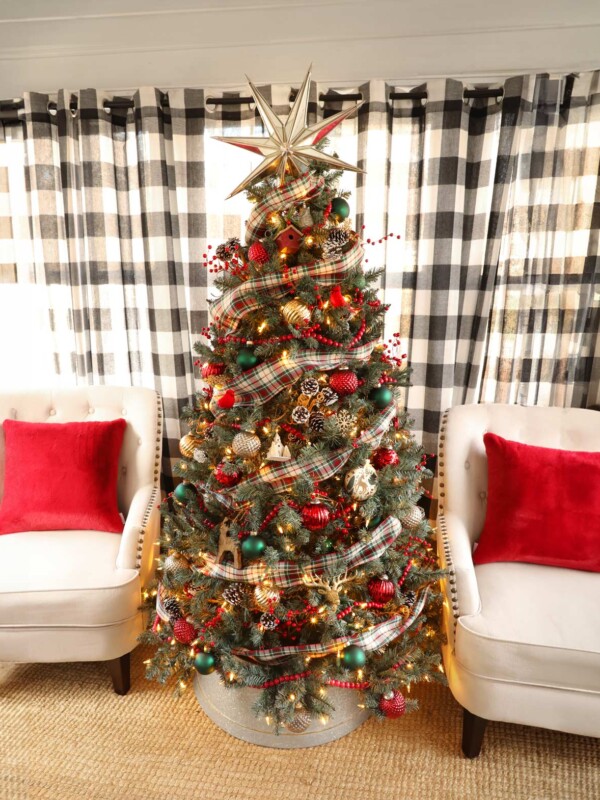
I decided to switch it up this year from the normal buffalo check Christmas tree. Instead I embraced a different plaid ribbon and leaned into the color red. Two years ago I splurged and bought my first flocked Christmas tree. I had wanted one for as long as I could remember. This flocked Christmas tree with plaid ribbon might be the most traditional Christmas tree I have ever done.
This post contains affiliate links.
Plaid Christmas Tree
This year I decided to stray a bit from my normal farmhouse Christmas. I decided in October to wander the aisles of the ribbon aisles at Michaels and I found this beautiful red and black plaid ribbon that was dusted with snow. Last year after Christmas I got the most gorgeous set of red mercury glass ornaments for 70% off. Follow along below to see step by step how I decorate my Christmas tree.
Looking for More Christmas Tree Inspiration?
- A Buffalo Check Flocked Christmas Tree
- Plaid Christmas Tree
- Buffalo Check Pencil Christmas Tree
- A Plaid Christmas Tree
- Flocked Buffalo Check Christmas Tree
- Another Buffalo Check Christmas Tree
- Red and Black Buffalo Check Christmas Tree
- Mixed Metals Farmhouse Christmas Tree
- A Rustic Christmas Tree
STEP 1- Assemble and Fluff the Christmas Tree
Pull that tree out of the basement or the attic. If using a tree collar remember to set the base of the tree in the collar before assembling. The technique I use to fluff the artificial branches it to create a star bending the tree branches in every direction. If you have a sparse tree this will help it look fuller. Fluffing is the most important part of decorating your tree. Don’t skip this step!
Love the tree collar? Check out some of my favorites here.
STEP 2- Add in Floral Picks
This will help your tree look much fuller especially if it is an older tree that has lost some of it’s fullness. This also helps add some dimension. I like using pine cones and red berries. You can usually find these on sale at the craft store. What I love about floral picks is that you can use these year after year. I have had these about 6 years.
STEP 3- Add Garland or Ribbon.
This year I decided to use a mixture of both ribbon and red wooden beads. Because of the Scandinavian Christmas trend, wooden beads are very popular this year. It took 3 strands to cover the whole tree. It also took 1 1/2 rolls of ribbon leaving space for the beads to add ribbon to my tree.
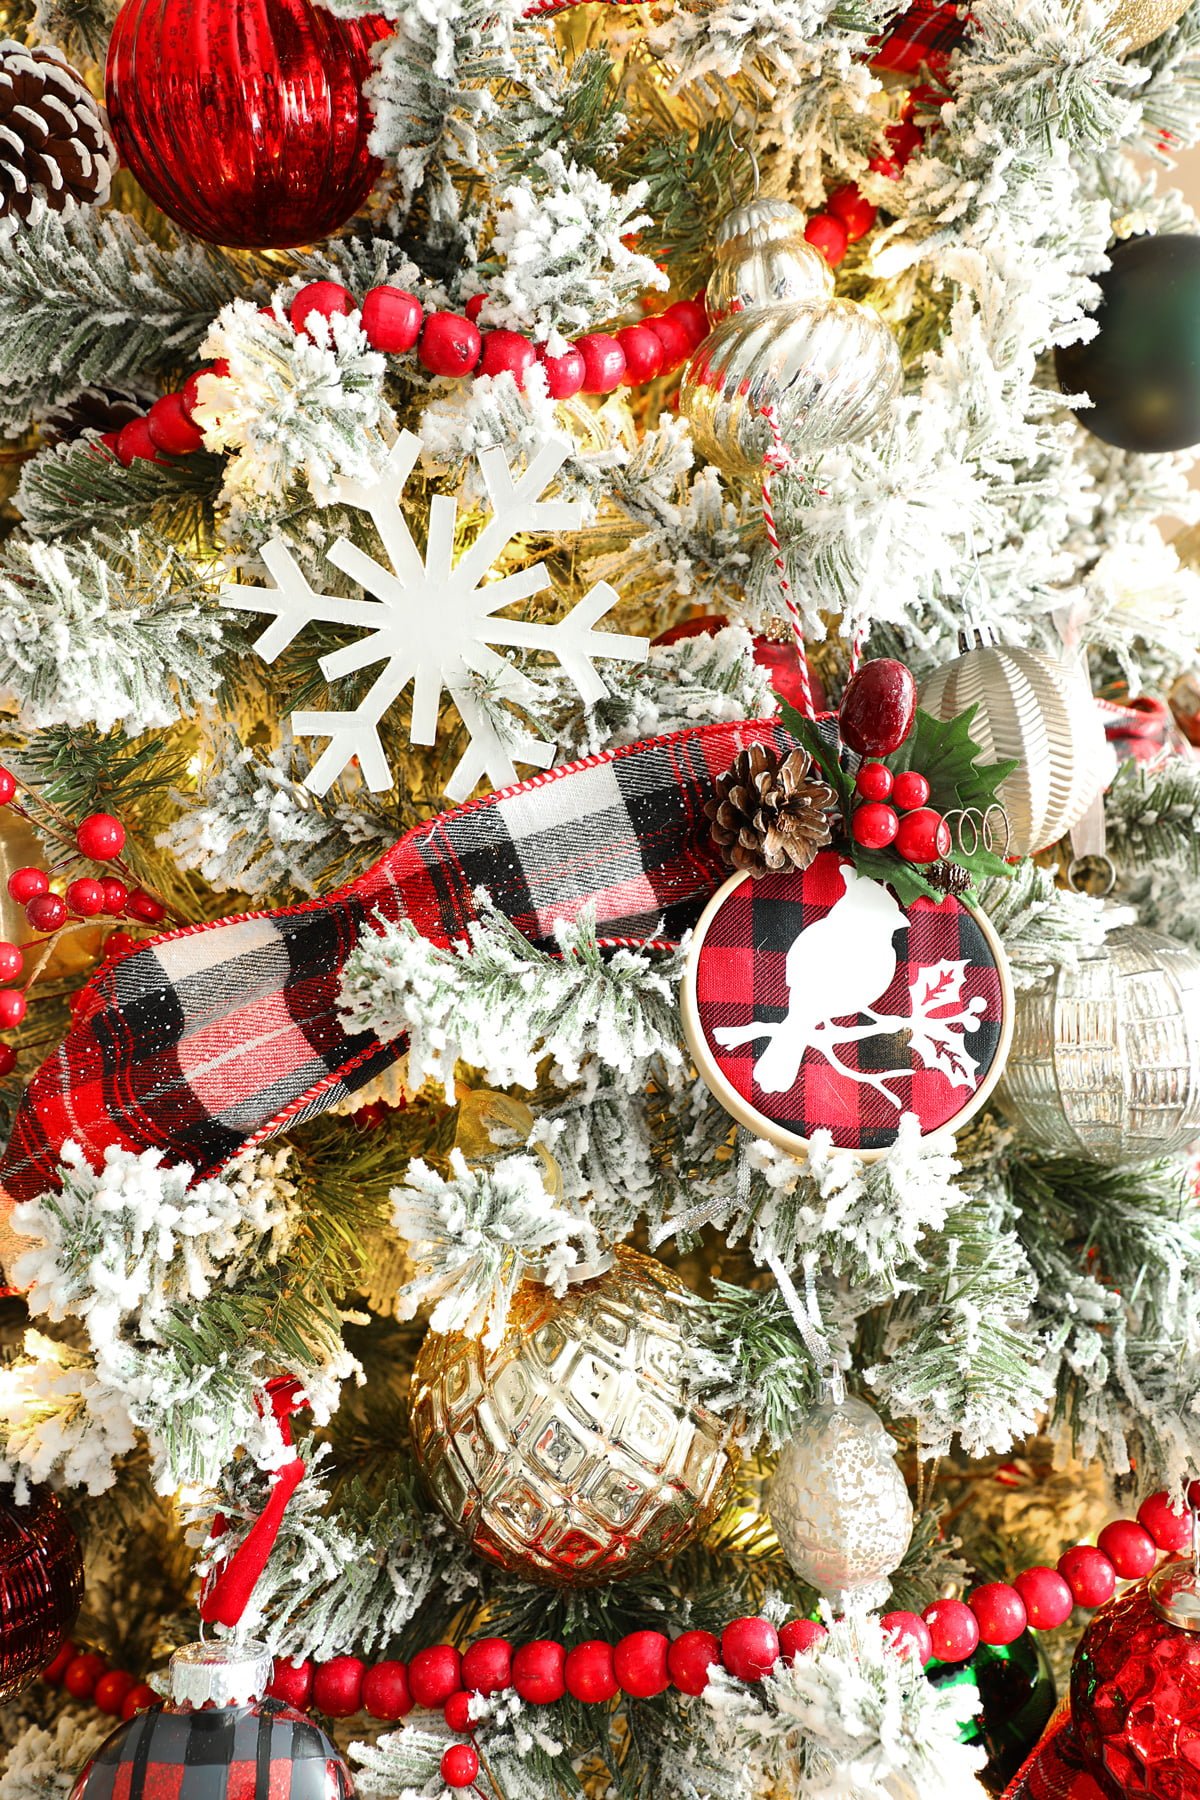
This ribbon is from Michaels. I love that the plaid is a soft flannel and also has a splattering of snow on the design which goes great with a flocked tree. This ribbon is wired, 3.5 inches wide and a 25 ft roll.
STEP 4- Adorn Your Tree with Ornaments
What sparked the inspiration for this tree was wanting to incorporate red mercury glass. I stumbled upon this beautiful set of 24 mercury glass ornaments at Home Goods on clearance they are the type of ornaments that are so well made you know you will still have them when your decorating your tree 50 years from now.
Every year I like to make a new ornament. This year I made these DIY plaid painted ornaments. In past years I also have made mini embroidery hoop wreath ornaments and chipboard snowflakes.
STEP 5- Top Your Tree with a Star or an Angel
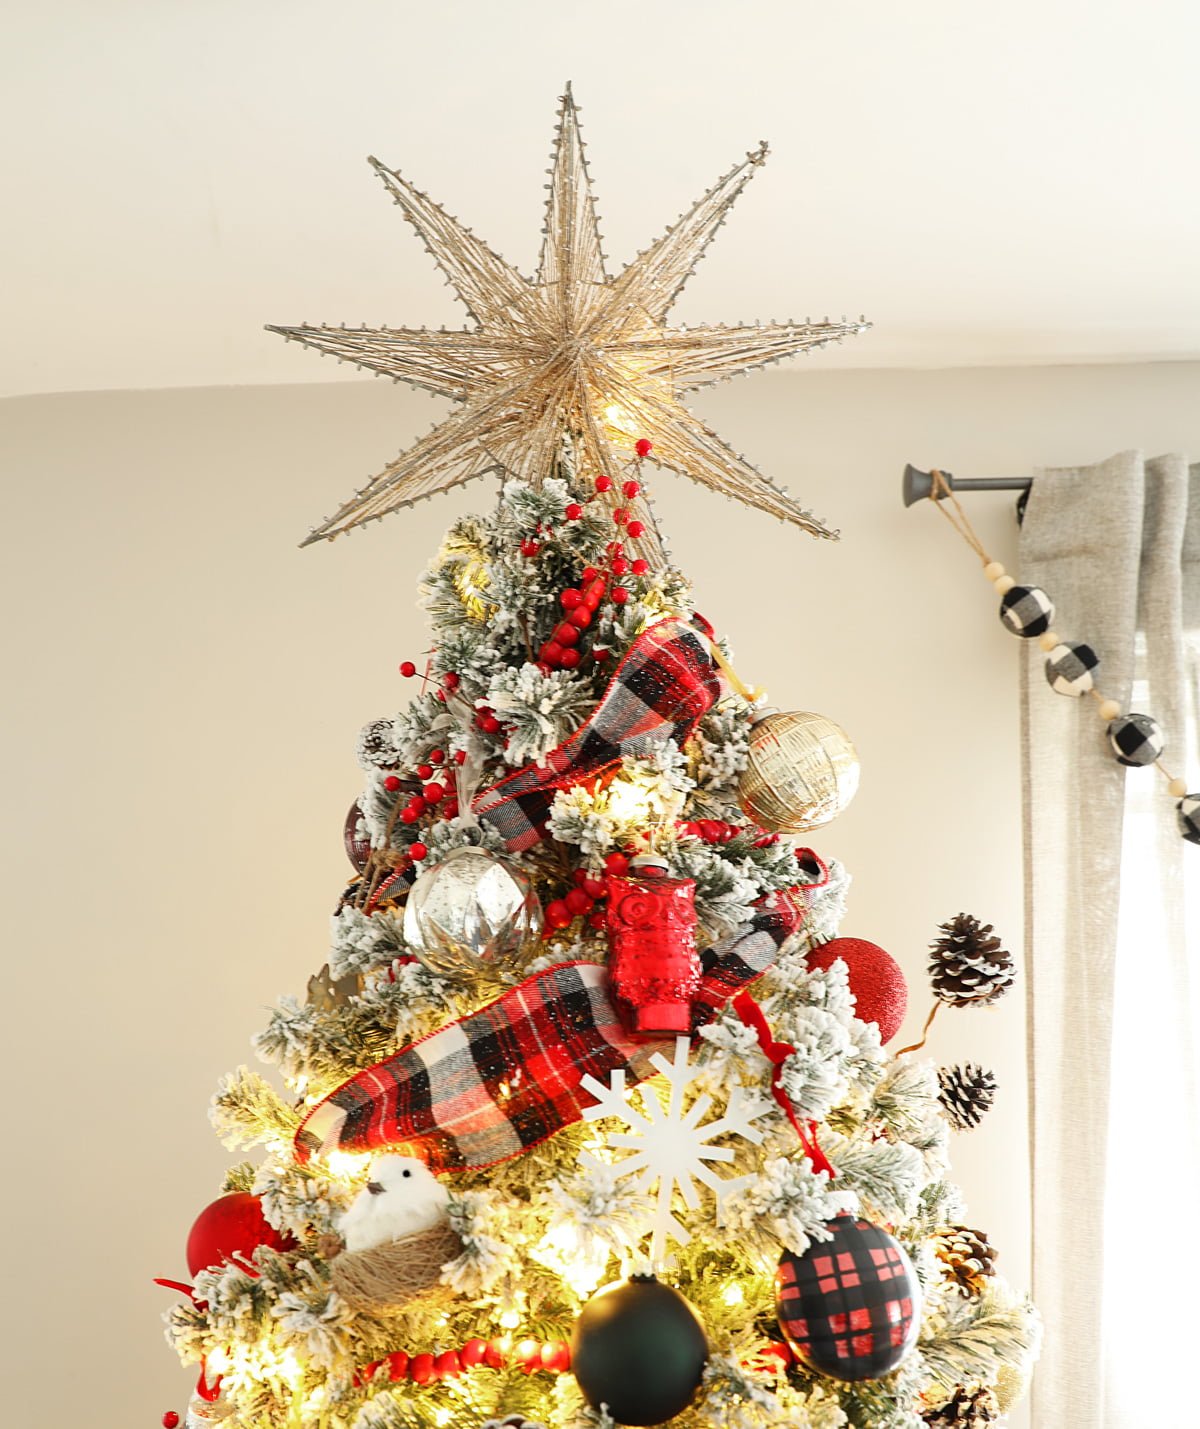
Finally I don’t usually like the traditional tree toppers you find in the store. In fact I usually try to find something else to repurpose as a tree topper. This star is actually a giant ornament I found at a local shop years ago and modified it to become a tree topper.


















2 Comments