This post contains affiliate links, please read our disclosure policy.
Table of Contents
- Make a DIY felt Christmas tree ornament with a Cricut Maker. Learn how to cut felt with your Cricut and add iron on vinyl to felt.
- How to Cut Felt with Cricut Maker
- Here’s What You’ll Need
- How to download your free SVG file
- Upload the Christmas Tree SVG in Cricut Design Space
- Cut Felt with Cricut Maker
- Cut Iron-On Vinyl with Cricut Maker
- Iron-On Vinyl on Felt
- Assemble the Felt Christmas Tree Ornament
- Other Ornaments You Can Make
Make a DIY felt Christmas tree ornament with a Cricut Maker. Learn how to cut felt with your Cricut and add iron on vinyl to felt.

This post contains affiliate links.
Let’s make a felt Christmas tree ornaments with a Cricut. Did you know your Cricut can cut felt? Both the Cricut Maker and Maker 3 as well as the Cricut Explore can cut felt.
Don’t have a Cricut but thinking of getting one. Check out my guide on which Cricut you should buy.
How to Cut Felt with Cricut Maker
My favorite way to cut felt is with the Cricut Maker and the rotary blade attachment. Now you can cut felt with the Cricut Maker and the Cricut Explore with the deep point blade but I find I get the best results with the rotary blade.
Want to learn more about what materials you can use with the Cricut Maker, Cricut Explore and Cricut Joy. Check out this guide here.
Here’s What You’ll Need
- Cricut Maker 3 or Cricut Maker
- Cricut Rotary Blade
- Light Grip Mat
- Brayer
- Felt
- Iron-On Vinyl
- EasyPress Mini or an Iron
- Jute or Twine
- Christmas Tree Design (sign up below)
How to download your free SVG file
Downloading this free SVG cut file is so easy. In the form below just add your name and email this FREE cut will be delivered right to your inbox. This will also sign you up for my newsletter. Once you’ve received the email, just open the cut file and save the SVG file to your computer.
Please note this file is for personal use only.
Upload the Christmas Tree SVG in Cricut Design Space
To start upload your SVG file into Cricut Design Space. Don’t know how here is a detailed blog post on how to upload a SVG in Cricut Design Space.
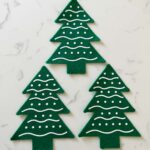
Size the Christmas tree to how large you would like it. I made these trees 4.5 inches tall. Each ornament needs 3 Christmas trees to complete. Once you have your Christmas trees sized and the quantity you need select “make it” in the top right corner.
You will see a prompt “how will you load all your materials for this project?” Select on mat or multiple ways if you are using smart vinyl. I am cutting all materials on a mat.
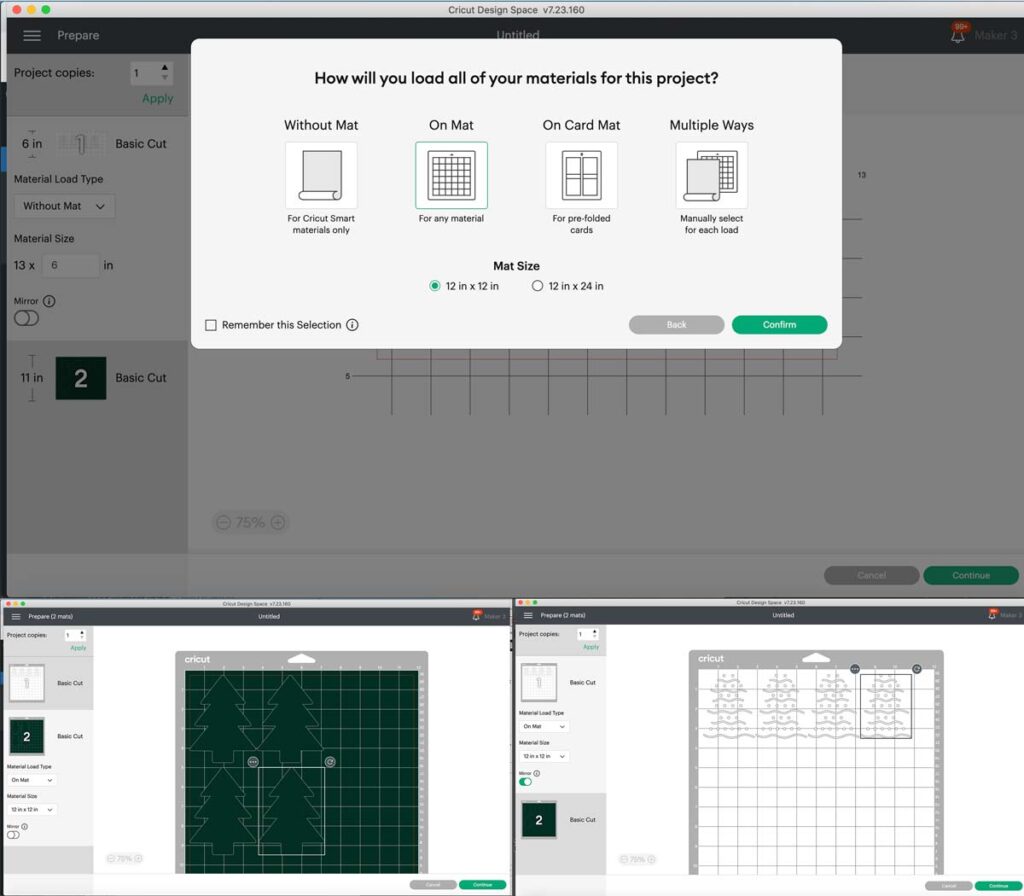
Cricut Design Space will separate out the felt trees and the iron on design onto two mats. You will want to make sure that the iron-on design is mirrored. You can turn this on under material size. Toggle mirror so it appears green. Select continue to cut your design.
Cut Felt with Cricut Maker
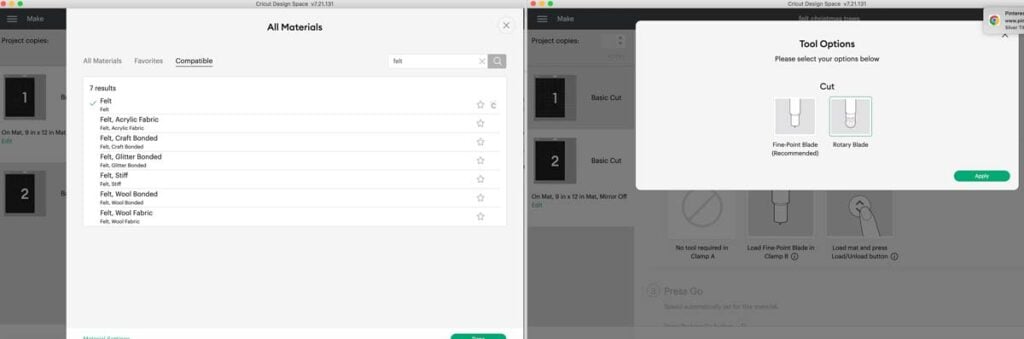
First lets cut the felt trees. Select felt when asked which material you will be cutting. Switch the tool option from fine point blade to rotary blade. On the Cricut Maker the rotary blade cuts felt the best.
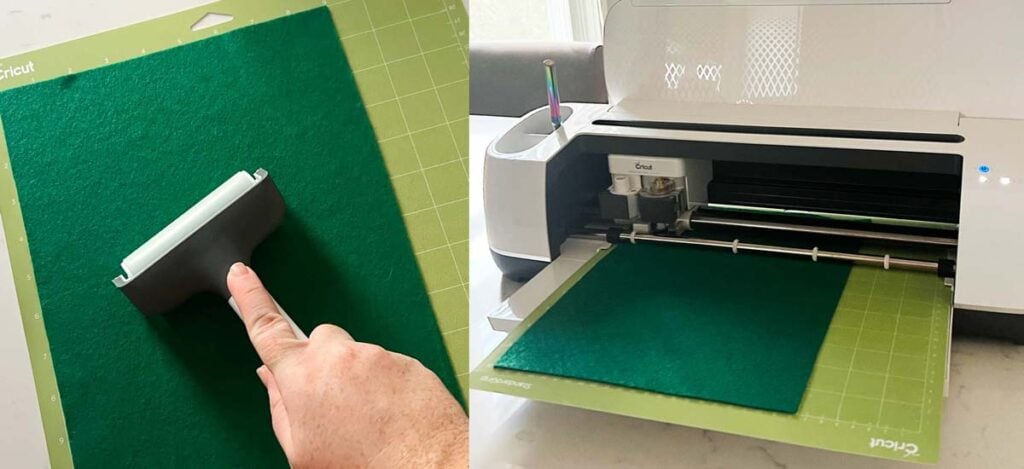
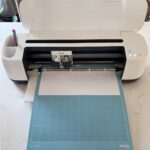
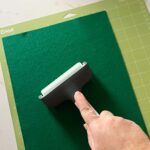
Add the felt to either the fabric mat or standard grip mat. Load your felt into the Cricut with the flashing arrows button.
Make sure the rotary tool is loaded in the Cricut maker. Press the play button or Cricut “c” to start cutting.
Cut Iron-On Vinyl with Cricut Maker
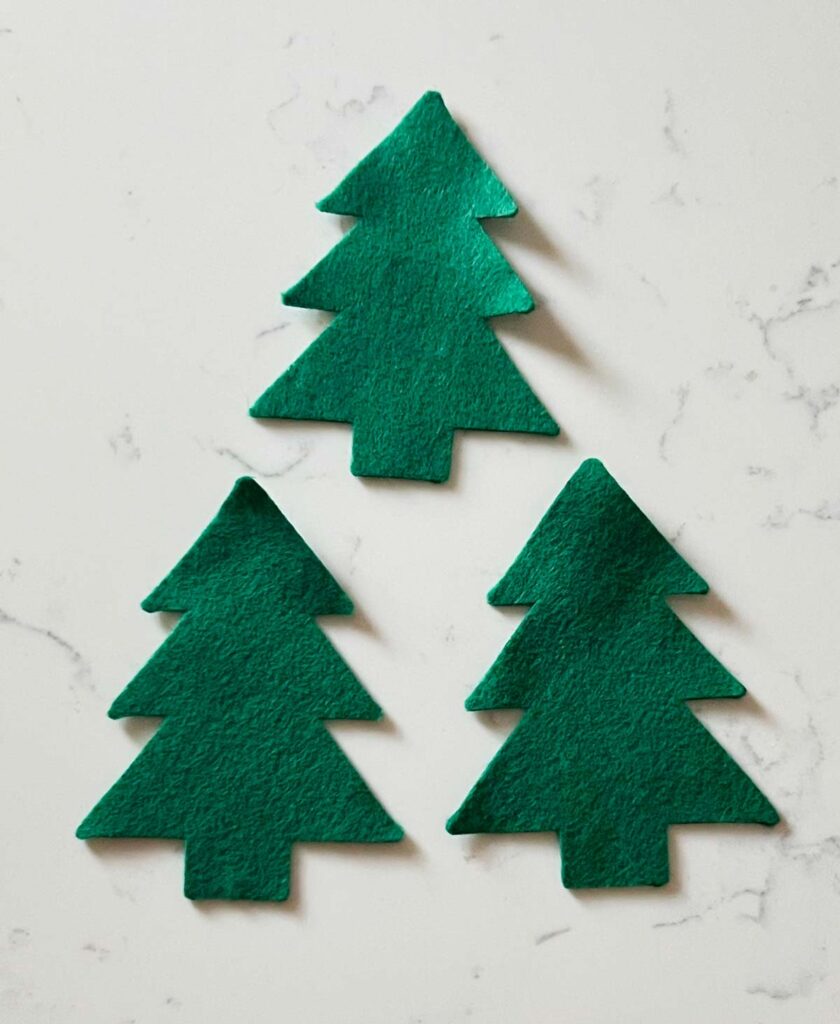
Look how great these trees came out! Now it’s time to cut the iron-on vinyl. Select every day iron-on in Cricut Design Space. Double check that your design is mirrored.
On a light grip mat add your iron-on vinyl glossy side down. Load the mat into the Cricut Maker. Make sure to switch your blade back to the fine point blade.
Once cut- weed the excess vinyl. Trim the plastic carrier sheet for the iron-on vinyl to fit over the felt Christmas tree.
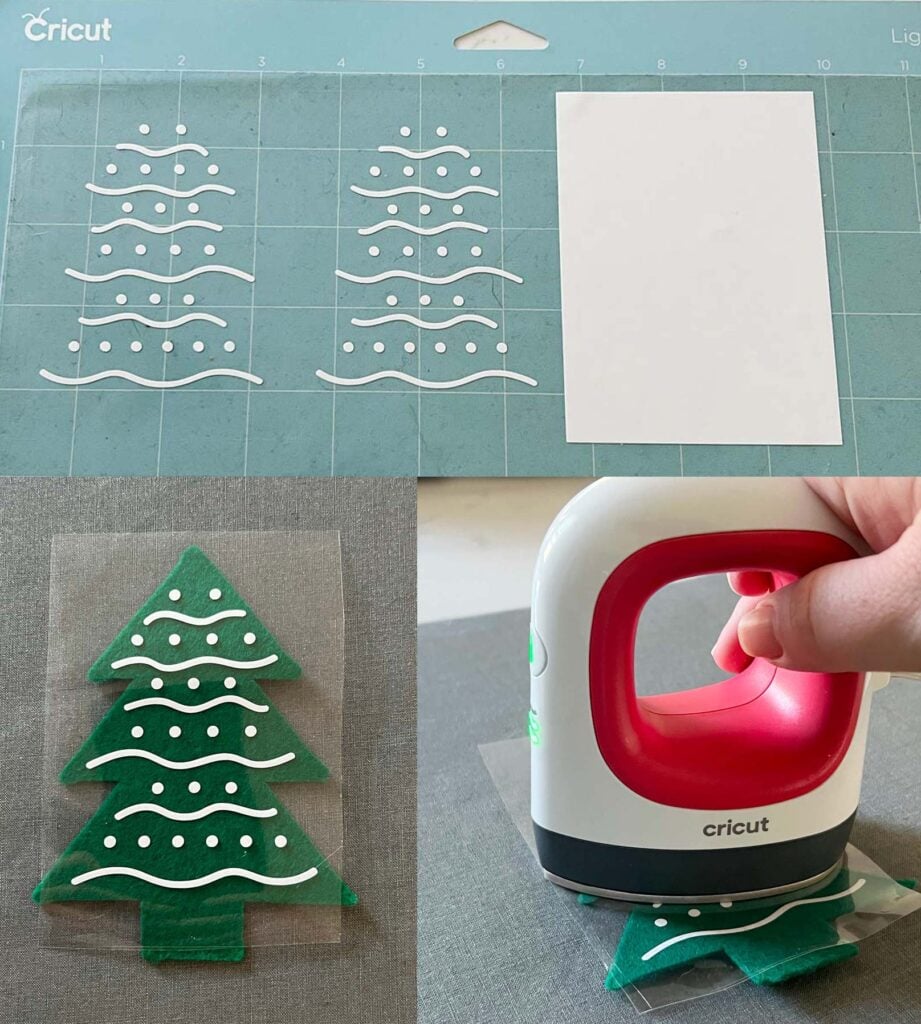
Iron-On Vinyl on Felt
Iron-on vinyl works great on felt. Using the Cricut EasyPress mini on the second heat setting. Press with light pressure for about 20-30 seconds each section. Let it cool and peeled back the carrier sheet. If any vinyl is lifting off the vinyl place the carrier sheet back down and reapply heat. This project can also be done with a household iron.
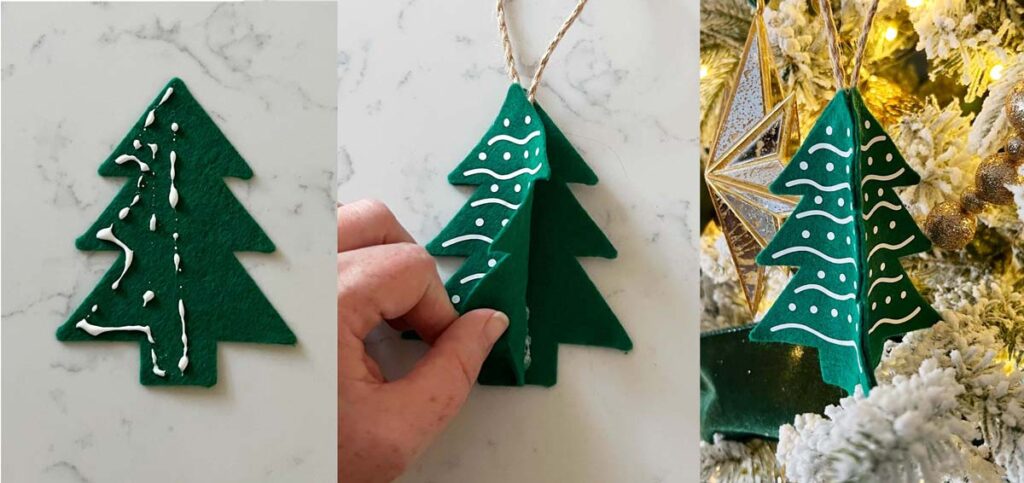
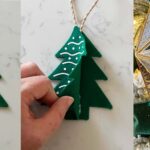
Assemble the Felt Christmas Tree Ornament
- Using felt glue add glue to half of a felt tree, lets call this tree 1.
- Tie a loop with your twine and place it on the glue in the center.
- Place the 2nd tree on top adhering only half of it.
- On the remaining 3rd tree use felt glue, this time all over the back of the tree. Adhere tree 3 by lining it up to the edges of tree 1 and 2.
- Let dry and hang it from your Christmas tree.
Just like that you have a three dimensional tree ornament.


This is really cute and I can’t wait to make it.
Thank you.